If you’re experiencing an issue where Windows Update keeps disabling itself automatically in Windows 11 or Windows 10, you can try the solutions provided in this post to resolve the issue successfully.
Why does Windows Update keep disabling itself?
This issue of Windows Update keeps disabling itself automatically, which can happen due to a corrupt file in the Windows Update itself or due to incompatibility issues with any third-party antivirus program installed on your Windows 11/10 computer. The antivirus software may cause issues with other programs, so there is no exception for Windows Update. Additionally, if the Windows Update service is not started properly, the issue of Windows Update turning off may also occur.
A possible malware infection could also cause Windows Update to be auto-disabled.
Windows Update keeps disabling itself automatically
If you’re faced with this issue, try our recommended solutions in the order presented below to resolve it.
- Run antivirus scan
- Run SFC scan
- Disable/Uninstall 3rd party security software (if applicable)
- Troubleshoot in Clean Boot state
- Reset Windows Update components
- Set critical Windows Update components to automatic
- Modify the registry
- Repair corrupted Windows Update system files using DISM
- Perform Reset This PC, Cloud Reset or In-place Upgrade Repair
Let’s examine the descriptions of the processes involved for each of the listed solutions.
1] Run antivirus scan
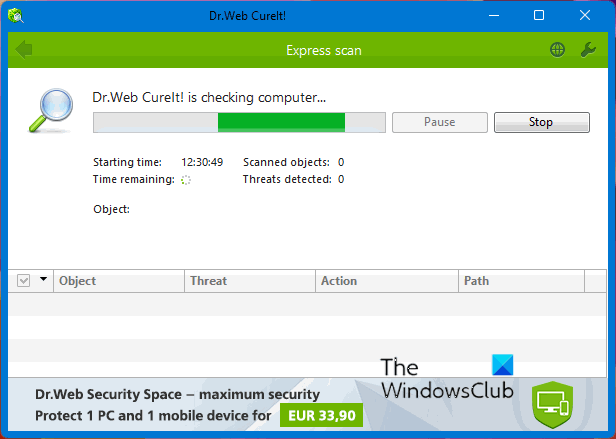
This solution requires you to run a full system antivirus scan with Windows Defender or any reputable third-party AV product. You can also perform Windows Defender Offline Scan at boot time or use bootable AntiVirus Rescue Media to clean your computer.
2] Run SFC scan
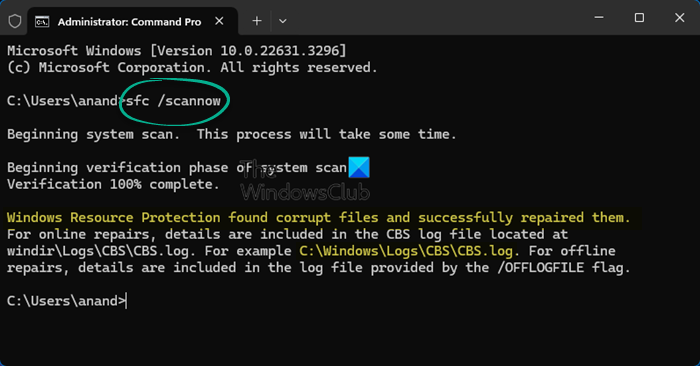
If you have system file errors, you may encounter this issue. In which case, you can run an SFC scan and see if that helps.
3] Disable/Uninstall 3rd party security software (if applicable)
This largely depends on the security software you have installed. Refer to the instruction manual.
To disable your antivirus software, locate its icon in the notification area or system tray on the taskbar (usually in the lower right corner of the desktop). Right-click the icon and choose the option to disable or exit the program.
If disabling the security software doesn’t fix the issue, you’ll have to remove all third-party antivirus programs from your PC using the dedicated removal tool to remove all files associated with your antivirus program. Using the security software native uninstaller tool will ensure all residual files, registries and dependencies installed deep within the OS, which can conflict with Windows Update is removed.
If removing the antivirus fixes this error, you can switch to alternative security software or better still stick to native AV program – Windows Defender.
TIP: If you installed the StopUpdates10 tool. You need to uninstall it.
4] Troubleshoot in Clean Boot state
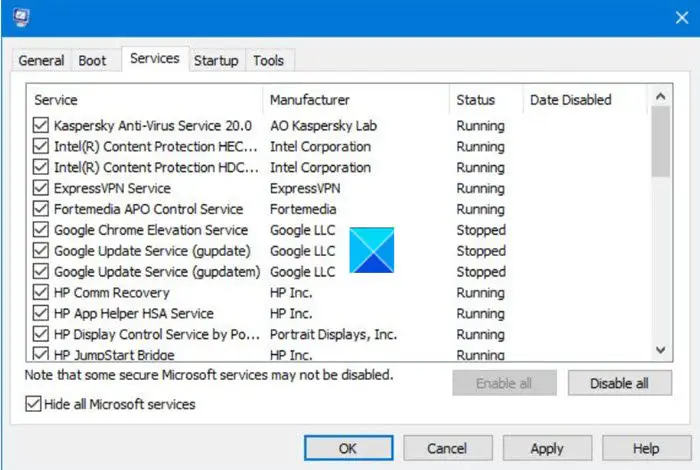
Chances are you’re dealing with some interference caused by a 3rd-party process of startup service, which in turn causes Windows Update to keep disabling itself automatically. In this case. you can troubleshoot in Clean Boot State and see if the issue will be resolved. Else, continue with the next solution.
5] Reset Windows Update components
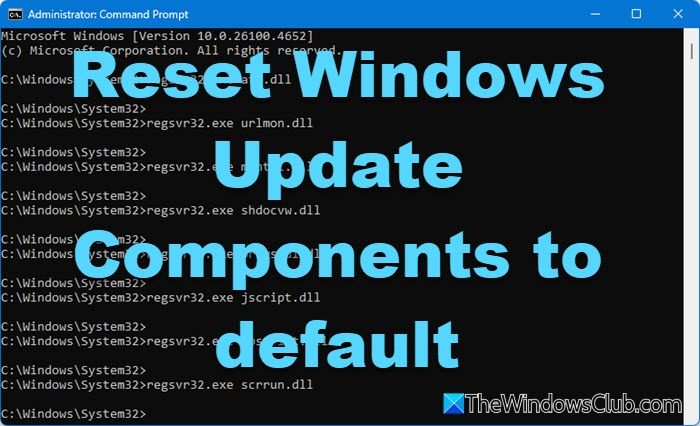
In this solution, you can manually reset each Windows Update components to default and see if that helps.
6] Set critical Windows Update components to automatic

Do the following:
- Press Windows key + R to invoke the Run dialog.
- In the Run dialog box, type
cmdand then press CTRL + SHIFT + ENTER to open Command Prompt in admin/elevated mode. - In the command prompt window, type the commands below one after the other and hit Enter after each line:
SC config wuauserv start= auto

SC config bits start= auto

SC config cryptsvc start= auto

SC config trustedinstaller start= auto
After executing the commands, restart your device and see if the issue is resolved or not. If the latter is the case, try the following:
- Launch the Run dialog box.
- In the Run dialog box, type
services.mscand hit Enter to open Services. - In the Services window, scroll and locate the Windows Update service.
- Double-click on the service and make sure Startup type is set to Automatic.
- Now, click on Dependencies Tab.
- Expand By clicking the Plus sign icon.
- Now, note down all the services name from the list.
- In the Service manager window, locate these services and make sure that the startup type of these services is also set to automatic.
If the issue is still unresolved, try the next solution.
7] Modify the Registry
Since this is a registry operation, it is recommended that you back up the registry or create a system restore point as necessary precautionary measures. Once done, you can proceed as follows:
- Open Command Prompt in admin mode.
- In the command prompt window, type or copy and paste in the command below and hit Enter:
reg add “HKEY_LOCAL_MACHINE\SOFTWARE\Microsoft\Windows\CurrentVersion\WindowsUpdate\Auto Update" /v AUOptions /t REG_DWORD /d 0 /f
Once the command executes successfully, input the command below and hit Enter:
sc config wuauserv start= auto
Exit CMD prompt window and restart your device and see if the issue is resolved. If not, proceed with the next solution.
8] Repair corrupted Windows Update system files using DISM
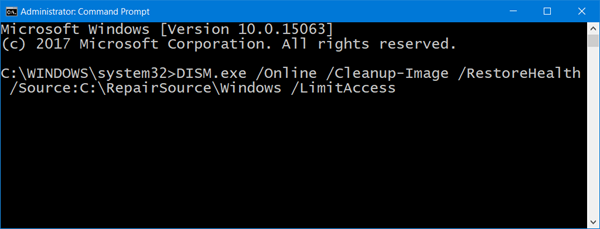
You can repair corrupted Windows Update system files using the DISM Tool and see if that resolves the issue for you.
9] Perform Reset This PC, Cloud Reset or In-place Upgrade Repair
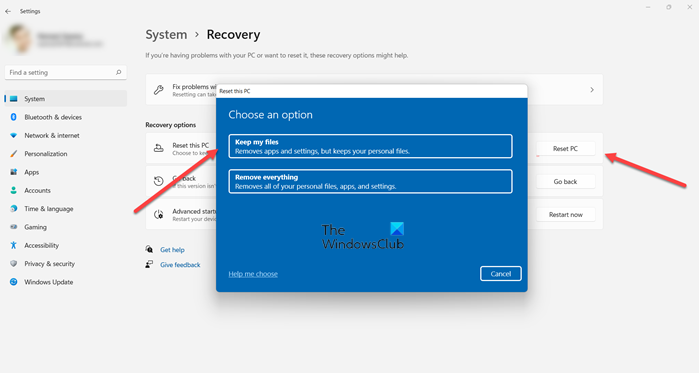
At this point, if the issue remains unresolved, it’s most likely due to system corruption that cannot be resolved conventionally.
In this case, the applicable solution here is that you can try Reset This PC, or Cloud Reset to reset every Windows component. You may also try In-place Upgrade Repair and see if that helps.
Any of these solutions should work for you!
Can Windows Update be permanently disabled?
Yes, you can permanently disable or block automatic Windows updates for your Windows 11/10 system. For this, you can open the Group Policy Editor and then access and disable Configure Automatic Updates setting. The path for this setting is as follows:
Computer Configuration > Administrative Templates > Windows Components > Windows Update > Manage end user experience
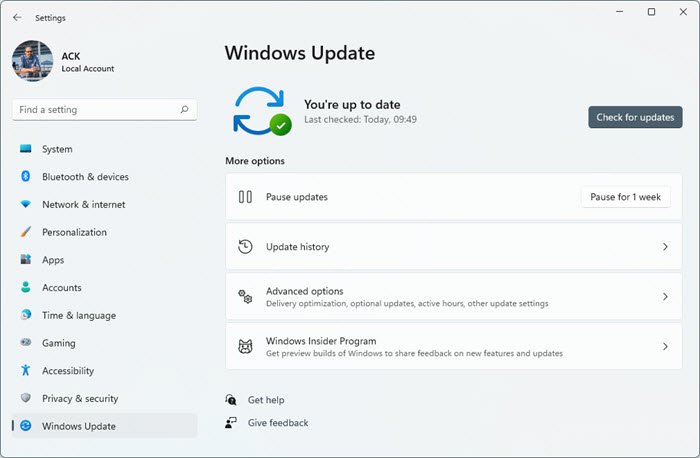
When automatic updates are disabled for Windows 11/10, you can manually download and install the security and other updates by accessing the Windows Update section using the Settings app.