
This detailed guide explains what to do if the integrated GPU is showing as Removable on your Windows 11 PC. Reports suggest this issue usually occurs with NVIDIA graphics. However, users with other graphics cards may also encounter this problem. When the affected users click on the System Tray, they see an option to eject their graphics card. This issue can occur due to several reasons, such as incorrect BIOS settings, conflicting third-party software, corrupted GPU drivers, and an outdated BIOS version.
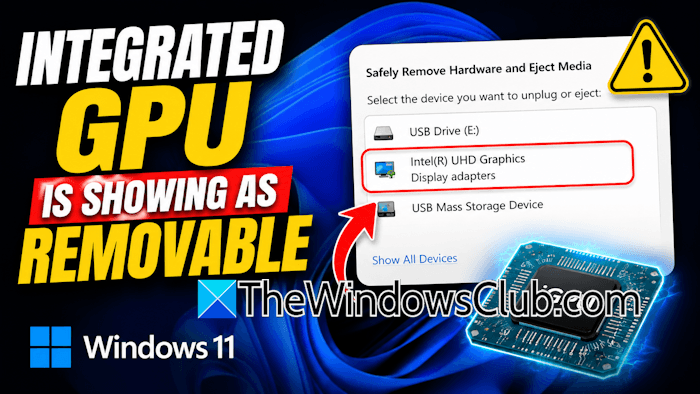
Integrated GPU is showing as Removable on Windows 11
Use the following fixes if the integrated GPU is showing as Removable on your Windows 11 computer:
- Disable the PCIe Hot Plug setting
- Update or reinstall the ASUS Precision Touchpad driver
- Check the issue in a Clean Boot state
- Perform a clean installation of the GPU driver
- Modify Windows Registry
- Update BIOS and chipset drivers
- Reset BIOS
- Restore or reset your system
All these fixes are explained in detail below.
1] Disable the PCIe Hot Plug setting
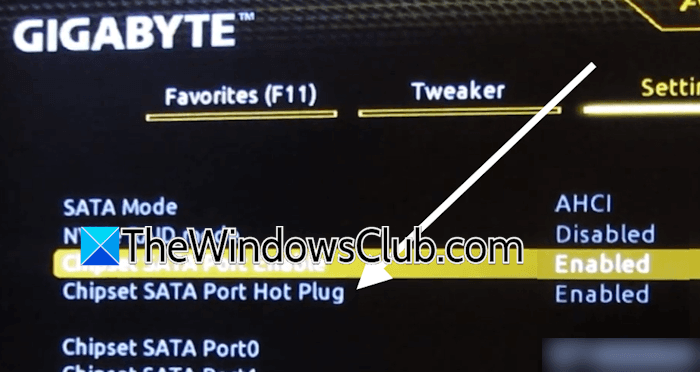
PCIe Hot Plug is a technology that allows users to add, remove, or replace PCIe devices while the computer is turned ON. If your system supports this technology, you will find this option in the BIOS. Refer to your system’s user manual for more information. Enter the BIOS, turn this setting OFF, save changes, and reboot into Windows.
2] Update or reinstall the ASUS Precision Touchpad driver
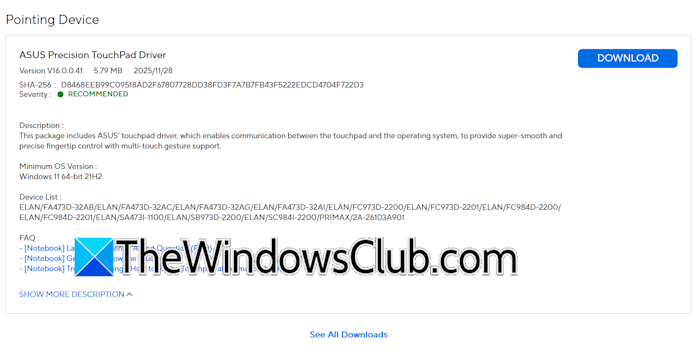
Some users reported that the issue was fixed when they reinstalled the ASUS Precision Touchpad driver. If you have an ASUS laptop, you can also try this fix. Visit your computer manufacturer’s official website and download the latest version of the ASUS Precision Touchpad driver. Run the installer file to install the driver. After installing the driver, restart your system. Now, check if the issue persists.
3] Check the issue in a Clean Boot state
The issue might be occurring due to a third-party background application or service. To confirm this, enter the Clean Boot state and check if the issue occurs there. Use MSConfig to disable the third-party services, then restart your system. After the restart, you will be in the Clean Boot state. Be careful while using MSConfig to enter the Clean Boot state. If you disable all the services, your system will become unstable, and you will have to reinstall Windows.
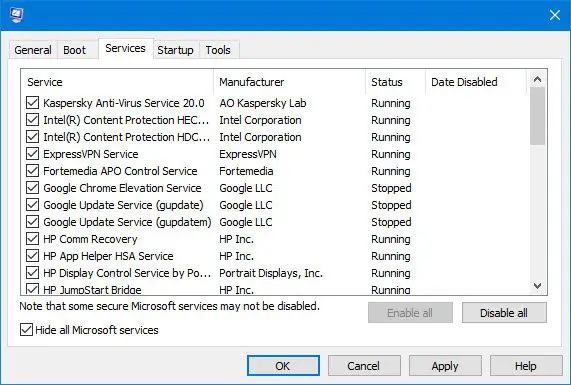
If the issue does not occur in the Clean Boot state, the next step is to identify the problematic third-party services. For this, enable some of the disabled services and restart your system. Now, check if the issue occurs. If not, enable some more services and restart your system again. When the issue reappears, one of the services you have just enabled is the culprit. Once you find the problematic third-party service, uninstall its respective application.
4] Perform a clean installation of the GPU driver
Your GPU driver might be corrupted, which is why the integrated GPU is showing as removable. To confirm this, perform a clean installation of your graphics card driver. Download the latest version of the graphics card driver from your computer manufacturer’s official website. Now, download and install the Display Driver Uninstaller (DDU) utility. Use DDU to completely remove your graphics card driver. After that, run the installer file to reinstall the GPU driver.
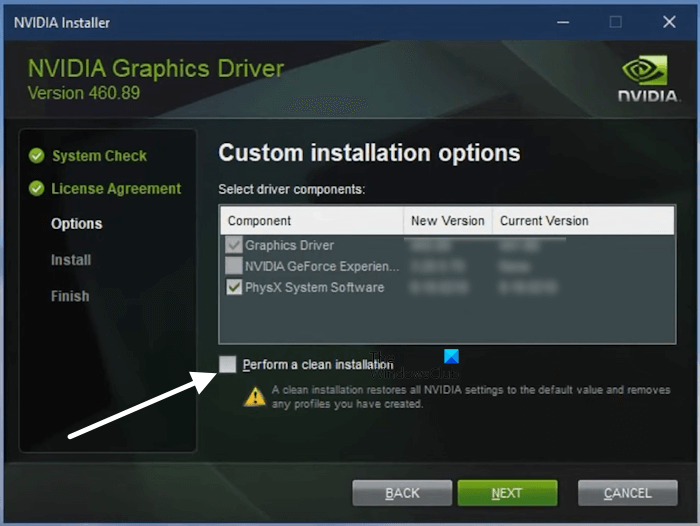
Users with an NVIDIA GPU can also use the NVIDIA installer to perform the clean installation of the graphics card driver instead of using a third-party tool, such as DDU. If your system has AMD graphics, you can use the AMD Cleanup Utility to completely remove the GPU driver from your system.
5] Modify Windows Registry
This is a workaround that you can try if you have NVIDIA graphics. Before proceeding, back up your registry and create a system restore point. Open Registry Editor and navigate to the following path:
HKEY_LOCAL_MACHINE\SYSTEM\CurrentControlSet\Services\nvlddmkm
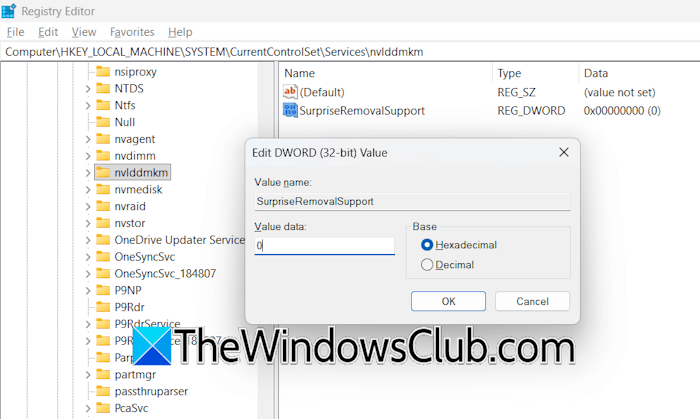
The easiest way to navigate to the above path is to copy it and paste it into the address bar of the Registry Editor. After that, press Enter. Make sure that the nvlddmkm folder is selected on the left. Look for the SurpriseRemovalSupport value on the right. If the value does not exist, create it. For this, right-click in the empty space on the right side and select New > DWORD (32-bit) Value. Name this value SurpriseRemovalSupport. Double-click on it and enter 0 in its Value data. Click OK to save changes. Restart your system.
6] Update BIOS and chipset drivers
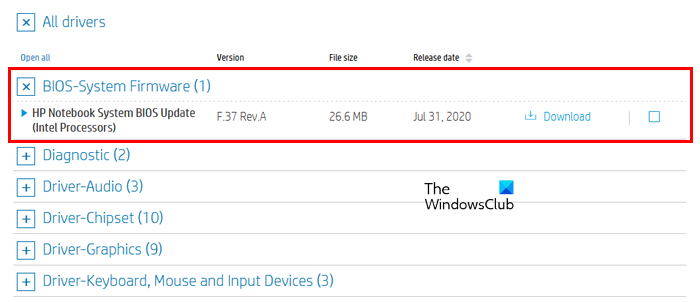
An outdated BIOS and chipset driver can cause hardware compatibility issues on a Windows computer. Therefore, we suggest you check if your computer’s manufacturer has released a new BIOS version. Open System Information and view the currently installed BIOS version. Now, compare this BIOS version with the one available on your computer manufacturer’s official website. If a new version is available, download and install it to update the BIOS. Also, update your chipset driver.
7] Reset BIOS
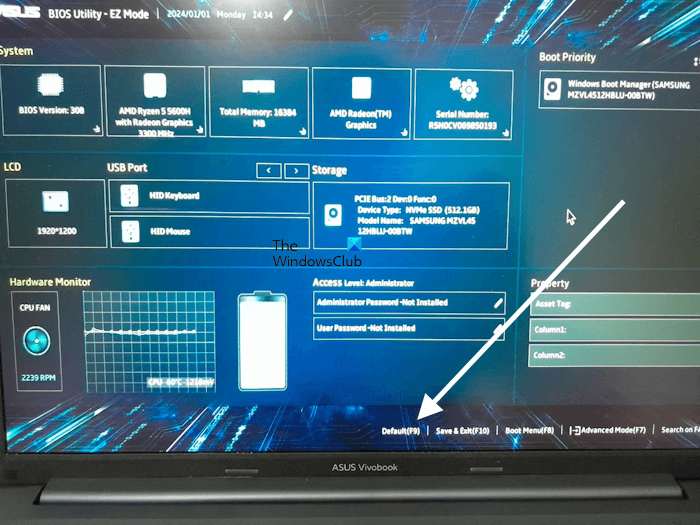
One possible cause of this issue is misconfigured BIOS settings. Since you do not know which misconfigured BIOS setting is causing the problem, resetting the BIOS is the best option. Before resetting your BIOS, note down all your current BIOS settings, so you can restore them later if this fix does not help.
8] Restore or reset your system
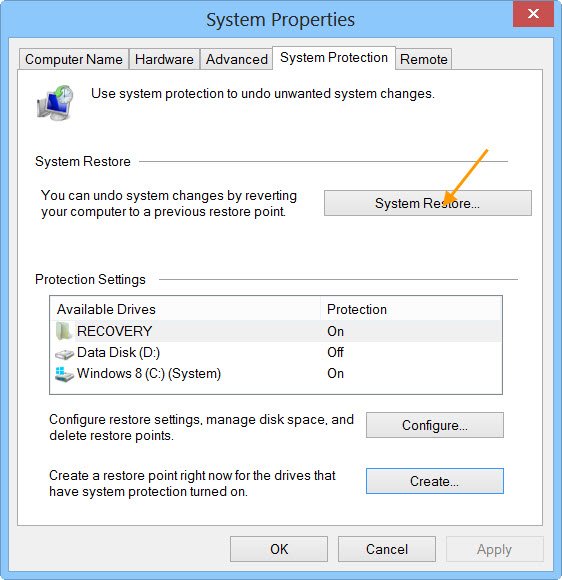
You can use System Restore to restore your system’s working state by selecting the correct restore point. Launch System Restore and select the restore point created on the date after which you encountered this issue. If no restore point exists or System Restore does not help, the last resort is to reset your PC to the factory default settings. While performing this action, select the Keep my files option to stop Windows from deleting your data. After resetting your system, you will need to reinstall all applications.
That’s it. I hope this helps.
How to change GPU from integrated to dedicated in Windows 11?
If your system has dual graphics, you can choose which application uses the dedicated graphics card. For this, open Windows 11 Settings and navigate to System > Display > Graphics. Select your app or game from the list, then choose the high-performance dedicated GPU in the GPU Preference drop-down. If your app or game isn’t in the list, you can add it manually.
Why is my integrated graphics being used instead of the dedicated GPU?
If your PC is using integrated graphics instead of the dedicated GPU, check your cable connection. Make sure you have plugged it into the right port for your OEM. In most cases, the monitor cable should be connected to the dedicated graphics card port instead of the ports on the motherboard. If the problem persists, you can update the BIOS to the latest version.
Read next: Monitor not displaying full screen in Windows.
