At times, a user may encounter system crashes or BIOS issues that they wish to resolve. If you believe a BIOS update caused the issue, the best way to resolve it is to downgrade to the previous BIOS version. That is why we have this article; here, we will see how to downgrade the BIOS on Windows computers.

Can you downgrade computer BIOS?
Yes, you can easily downgrade the BIOS of your computers. It works just like updating the BIOS, you just need to install an older version of BIOS from Dell’s website and you will be good to go. We have given a detailed guide on how to do the same. So, you should adhere to what is written, because it is a very risky move.
How do I downgrade my BIOS version?
Downgrading the BIOS version is not as difficult as it may sound. Basically, you just need to download and run a file, but, it can get tricky. First of all, you need to make sure that you are downloading the right version of BIOS and you are downloading files for your system only. For that, it’s better to check the serial number. There are some other difficulties that one can face while doing the same. Therefore, you should go through our steps, and do everything with your utmost attention.
Post that may help you if your computer does not boot:
- Windows PC will not boot up or start
- Windows computer unable to boot to BIOS
- Windows does not boot after compressing System Drive
- Computer boots to black or blank screen with a blinking cursor
- Windows computer won’t boot after System Restore.
How to downgrade BIOS on Windows 11 computer
Before proceeding with the process, it is advisable to reconsider your decision. Downgrading the BIOS should be your last resort and should only be executed if all other options have failed.
To downgrade BIOS on a Windows Computer, you first need to download the BIOS’s exe file. Follow the steps below to complete the same task. In this post, we use Dell computers as an example, but the process is the same, except that you will need to visit your respective OEM website to download the BIOS files. We have mentioned the OEM site download links later on.
- First of all, go to dell.com/support.
- Then look for your device. You can search it by typing the name of your device in the search bar or by clicking on Browse all products and then selecting your system.
- Then click on the drop-down menu (V).
- Look for BIOS, if you can’t find it, use the Keyword “BIOS”.
- If you are not able to find the version that you want to downgrade to, click on the Older version button.
- Then click on Download.
If you are skeptical of whether you are downloading the right version or not, try searching for the BIOS file with your Serial Number.
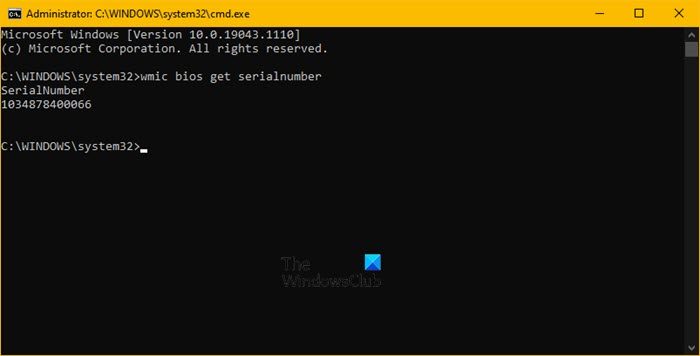
To know your Serial Number, open Command Prompt as an administrator and then execute the following command.
wmic bios get serialnumber
This will give you your BIOS serial number. Then you can use it to find the right file for you.

Now, it’s time to downgrade BIOS. There are two ways by which you can do the same. The first one is a bit easy to execute, so, first of all, attempt the first method, if that doesn’t work, then try the second. These methods are.
- Without USB
- With USB
Let us see the first one.
1] Without USB
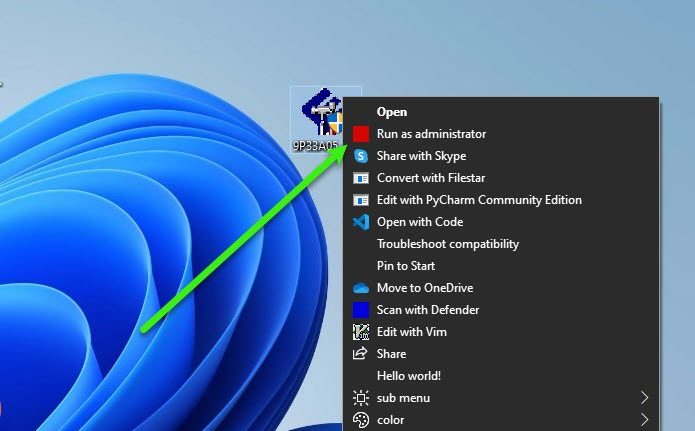
There are two conditions here, do you have a battery or don’t (if you are not seeing the battery icon in the Taskbar). If you have a battery then just go to the file, right-click on it and select Run as administrator. Then follow the on-screen instructions to do the same.
If you don’t have a battery or if Windows is not recognizing your battery then we need to use the Command Prompt. Copy the downloaded file into the C drive. Then, go ahead and note the name of that file. Then execute the following commands.
cd\

<file-name> /forceit
Note: If your file-name doesn’t contain .exe, then add it. For example: 9P33A05.exe.
As simple as it gets.
Read: How to use BIOS settings on Windows computers.
2] With USB
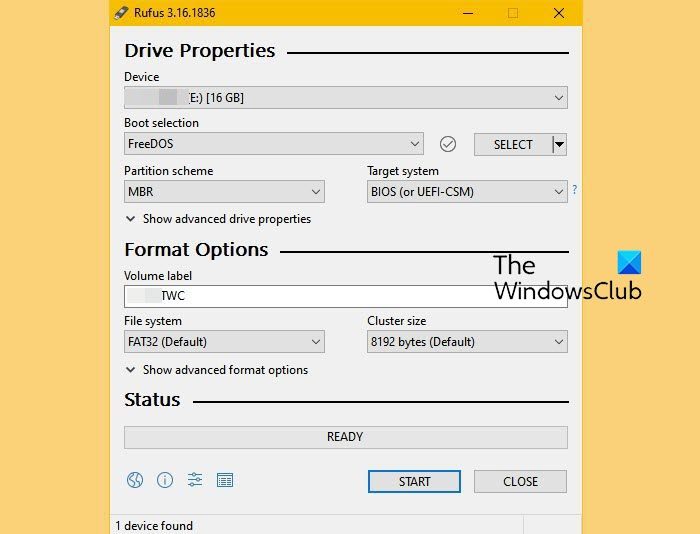
If the first method didn’t work, then we need to pull out our USB stick to do the job. Plug your USB. then download Rufus from rufus.ie.
Open Rufus, select your USB, change Boot Selection to FreeDOS, and File System to FAT32. Finally, click Start. Once your drive is ready. Copy the downloaded content to it.
Then restart your computer, and hit F2 or F12 to boot into BIOS, also make sure that you have enabled BOOT from USB or you are getting an option to do the same when you open the computer. Once you have booted with your USB, you will see a screen asking you to give commands.
If you can see the contents of your USB, execute the second command, but if you do not see the contents, execute the first command prior to executing the second.
dir
<file-name> exe
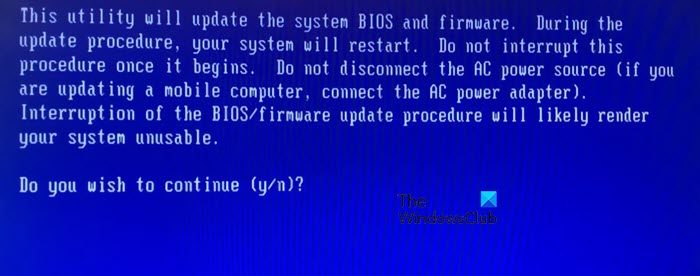
After executing the commands, you will be asked to confirm your action, click Y whenever prompted.
For Dell computers, tools like the Dell SupportAssist OS Recovery Tool can help you if your computer is unable to boot to the operating system even after repeated attempts. Other brands too have similar tools.
Hopefully, you can resolve the issue by downgrading to the previous version.
If you are not familiar with how the BIOS works or do not understand the instructions, it is best to seek help from an expert to carry out this process.
Related: Firmware update failed in Windows.
List of some OEMs where you can download BIOS setup files:
You may visit your computer manufacturer’s website to download the device drivers. Here is the list.
Some OEM tools that will help you with BIOS updates:
Manufacturers have also released special BIOS/driver download software for their brands:
- Dell Update utility will help you download or update Dell Drivers
- Lenovo System Update helps you download Lenovo Drivers, Software, Firmware, Update BIOS.
- HP users can use the bundled HP Support Assistant.
Reads that may interest you:
- How to update BIOS on Windows computer
- How to reset BIOS settings to default values on a Windows computer
- Windows computer won’t boot to BIOS.