Audio balance is a feature in Windows 11/10 computers that allows users to adjust volume levels between the left and right audio channels of their speakers or headphones. You can set a different audio level for the left and right channels separately. If the Audio balance feature is not working. This article lists some fixes for this issue.

Audio balance is not working on Windows 11
According to the reports, the audio levels for both channels are locked. Adjusting the audio level of one channel automatically changes the audio level of the other channel, and vice versa. The following fixes will help you if the Audio balance is not working on your Windows 11/10 computer.
- Run the Audio Troubleshooter
- Roll back the audio driver
- Update or reinstall the audio driver
- Disable audio enhancements
- Roll back Windows Update (if applicable) or perform System Restore
- Disable the Absolute Volume value in the Registry
- Reset your PC
All these fixes are explained below in detail.
1] Run the Audio Troubleshooter

The Audio Troubleshooter is an automated tool that helps fix sound issues in Windows computers. Run the Audio Troubleshooter and see if it helps. You can launch it through the Get Help app in Windows 11.
2] Roll back the audio driver
Try to roll back the audio driver to the previous version and see if it works. Follow the instructions provided below:

- Open the Device Manager.
- Expand the Sound, video, and game controllers branch.
- Right-click on your audio driver and select Properties.
- Go to the Driver tab and click on the Roll Back Driver button.
If the Roll Back Driver button is greyed out, Windows might have not retained the previous version of the audio driver. However, you can try other methods to roll back the driver.
3] Update or reinstall the audio driver
Update or reinstall the audio driver and see if it fixes the issue. Download the latest version of the audio driver from the official manufacturer’s website and follow the steps provided below:

- Open the Device Manager.
- Expand the Sound, video, and game controllers branch.
- Right-click on the audio driver and select Uninstall device.
After uninstalling the driver, run the installer file to reinstall the audio driver.
4] Disable audio enhancements
Sometimes, the audio enhancements feature causes audio issues on Windows. In such a case, disabling this feature can help. We suggest you disable the audio enhancements by following the steps provided below:


- Open the Control Panel.
- Type Sound in the Control Panel search and select Sound from the search results.
- Right-click on your audio device and Properties.
- Go to the Advanced tab and uncheck the Enable audio enhancements checkbox.
- Click Apply and click OK.
5] Roll back Windows Update (if applicable) or perform System Restore
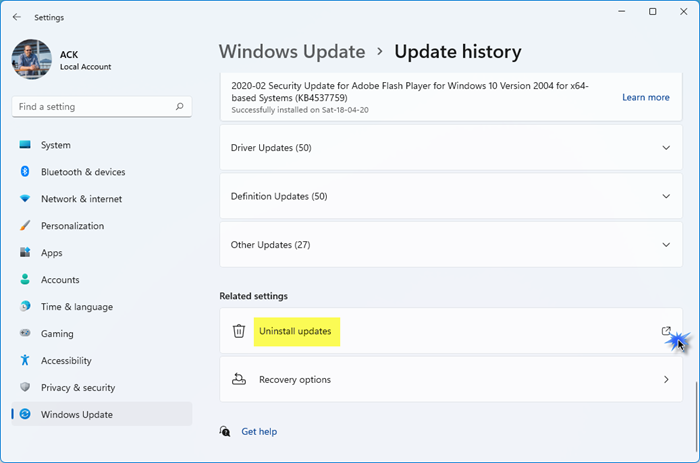
If the issue started occurring after installing a Windows Update, you can revert it by uninstalling that problematic update.

Alternatively, you can restore your system to the previous working state by using the System Restore tool, provided the previous restore points should exist on your hard disk.
6] Disable the Absolute Volume value in the Registry
If the issue persists, modify the Windows Registry and disable the Absolute Volume feature. This fix should work. Before proceeding, create a system restore point and backup your Registry, so you can revert the changes if any problem occurs.
Follow all these steps carefully, as incorrect registry modifications can make your system unstable.
Open the Registry Editor. Copy the following path, paste it into the address bar of the Registry Editor, and hit Enter.
Computer\HKEY_LOCAL_MACHINE\SYSTEM\ControlSet001\Control\Bluetooth\Audio\AVRCP\CT

You will see the DisableAbsoluteVolume value on the right side. If this value is not present on the right side, create it manually. For this, right-click in the empty space on the right side, and select New > DWORD (32-bit) Value. Give the DisableAbsoluteVolume name to this value.
Now, double-click on the DisableAbsoluteVolume value and change its Value data from 0 to 1. Click OK to save changes. Close the Registry Editor and restart your system. Now, the issue should not occur.
7] Reset your PC

If the issue still persists, the last resort is to reset your PC to the factory default settings. Select the Keep my files while resetting your PC, as it will not erase your data on the disk. However, from the safety point of view, we recommend you back up your data before proceeding.
I hope this helps.
How to fix the audio balance in Windows 11?
To fix the audio balance in Windows 11, open Sound settings and then open the properties of your audio device. Now, adjust the volume sliders of both channels to balance the audio of your audio device. If the audio balance is not working, update or roll back the audio driver.
How do I fix the audio glitch in Windows 11?
If there is no sound on your Windows 11 computer or you experience audio crackling or stuttering issues, run the Audio Troubleshooter and see if it helps. If this does not work, the problem may be with the audio driver.
Read next: Realtek audio driver crashing randomly.