
Task Manager shows all the running applications on Windows 11. You can also check the state of all running applications and services in the Task Manager. Some users encounter issues with Windows 11 Settings. Upon checking in Task Manager, they found the SystemSettings.exe process suspended. Windows manages system resources efficiently by temporarily suspending applications or services that are not currently in use. When a user interacts with these services again, Windows automatically changes their status from ‘Suspended’ back to ‘Running’. However, this is not happening with some users. That’s why they cannot use Windows 11 Settings. If the SystemSettings.exe is suspended or not interacting with Windows 11 on your system, the solutions provided in this article will help.
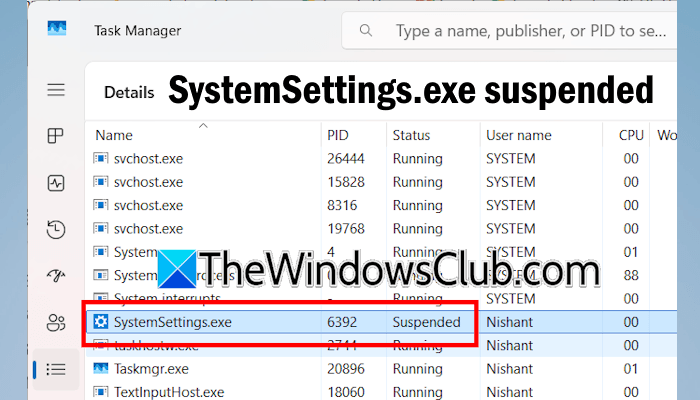
SystemSettings.exe suspended; stopped interacting with Windows 11
Use the following fixes if the SystemSettings.exe is suspended or has stopped interacting with Windows 11:
- Disable background apps and unwanted services
- Troubleshot in a Clean Boot state
- Re-register Windows 11 Settings
- Create a new user account
- Use System Restore or reset your PC
All these fixes are explained in detail below. Before proceeding, you can try repairing your system image files, as system file corruption is a possible cause of this issue. For this, use the System File Checker and DISM tools.
1] Disable background apps and unwanted services
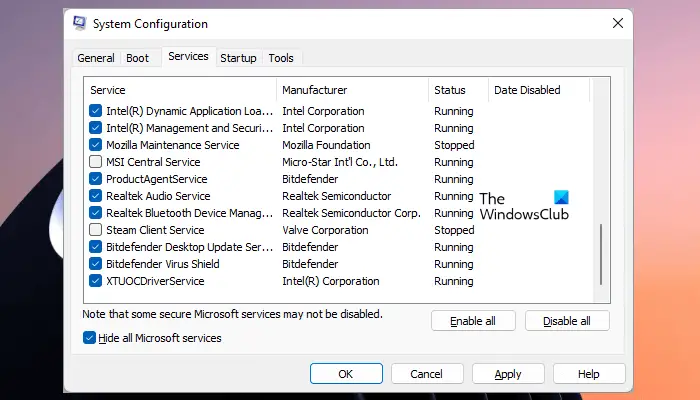
Background apps continuously consume your system’s RAM and other resources. To optimize memory and performance, Windows automatically suspends services that are currently not in use. That’s why disabling the background apps can help fix this issue. Now, open Task Manager and check whether there are too many background processes running. If so, you can manage them by disabling unwanted third-party services. Be careful while doing this, as if you do not follow the right steps and disable all the services by mistake, you will put yourself in trouble.
2] Troubleshot in a Clean Boot state
A third-party background application or service might be interfering with Windows 11 Settings, causing this issue. To verify this, enter the Clean Boot State and see if the issue occurs. For this, you have to use MSConfig. If the issue disappears in the Clean Boot State, you have to identify the problematic third-party service. For this, use the hit-and-trial method. Follow these steps:
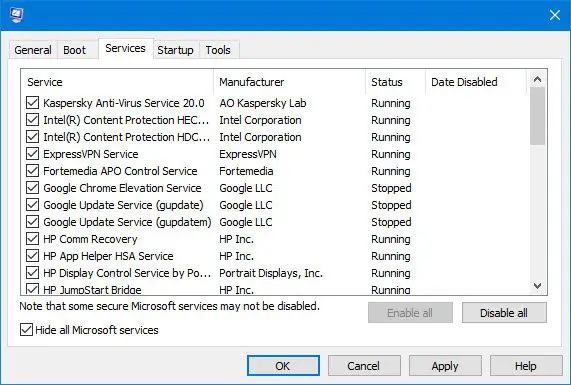
- Enable some of the disabled services and restart your system.
- Check if the issue persists. If not, enable some other disabled services and restart your system.
- If the issue persists, one of the services you have just enabled is the culprit.
Now, disable each service you enabled in step 3, then restart your system. When the issue disappears, the service you have just disabled is the culprit. Now, uninstall its respective application.
Related: Windows Settings not opening or working, or freezes
3] Re-register Windows 11 Settings
If the issue persists, try to re-register Windows 11 Settings using the PowerShell script. Launch Windows PowerShell as an administrator. Copy the following command and paste it into the Admin PowerShell window. After that, press Enter.
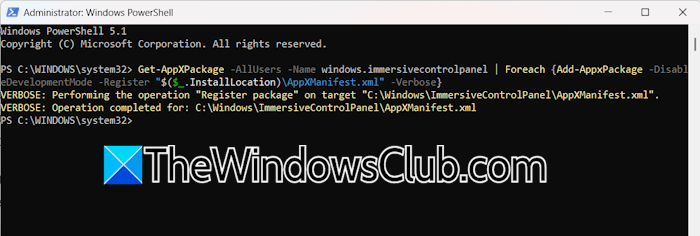
Get-AppXPackage -AllUsers -Name windows.immersivecontrolpanel | Foreach {Add-AppxPackage -DisableDevelopmentMode -Register "$($_.InstallLocation)\AppXManifest.xml" -Verbose}
After the script executes, check whether you can access the Settings.
Read: SystemSettings.exe System error in Windows 11
4] Create a new user account
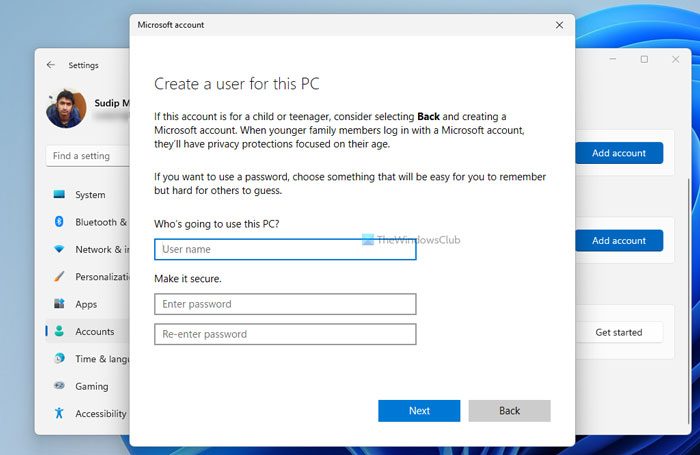
Sometimes, issues are associated with a particular user account in Windows 11. This might be the case with you. To confirm this, create a new user account and sign in to that account. Check if the issue occurs there. If not, the problem is with your primary user account. In this case, you can transfer your user data from the primary user profile to the new user profile using a third-party application, such as TransWiz. Now, you can keep using the new user profile and delete the previous one.
5] Use System Restore or reset your PC
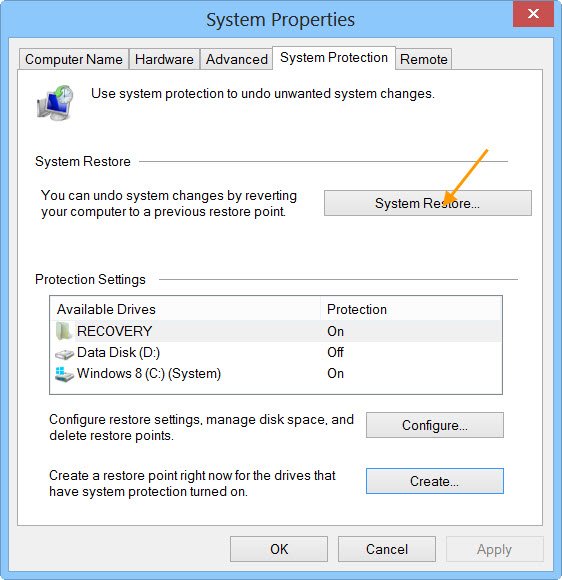
If none of the fixes fixes worked, restore your system to the previous working state using System Restore. When you use System Restore, it will show you all the restore points that exist on your system. Select the restore point created on the date after which this issue started occurring. If System Restore does not work or no restore points exist on your system, the last resort is to reset your PC to the factory default settings.
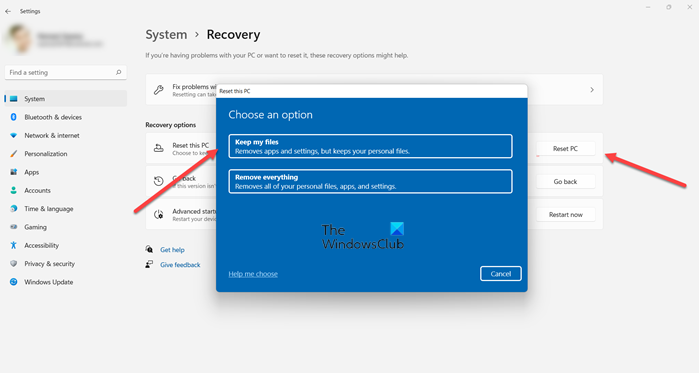
Windows provides an option to reset your PC without erasing your data. However, it is recommended to back up all important files before proceeding. Do note that this action will uninstall all the installed applications, even if you select the Keep my files option. You have to install all the programs after performing a Factory Reset.
That’s it. I hope this helps.
How to solve the AutoIt error?
AutoIt is a freeware BASIC-like scripting language designed for automating the Windows GUI and general scripting. Some malicious actors are also known to use its name to inject malware into a user’s system. Therefore, if you encounter the AutoIt error on your system, the first step is to run an antimalware scan. Other fixes that you can try include deleting the AutoIt entries from File Explorer and Registry Editor.
How to fix error code 0x8007045b?
The error code 0x8007045b is a Windows Update error that usually occurs due to a system file corruption, Windows Update glitch, or third-party security software interference. To fix this error, you can try some fixes, like running the Windows Update Troubleshooter, clearing the Windows Update cache, or repairing the system image files.
Read next: DISM error 0x800f0915, The repair content could not be found anywhere.
