
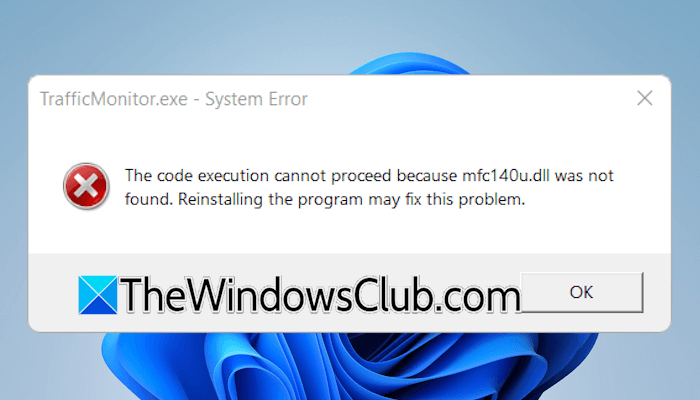
This article outlines solutions to the “mfc140u.dll was not found” error on Windows 11/10. This error occurs when a program requires the mfc140u.dll file to run but cannot locate it on your system.
What is mfc140u.dll?
mfc140u.dll is a Microsoft library file that comes with the Visual C++ Redistributable for Visual Studio 2015. It contains functions from the Microsoft Foundation Class (MFC) library, which is used by many Windows applications.
mfc140u.dll was not found on your computer
Use the following fixes for the “mfc140u.dll was not found” error on Windows 11/10:
- Install the latest Windows Update
- Repair your system image files
- Reinstall the program
- Copy the mfc140u.dll file from another computer
- Repair or reinstall Microsoft Visual C++ Redistributables
- Restore or reset your PC
All these fixes are explained in detail below:
1] Install the latest Windows Update
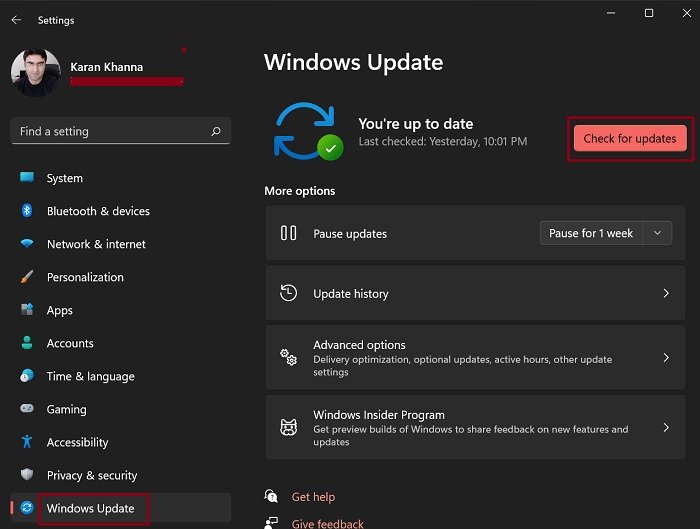
Installing the latest Windows Update can fix this problem. Open Windows 11 Settings and click the Check for Updates button.
2] Repair your system image files
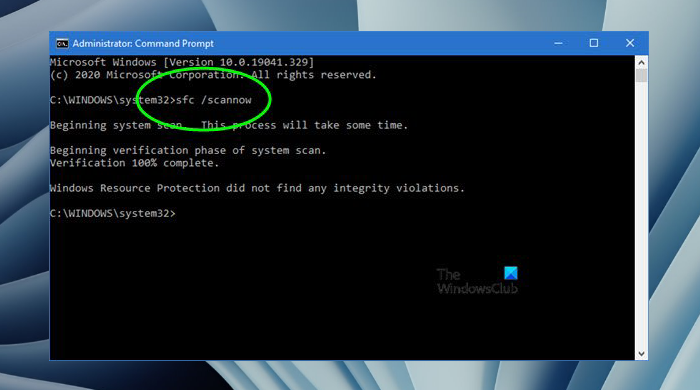
You can run System File Checker and DISM tools to scan your system for missing or corrupted system files. These tools scan all protected system files and replace the corrupted or missing files with their cached copies.
3] Reinstall the program
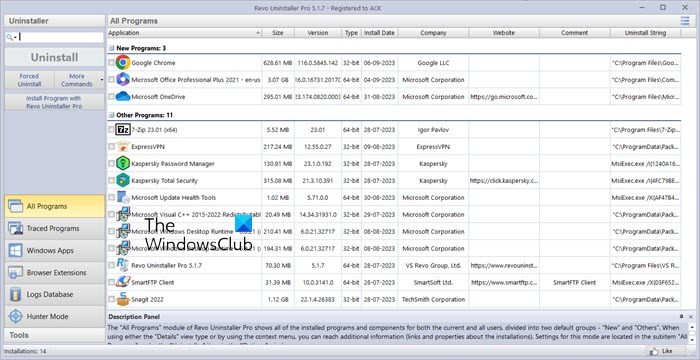
The DLL missing error also occurs when a program is not installed correctly. This might be the case with you. Use Revo Uninstaller to completely remove the affected program from your system. After that, download its latest version from the official website and install it from scratch.
4] Copy the mfc140u.dll file from another computer
This is the easiest fix for the “mfc140u.dll was not found” error. The DLL files are stored at the following location in Windows 11:
C:\Windows\System32
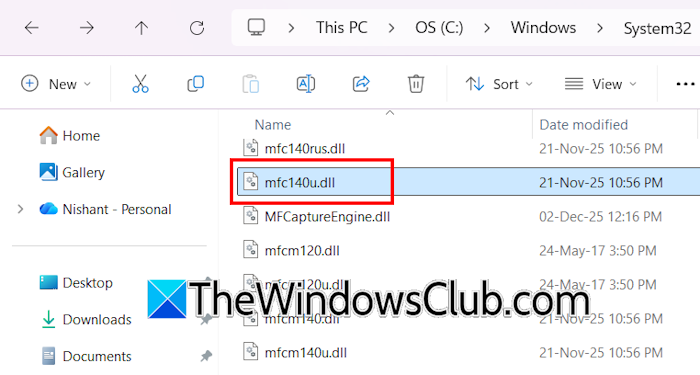
Open File Explorer on a working computer and navigate to the location mentioned above. Search for the mfc140.dll file. Copy that file to a USB flash drive. Connect the USB flash drive to your computer and paste the copied DLL file into the same location.
5] Repair or reinstall Microsoft Visual C++ Redistributables
If the error persists, repair or reinstall the Microsoft Visual C++ Redistributables. Open your Windows 11 Settings and go to Apps > Installed apps. Repair all C++ Redistributables. Click the three dots on each of them and select Modify. Now, click Repair. Once the repair process is complete, restart your computer and check if the issue is resolved.
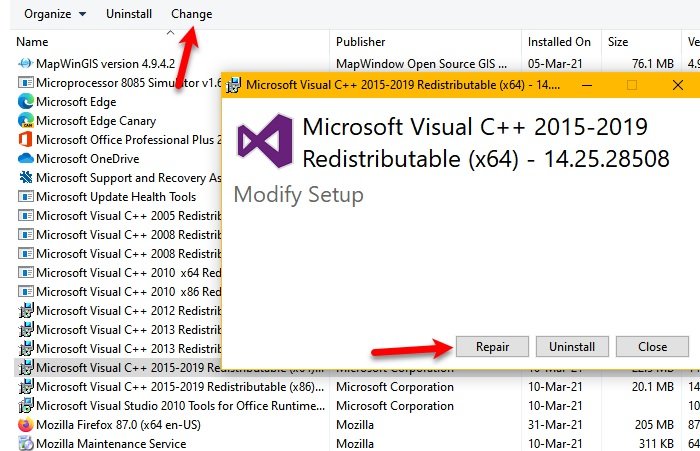
If the issue persists after repairing the Microsoft Visual C++ Redistributables, note all installed versions. Now uninstall all redistributable packages, then reinstall them.
6] Restore or reset your PC
If the problem persists, you can restore your system to the previous point in time. System Restore is a tool that creates restore points containing snapshots of the system’s configuration and settings at a specific point in time. Select the correct restore point while performing system restore.
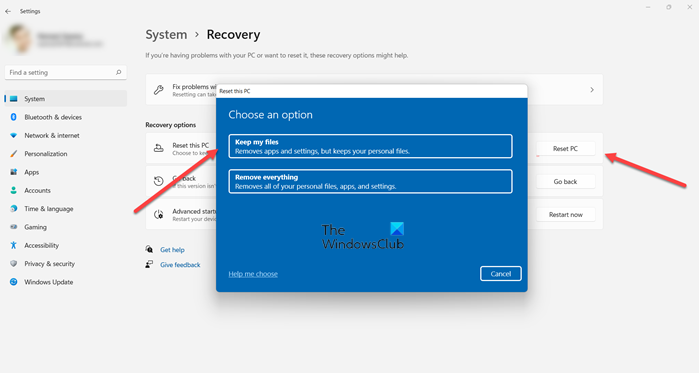
If system restore does not help, or no restore points exist on your system, reset your system to the factory default settings. You can choose to keep your files or wipe all data from the C drive during the factory reset. However, I recommend backing up all important files before proceeding.
If nothing helps, you have to perform a clean installation of Windows.
That’s it. I hope this helps.
Where is the mfc140.dll file located?
The mfc140.dll and all other DLL files are located inside the System32 folder on the C drive. To view them, open File Explorer, then navigate to C drive > Windows > System32. You will find all the DLL files there.
How do I manually install a DLL?
While many third-party sites allow you to download DLL files, I do not recommend downloading them from unofficial sources. Instead, you can copy the missing DLL files and paste them into the System32 folder on your computer. This is the safest way to install a missing DLL file on your computer.
Read next: Failed to load DLL file on Windows.
