This post features solutions to troubleshoot Printer Connection and Printing problems in Windows 11/10. Printers are essential tools for individuals and businesses. Despite technological advancements, printer connection and printing problems can still occur. Fortunately, you can follow a few simple steps to fix them.

Why is my printer connected but not printing?
Printers may not print if the USB connection is loose or the printer is out of ink or paper. If that’s the case, verify the ink levels, clean the printhead, and fill up the paper tray. If not, there are other reasons this might occur. Some of them are:
- Check printer status
- Misconfigured printer settings
- Corrupted printer drivers
- Stacked up print queue
How to troubleshoot Printer Connection and Printing problems in Windows 11?
To troubleshoot printer connection and printing problems, reconnect and restart your printer. If that doesn’t help, follow these suggestions:
- Run the Printer Troubleshooter
- Check cables and wireless connection
- Update printer driver
- Set the printer as default
- Clear print queue
- Clear and reset Print spooler
- Reinstall the printer
Before you proceed check if your cables are prperly fixed and your WiFi connection is good, in case of a wireless printer.
1] Run the Printer Troubleshooter
Before starting any troubleshooting methods, run the Printer Troubleshooter. Doing so can automatically fix printer-related errors. Here’s how:
- Press Windows + I to open Settings.
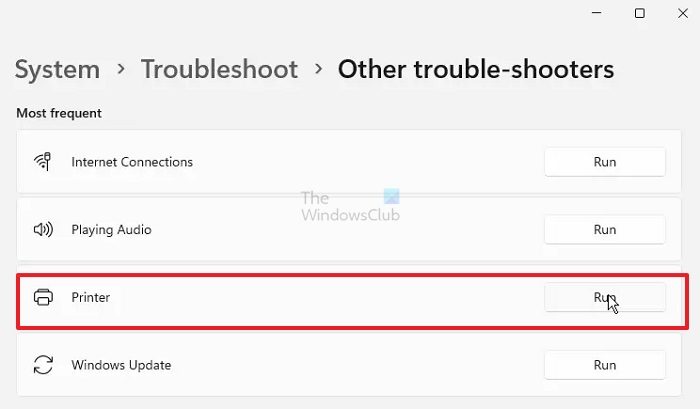
- Navigate to System > Troubleshoot > Other troubleshooters.
- Scroll down and click on Run beside Printer.
- The troubleshooter will now start running.
Read: Unable to install printer, Another printer with this name already exists
2] Check cables and wireless connection
Next, check that the printer’s USB cable is properly connected to your PC and isn’t damaged.
However, if you have a wireless printer, check if your PC and the printer are connected to the same WiFi network.
Fix: Printer not working in Windows
3] Update printer driver
The printer drivers can sometimes become corrupted, causing connection and printing problems. Update the printer drivers and see if the error gets fixed. Here’s how:
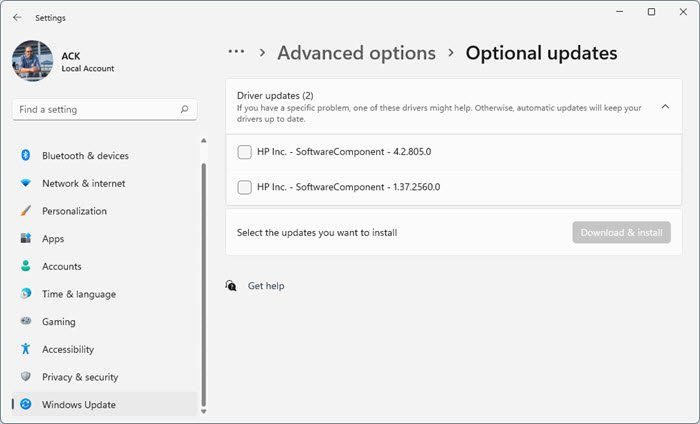
- Open Settings and navigate to Update & Security > Windows Update.
- Right under it, look for a clickable link— View optional updates.
- Under Driver Updates, a list of updates will be available for you to install manually if you are facing an issue.
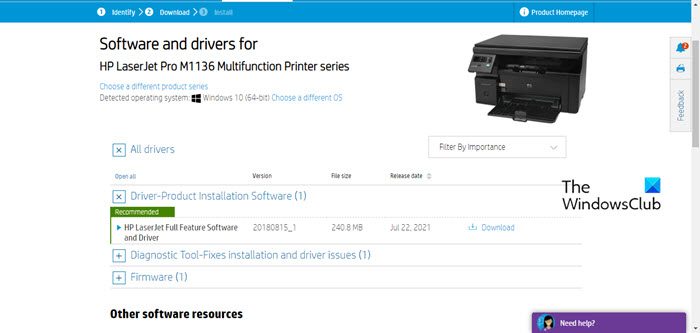
Alternatively, you can directly download Printer Drivers from the manufacturer’s website and install it.
TIP: Use HP Print and Scan Doctor to fix HP Printer problems on Windows PC
4] Set the printer as default
Now, check if you’ve set the printer as default. Doing so will set the printer as the default and not let Windows manage your default printers. Here’s how:
- Press Windows + I to open Settings.
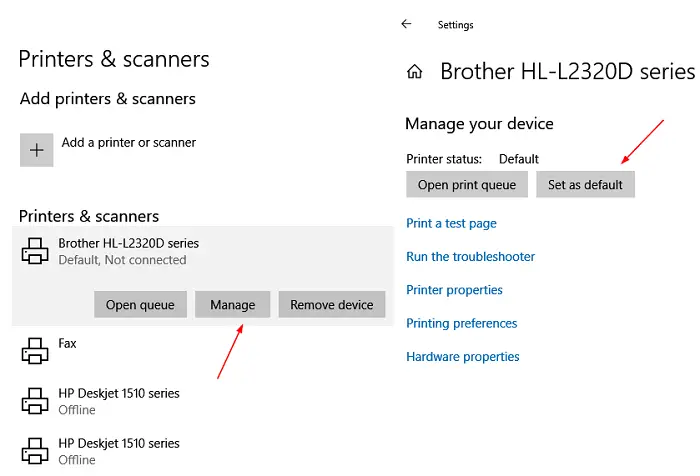
- Navigate to Bluetooth & devices > Printers & scanners.
- Select your printer and then click on Set as default.
Read: Poor print quality of Printer while printing on Windows PC
5] Clear print queue
The print queue in Windows lists items waiting to be printed. These print tasks can sometimes get stuck and stacked up, causing errors. Clearing the print queue can help fix it. Here’s how:
- Press Windows + I to open Settings.
- Navigate to Bluetooth & devices > Printers & scanners.
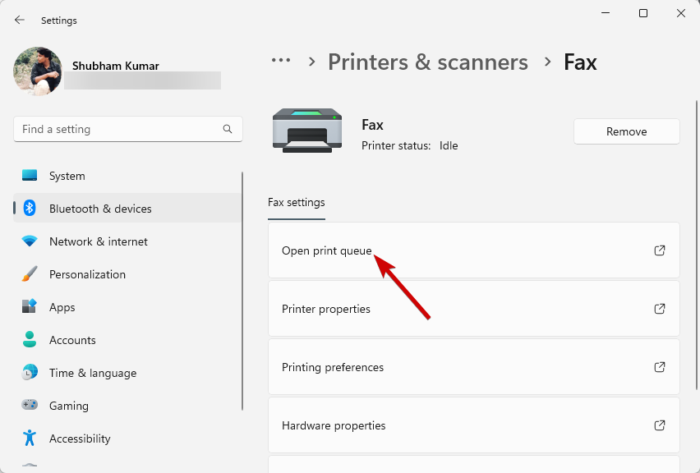
- Select your printer and click on Open print queue.
- Here, select the listed documents, then select the Documents and click on Cancel.
Alternatively, you may download this ready-made bat file fixprintq, which we have prepared. Download it, then click it to run. It will clear the print queue.
Read: Blue Screen on Printer when printing on Windows 11
6] Clear and reset the Print spooler
Printer spooler manages the paper printing jobs sent from a PC to a printer. Clearing and resetting the print spooler can potentially resolve printer connection and printing problems. Here’s how:
- Press the Windows key + R to open the Run dialog box.
- Type services.msc and hit Enter.
- Scroll down, right-click on Print Spooler and click on Stop.
- Next, navigate to the following folder and delete all the CONTENTS of this folder.
C:\Windows\System32\spool\PRINTERS
- Now, right-click the Print Spooler service again and restart it.
Read: How to reset Printer to default factory settings in Windows
7] Uninstall and reinstall the printer
Lastly, if these suggestions don’t help, consider reinstalling the printer. Here’s how you can uninstall the printer:
- Press Windows + I to open Settings.
- Navigate to Bluetooth & devices > Printers & scanners.
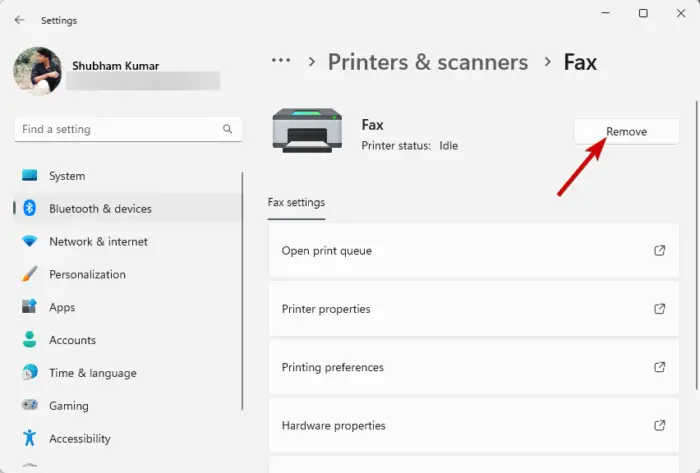
- Select the printer you want to uninstall and click on Remove.
Once you’ve uninstalled it, reinstall it and see if the error’s fixed.
If nothing helps, you might have to show it to a hardware technician.
Read: Fix Printer is in Error State
How do I troubleshoot my printer in Windows 11?
To troubleshoot printer connection and printing problems in Windows 11, clear the print queue and reset the print spooler. If that doesn’t help, update the printer drivers and reinstall the printer.
Read: How to fix Slow Printing in Windows
How do I get the Printer Troubleshooter on Windows 11?
To use the Printer Troubleshooter in Windows 11, open Windows settings and navigate to System > Troubleshoot > Other troubleshooters. Here, scroll down to find Printer, then click Run beside it.