
If a blue screen appears when printing in Windows 11, here is how to fix the issue. Whether you use an HP, Canon, Epson, Brother, or any other company’s printer, you can go through the same set of solutions to get rid of the aforementioned problem.
Why is Windows 11 showing blue screen when printing?
If Windows 11 shows a blue screen when printing, these could be the reasons:
- There are some problems with the printer driver. As a result, the connection between your printer and computer is gone.
- The Print Spooler service has some internal issues.
- Your computer is running a Beta or Dev version, which has some bugs or glitches.
- The printer’s firmware is either out of date or corrupt.
- Your USB port has some hardware issues.
- Your RAM is occupied by other programs.
Blue Screen on Printer when printing on Windows 11
To fix the blue screen that appears when printing on Windows 11/10 using an HP, Canon, Epson, Brother, or any other company’s printer, follow these instructions. solutions:
- Update or reinstall the printer driver
- Restart Print Spooler service
- Reset your printer
- Verify USB port
- Close some unnecessary programs to free up RAM
- Run System File Checker
- Uninstall the printer as a device and reconnect
- Update printer firmware
To learn more about these solutions, continue reading.
1] Update or reinstall the printer driver
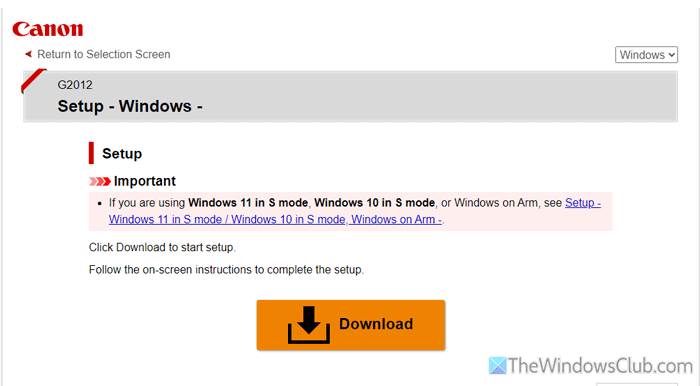
It is the very first thing you must do when the printer has issues, such as a blue screen error in Windows 11. In most cases, the problem lies with the driver. If the driver is corrupt or has not been updated in a long time, you may encounter the aforementioned error.
It is highly recommended to download the driver from the official website only. No matter which manufacturer you use, you can visit the official website and search for your printer’s driver.
However, if you already have the driver but you are getting the problem even after updating it, it is recommended to uninstall the existing driver and reinstall it.
2] Restart Print Spooler service
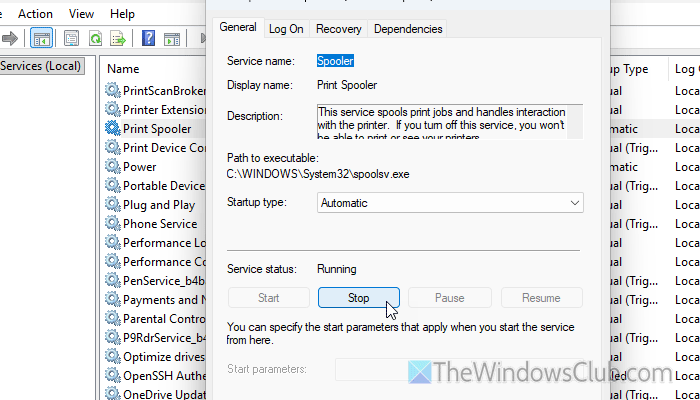
The Print Spooler service is one of the most important services, as it establishes a link between your printer and your computer. In other words, it deals with all the printing jobs on your computer. If this service has some issues, you will find the above-mentioned problem.
To restart the Print Spooler service, press Win+R > type services.msc and hit the Enter button. Double-click on the Print Spooler service and click the Stop button.
Next, choose the Automatic option from the Startup type drop-down list and click the Start button.
Once done, close all the windows and restart your computer (it is not mandatory).
Read: How to enable or disable Print Spooler Service on Windows 11
3] Reset your printer
Nowadays, you can easily reset your printer to the factory default settings within moments. This solution works when there are some problems with the printer driver or firmware.
To reset your printer, you can follow this article. For your information, you can easily reset Canon, HP, Brother, Epson, Panasonic, or any other printer using this guide.
4] Verify USB port
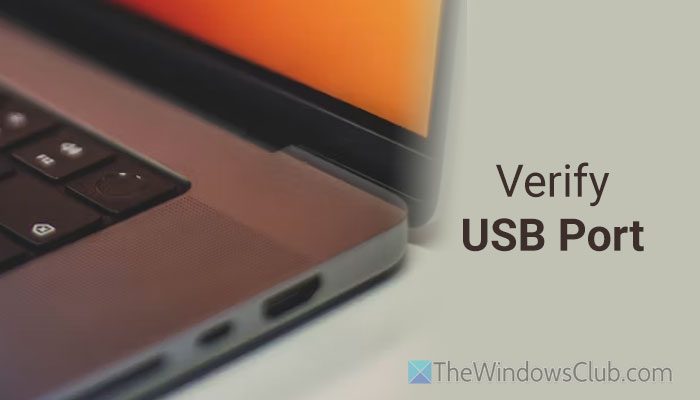
If you use a wired printer, you’re likely using the USB port to connect it. However, if there are some issues with the USB port, you will encounter the same blue screen error as mentioned here.
That is why it is recommended to check whether the USB port is working properly. You can connect any other device to that port and check whether it works properly. If not, it is time to change your USB port. You can also switch between USB 2.0 and 3.0 ports.
Read: USB ports are not working in Windows 11
5] Close some unnecessary programs to free up RAM
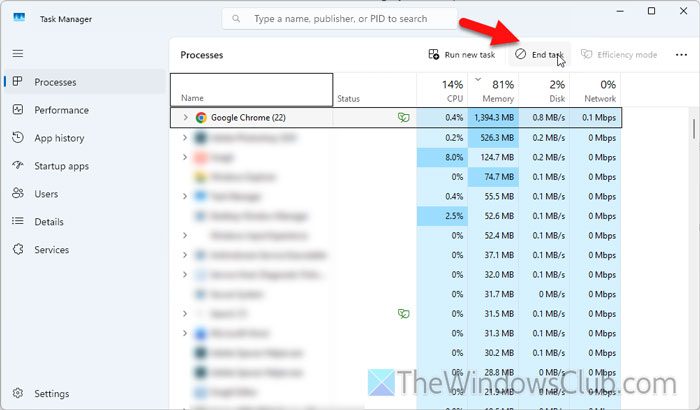
To print anything, you must allocate an adequate amount of RAM to perform all the printing jobs. If your computer doesn’t have enough memory for executing such tasks, you may find a blue screen error. If so, it is suggested to close a few heavyweight running programs.
For that, you can open the Task Manager first. Then, ensure that you are in the Processes tab. If so, click on the Memory column to find the apps that are consuming the most amount of RAM. Then, select one program at a time and click the End task button.
6] Run System File Checker
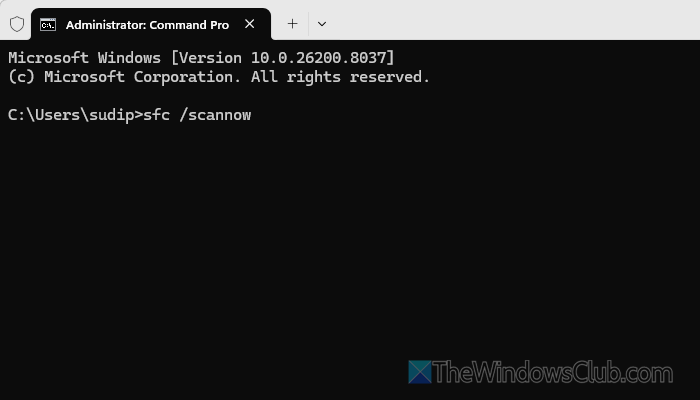
If there are faulty system files related to your printer, you may encounter this problem when printing in Windows 11. That is why you use the SFC scan to find and repair such files automatically.
To run System File Checker, open the Command Prompt instance of Terminal with administrator permissions and enter this command:
sfc /scannow
Wait for a few minutes until it completes the task.
7] Uninstall the printer as a device and reconnect
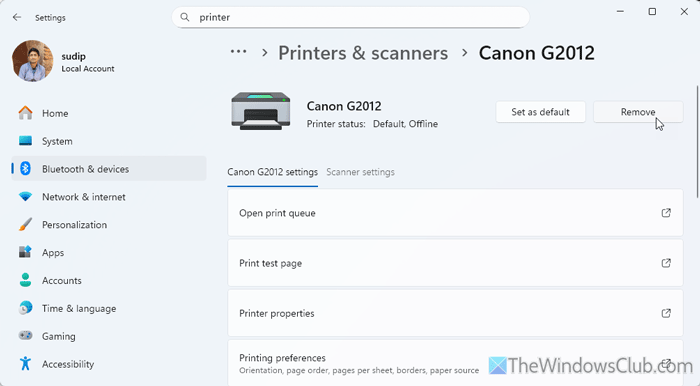
If there are any issues with your printer’s setup, you may encounter this problem while printing. Let’s assume your setup was interrupted due to a power cut or another reason. If so, you will be able to find your printer, but it won’t work correctly.
That is why it is suggested to uninstall the printer and go through the setup process from the beginning.
8] Update printer firmware
Not all printers, but some of the advanced modern printers allow you to update the firmware. If the firmware has some issues, you will encounter the above-mentioned error. That is why we suggest updating the printer firmware.
Read: Download and Install Printer Driver and Firmware for Windows 11
Why is my printer showing a blue screen?
If your printer shows a blue screen, there are likely issues with the driver or firmware. Apart from that, if there are some voltage fluctuations, you can find the same problem.
How to fix printing issues in Windows 11?
To fix the printing issues in Windows 11, you can run the troubleshooter via the Get Help app. After that, you can uninstall your device and driver, then reinstall them. Apart from that, you can restart the Print Spooler service.
Read: Fix Printer Connection and Printing problems in Windows 11.
