
If your printer prints only one page and then stops automatically, here is what you can do to fix the issue. Whether you use HP, Brother, Epson, Lexmark, Canon or any other printer with a Windows 11/10 PC, you can follow these steps to troubleshoot this issue in a few minutes.
Why does your printer print one page and stops?
If your printer prints one page and stops, these could be the reasons:
- There are some issues with your pages.
- Your printer is unable to fetch the print queue.
- The printer driver is broken.
- You have selected incorrect print settings.
- Your computer doesn’t have enough Memory.
- Your document has different types of layout, i.e., portrait, landscape, etc.
Printer only prints one page then stops on PC
If your HP, Brother, Epson, Lexmark, Canon, etc. printer only prints one page and then stops, follow these solutions:
- Restart Print Spooler service
- Check page layout of your document
- Reinstall printer driver
- Check print queue
- Use another set of papers
- Check printing settings
- Check Advanced settings of printer
- Verify your Wi-Fi connection
To learn more about these solutions, continue reading.
1] Restart Print Spooler service
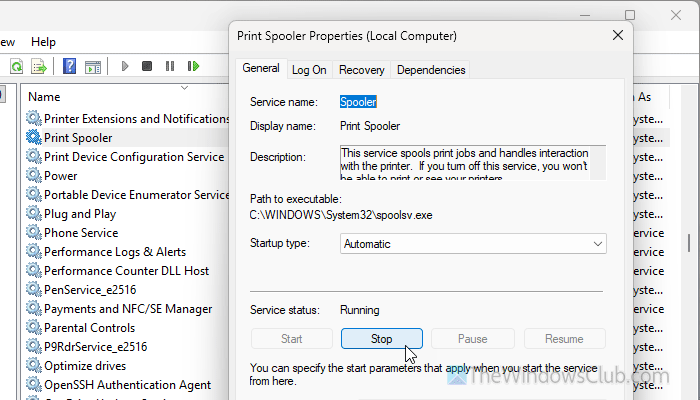
This is the first thing you must do, since Print Spooler is one of the most important services responsible for all the printing jobs on your computer. Whether you want to print one or one hundred pages, Print Spooler service must be running in the background all the time.
To restart the Print Spooler service, press Win+R, type services.msc, and hit the Enter button. Double-click on the Print Spooler service and click the Stop button.
Then, choose the Automatic option from the drop-down menu, and click on the Start button.
Read: How to carry out Print Spooler Repair in Windows 11
2] Check page layout of your document
Most printers often print only landscape or portrait pages at a time. That being said, if your PDF file has ten pages, all of them must be in portrait or landscape format only. However, if your file has different layouts for different pages, you will find problems printing with your printer.
That is why it is important to check the page layout of your document. If you need to make a correction, use any tool to rotate those pages and make them identical in size.
3] Reinstall printer driver
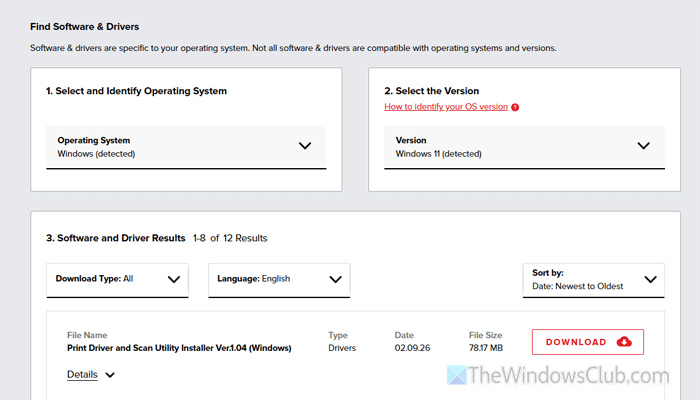
If you haven’t downloaded or installed your printer driver, you must do so. On the other hand, if you haven’t updated your driver in a long time, we suggest you do so.
It is highly recommended to download the Printer driver only from the official website.
4] Check print queue
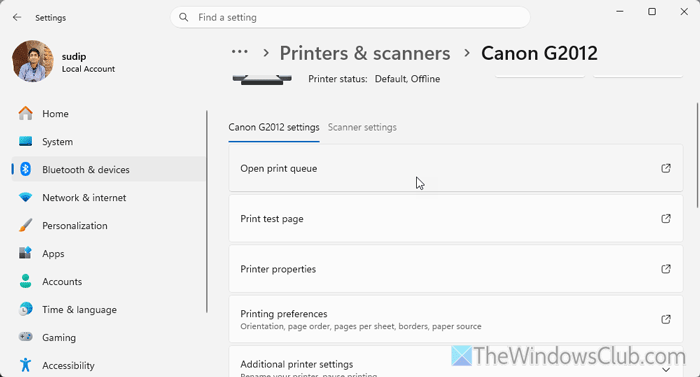
At times, your printer may not print the document if there are some issues with your Print Queue. In other words, if this panel fails to fetch your file, your printer won’t print at all or behave in a weird way. Also, your files may be stuck in the Print Queue for some reason. That is why it is suggested to check the Print Queue and remove all the files listed from there.
To check the print queue, open the Windows Settings panel and go to Bluetooth & devices > Printers & scanners > select your printer > Open print queue.
5] Use another set of papers
Every printer is compatible with a certain set of paper. For example, some printers require 70 GSM, some require 75 GSM, and so on. If your printer supports a certain magnitude but you have been using something else for a very long time, there is a chance of getting this problem.
To resolve this problem, refer to your printer manual to find the most compatible paper size for your printer. The next step is very predictable – you must buy that paper and start using it.
6] Check printing settings
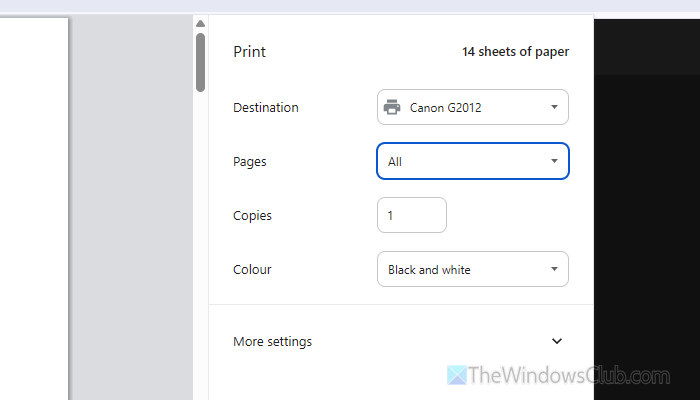
If you are trying to print a multi-page document, it is a must to choose All while printing so that your printer can print all the pages. If you choose to print only ODD or EVEN pages, it may not work all the time when your document doesn’t have such a number of pages.
If you are using Google Chrome or Microsoft Edge to print your document, you can expand the Pages menu and choose the All option in Chrome, or find the Pages section to choose the All option in the Edge browser.
Read: How to change Print Page setup in Microsoft Edge
7] Check Advanced settings of printer
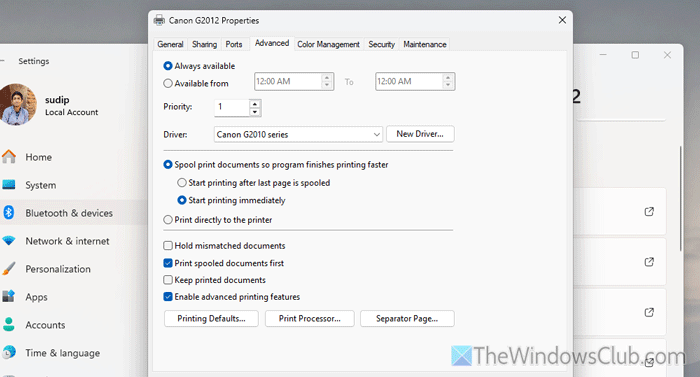
Every printer comes with a few options that may cause this problem when set incorrectly. That is why you must follow these steps to find those settings and set them up as mentioned below:
First, open the Windows Settings panel and go to Bluetooth & devices > Printers & scanners > choose your printer > Printer properties.
Then, go to the Advanced tab and enable only these settings:
- Spool print documents so the program finishes printing faster
- Start printing immediately
- Print spooled documents first
- Enable advanced printing features
Finally, click the OK button to save the change.
Note: If you find a different driver name in the Driver menu, choose the correct driver from the list.
8] Verify your Wi-Fi connection
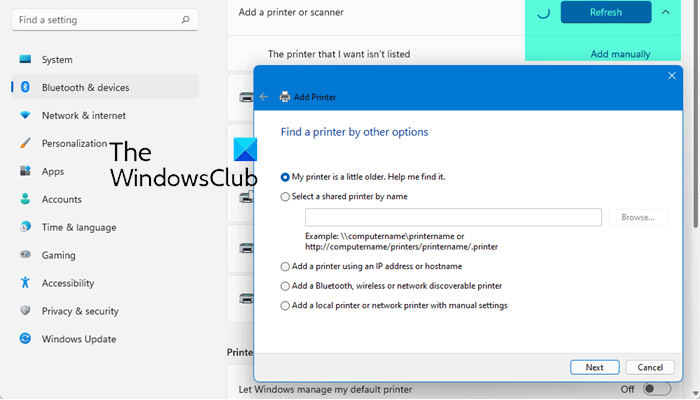
If you are using a Wi-Fi or wireless printer, you must verify the connection. If there are some interruptions, your wireless printer may not work after a certain time. You can follow this detailed guide to connect a wireless printer to a Windows 11 PC correctly.
Read: Fix Printer Connection and Printing problems in Windows 11
Why is my printer pausing after each page?
Many older printers often pause for a few seconds between print jobs, and it is not uncommon. However, if your latest printer is acting the same, it is time to check your pages, ink level, printing quality, etc.
Why is my printer only printing certain pages?
If you choose to print only odd or even pages or a specific page, it will print only those pages. You must select all the pages before starting your printer.
Read: Error Printing – Print job notification error in Windows.
