When upgrading Windows using Windows Installation Assistant, if you receive an error that says Can’t create files, and the upgrade fails, this post will help you. This happens because of permission issues, security settings, and even the old Windows corrupt files in the Windows Update cache. The full error says— Can’t create files. Please check if you have permission to write to the installation folder.
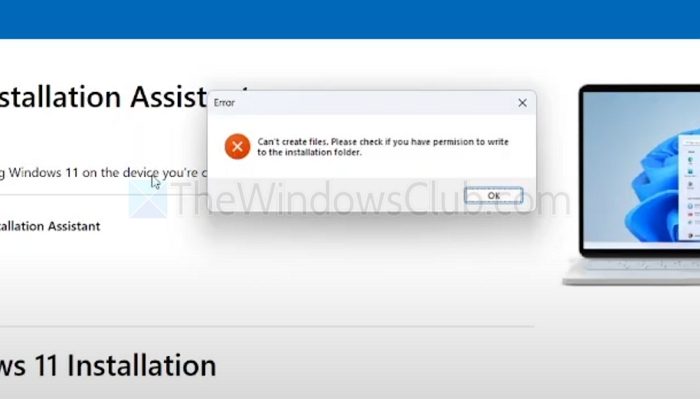
Can’t create files, Cannot upgrade Windows [Fix]
This is mostly a permission issue where the user doesn’t have enough permission to create files using Windows Assistant.
- Create a Local administrator account
- Reset user permissions
- Run Windows Update troubleshooter
- Clear Update Assistant & leftover files
- Use Windows ISO (USB) to upgrade
1] Create a Local administrator account
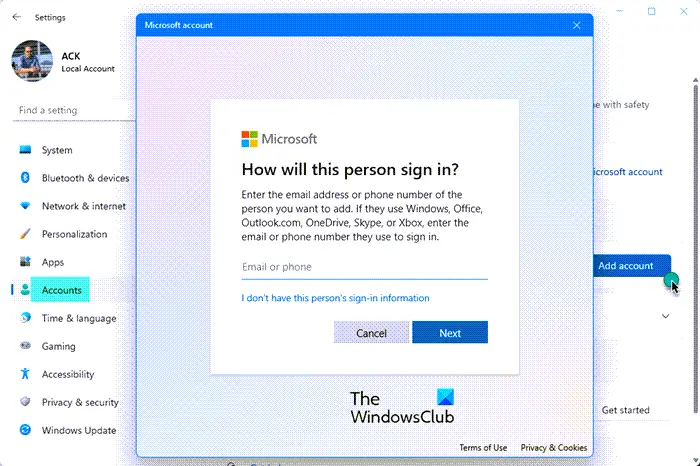
The most straightforward solution to fix the issues is to create a local admin account, and use that to update Windows. A fresh account will have the right security and permission settings.
To do that, you can follow this guide for local account creation or go to Settings > Accounts > Other users, and when creating an account, choose Add a user without a Microsoft account.
Read: Unable to upgrade to Windows from an earlier version.
2] Reset user permissions
If you don’t want to create another account, you can try to reset the existing user permission.
- Open Windows Terminal as Administrator.
- Run
icacls C:\ /grant Everyone:F /T /C /Q - This resets all permissions on C: drive
- If needed, reset ownership of Windows installation folders:
takeown /f C:\Windows\ /r /d yicacls C:\Windows\ /grant administrators:F /t
Run the Windows update, and it should be sorted.
3] Run Windows Update troubleshooter
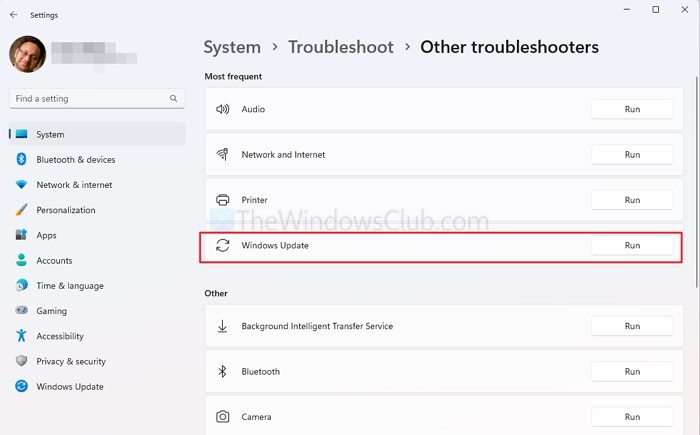
Windows has a built-in troubleshooter that can fix problems most of the time.
- Go to Settings > System > Troubleshoot > Other troubleshooter
- Find Windows update, and click on the Run button.
- Once the process is complete, retry to update Windows.
4] Clear Update Assistant & leftover files
Sometimes old corrupt files can also cause the issue. To get rid of these files, delete everything from the following location.
- Windows nstallation Assistant folder: C:\Users\<YourUser>\AppData\Local\Temp
- Remove Temporary Files & Windows Update Cleanup using by going to Settings > Clean up recommendations.
- Delete files from the SoftwareDistribution folder in Windows.
Read: This update can’t be downloaded and installed because it’s not yet ready for your device
5] Use Windows ISO (USB) to upgrade
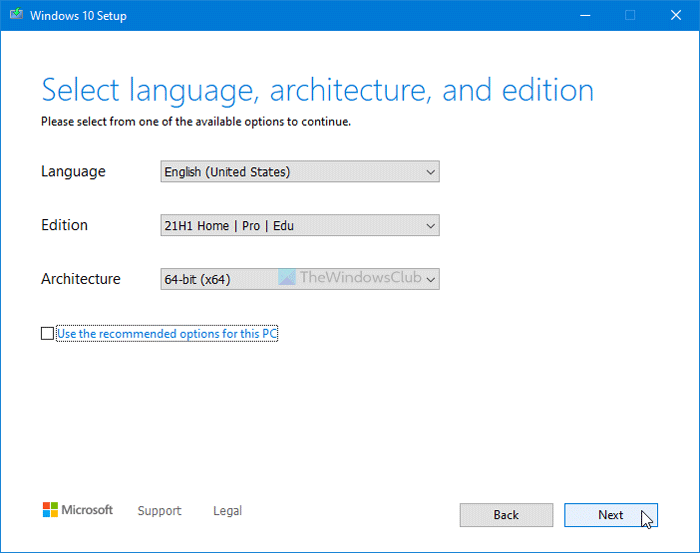
If the Update Assistant is problematic, you can choose to upgrade using the ISO file. Microsoft officially caters to the file, and all you need to do is create a bootable USB and upgrade.
- Download the Windows ISO from the Microsoft website.
- Use Rufus or the Media Creation Tool to create a bootable USB.
- Run setup.exe from the USB and select Upgrade.
Make sure to backup existing files.
Read: How IT administrators can troubleshoot Windows upgrade errors.
Why do I get this error even though I am the administrator?
Even if you’re using an administrator account, certain system folders and files may still have restrictive permissions due to inherited security policies, Windows Defender protections, or third-party security software. Try running the installer as an administrator by right-clicking on it and selecting Run as administrator. If the issue persists, temporarily disable your antivirus or security software and attempt the installation again.
Can antivirus software interfere with the Windows installation process?
Yes, antivirus or other third-party security software can block or interfere with Windows installation. Security tools often prevent changes to system folders to protect against malicious activity, which can unintentionally block the installer from accessing necessary files. Temporarily disabling your antivirus or adding exceptions for the installer can resolve this issue. Be sure to re-enable your antivirus once the installation is complete.