
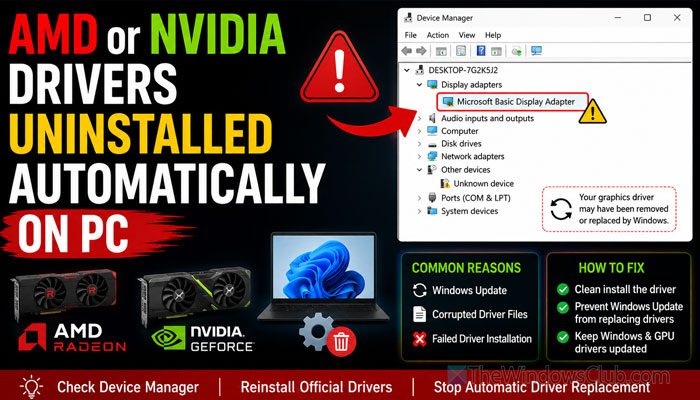
If AMD or NVIDIA drivers are uninstalled automatically on a Windows 11 PC, here is what you can do to prevent your PC from doing that again. We will discuss the issue separately for NVIDIA and AMD drivers.
Why are AMD or NVIDIA drivers uninstalled automatically on PC?
If AMD or NVIDIA drivers are uninstalled automatically on PC, these could be the reasons:
- In many cases, a Windows update downgrades the driver or uninstalls it entirely. A Windows update could also cause this problem.
- You have downloaded the driver from a third-party website, and your antivirus has flagged it.
- You already had a driver and tried to install another instance. In that case, Windows 11 prevents users from doing such things even if they almost finish the installation.
- Your graphics driver has issues, and the system removed it.
- Your driver’s digital signature has issues, which is required to verify its authenticity.
- You have used a System Restore point.
AMD drivers uninstalled automatically on PC
If AMD drivers are uninstalled automatically on Windows PC, follow these solutions:
- Check AMD driver replacement
- Verify your GPU
- Download the correct driver from the official AMD website
To learn more about these solutions, continue reading.
1] Check AMD driver replacement
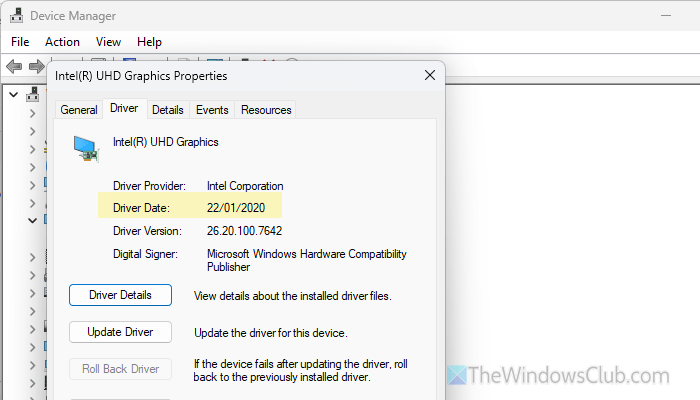
First things first! You must check when your driver was removed, uninstalled, or installed (a new version) on your computer. For that, you can go to the Device Manager and expand the Display drivers section. Then, right-click on your driver and select Properties.
Next, go to the Driver tab and find the Driver Date. If it is recent, Windows Update might have replaced it.
However, if you cannot find the driver, you may need to try other solutions.
2] Verify your GPU
It is one of the most important things you must do. If your GPU has some issues and your PC doesn’t support it, you won’t find the driver. Even if you install the driver, it may be uninstalled so that your PC can use the built-in graphics without any conflict.
That is why we highly recommend checking your GPU connection. If you can (and know what you are doing), we suggest unplugging and re-plugging your GPU.
Read: There is a problem with your graphics card error on AMD and NVIDIA graphics
3] Download the correct driver from the official AMD website
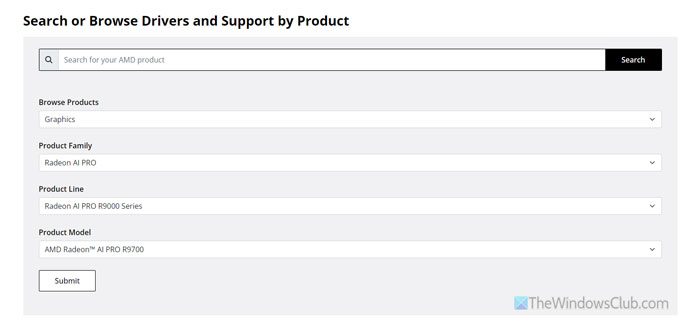
You might have already tried reinstalling the driver. However, we highly recommend downloading the AMD driver only from the official website.
Run AMD Cleanup Utility to remove remnants before reinstalling the driver.
Visit amd.com, select Graphics from the list, choose your graphics card, and download the driver.
Using AMD Driver Autodetect is also an option you can consider.
NVIDIA drivers uninstalled automatically on PC
If NVIDIA drivers are uninstalled automatically on your Windows PC, follow these solutions:
- Check Device Manager
- Clean reinstall from the official NVIDIA website
- Check GPU power connection
Let’s delve into these steps in detail.
1] Check Device Manager
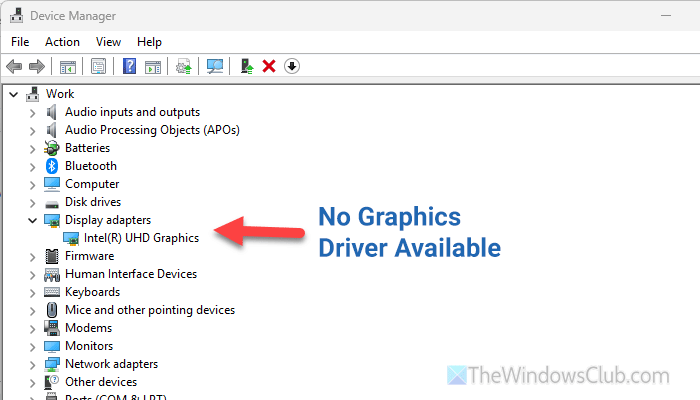
Sometimes, you might not find your NVIDIA GeForce application in the Start Menu, but the driver still appears in Device Manager. That is why we suggest checking Device Manager to confirm whether the graphics card is installed correctly.
If the NVIDIA driver is installed, you can find it in the Display adapters section in the Device Manager. However, if you cannot find it there, it is time to reinstall it.
2] Clean reinstall from the official NVIDIA website
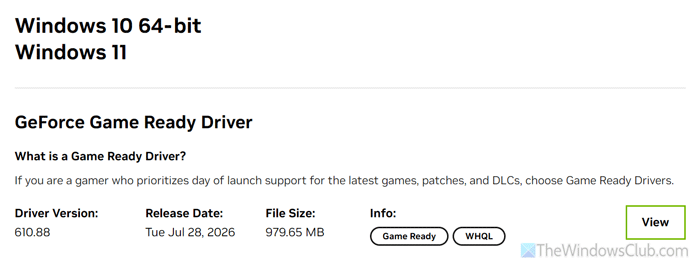
Before reinstalling the driver, use Display Driver Uninstaller to uninstall the driver entirely from your system. You must choose the Clean and restart option while uninstalling the driver.
Once done, follow this detailed guide to download the NVIDIA drivers from the official website.
3] Check GPU power connection
If you have an older NVIDIA graphics card, you may have a power connection issue. That is why you should check your graphics card’s power connection. If you don’t know much about hardware, contact a professional.
Read: NVIDIA Graphics driver automatically uninstalls after reboot on Windows 11
Apart from these, there are some common solutions for both graphics driver users. You can use these solutions regardless of the GPU you use.
Common solutions you can use
If AMD or NVIDIA drivers are uninstalled automatically on PC, here are some solutions that are common to both:
1] Disable Windows driver updates
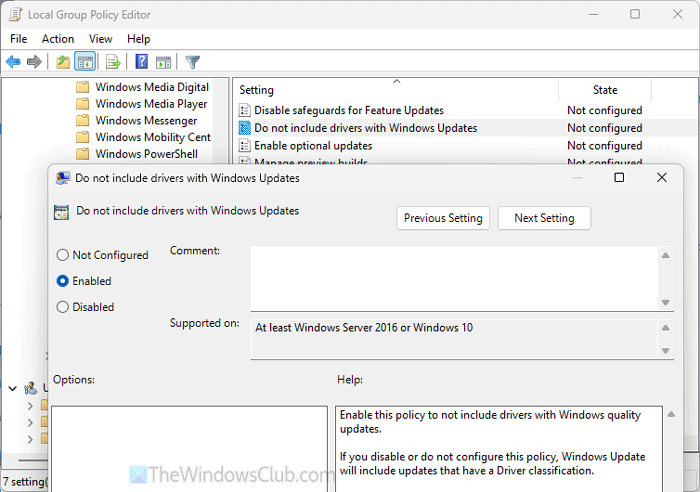
To disable Windows driver updates, open the Local Group Policy Editor and navigate to this path:
Computer Configuration > Administrative Templates > Windows Components > Windows Update > Manage updates offers from Windows Update
Double-click on the Do not include drivers with Windows Updates settings, choose the Enabled option, and click the OK button.
2] Check Device Installation Settings
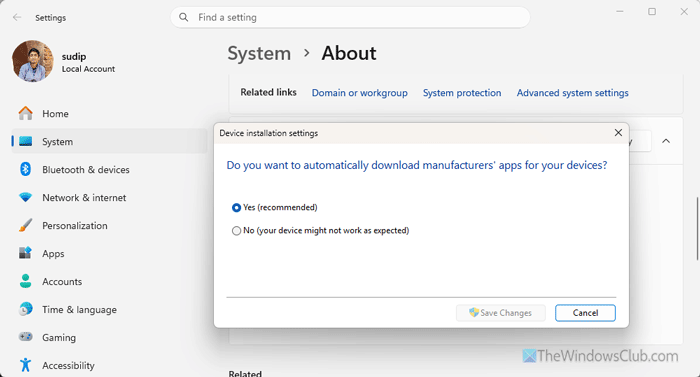
Search for System Properties in the Taskbar search box, and click on the corresponding search result. Then, go to the Hardware tab > click on the Device Installation Settings button.
Choose the No option and click the Save Changes button.
3] Update Chipset drivers for compatibility
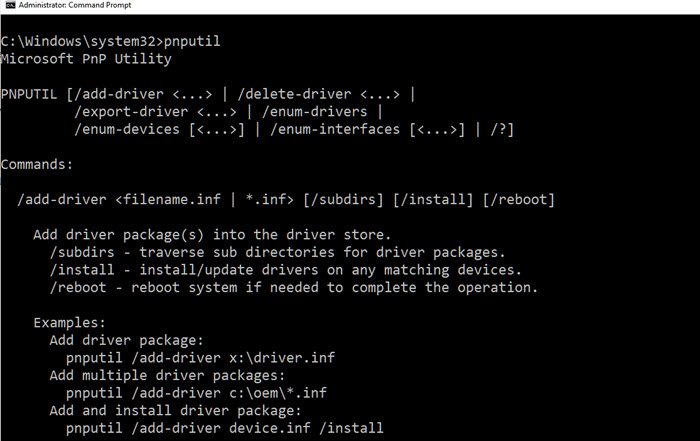
Before updating the AMD or NVIDIA drivers, update your Chipset drivers and see if that helps.
4] Don’t use System Restore points
If you often use System Restore points, you’re more likely to run into this problem. Let’s say you didn’t have the graphics driver when you created the System Restore point you recently used. If so, you won’t find the driver after the restoration. If you need to use the System Restore point, make sure your system has the driver when you create that restore point.
Read: Create System Restore Point, Restore computer using System Restore in Windows 11
Why is my AMD driver suddenly gone?
Windows 11 tends to remove drivers while installing a new update. If you have recently installed an update, it could cause this problem.
Why does the NVIDIA app uninstall itself?
If you have enabled driver updates and installed an update through the built-in Windows Update settings, you may encounter this problem. To solve this problem, we would suggest you do not install driver updates through Windows Update.
