
Some users encountered the “There was a problem with NVIDIA app” error while launching the NVIDIA app on their Windows PCs. This error prevents them from using the NVIDIA app. This article lists some effective fixes for this issue.
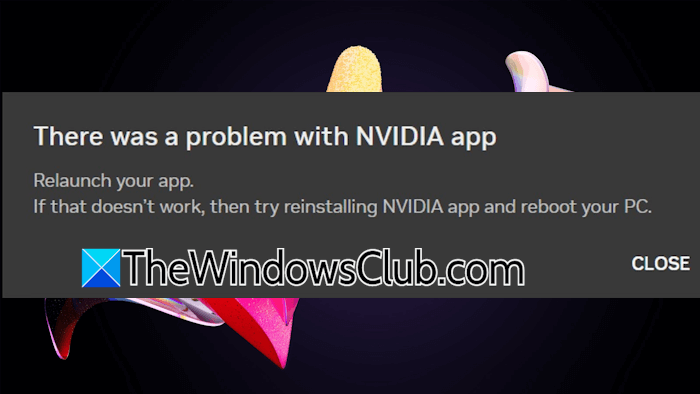
The complete error message is:
There was a problem with NVIDIA app
Relaunch your app.
If that doesn’t work, then try reinstalling NVIDIA app and reboot your PC.
There was a problem with NVIDIA app
The following fixes will help you fix the “There was a problem with NVIDIA app” error on Windows 11:
- Launch the NVIDIA app as an administrator
- Restart the required services
- Move the _NvMessageBusBroadcast.dll file
- Enable Push Notifications
- Install the previous version of the NVIDIA driver
- Perform the clean installation of the NVIDIA driver
- Uninstall and reinstall the NVIDIA app.
All these fixes are explained in detail below.
1] Launch the NVIDIA app as an administrator
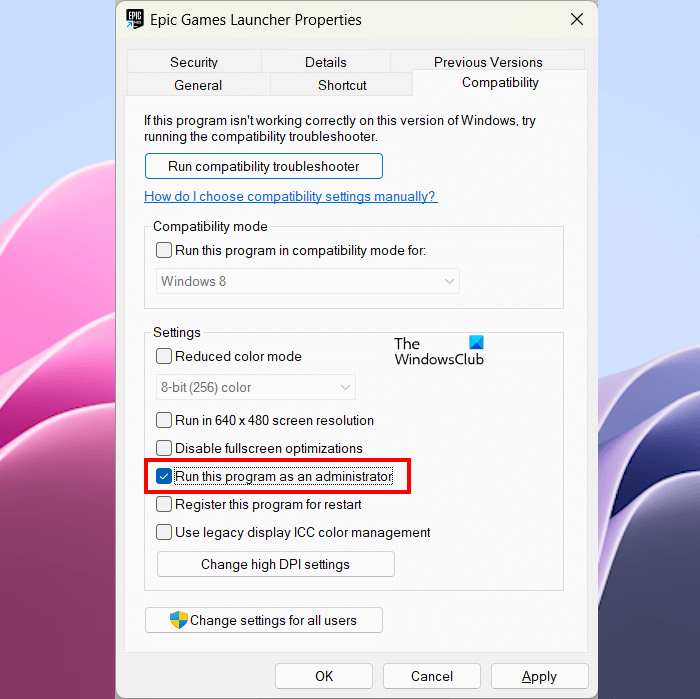
Sometimes, apps require administrative rights to operate effectively. Launch the NVIDIA app as an administrator and see if the error persists. Right-click on the NVIDIA app desktop shortcut and select Run as administrator. If this works, you can make the NVIDIA app always run as an administrator.
2] Restart the required services
If the error persists, restarting the required services can help. Launch Windows Services Manager and look for the following services:
- NVIDIA Display Container LS
- NVIDIA FrameView SDK service
- NVIDIA LocalSystem Container
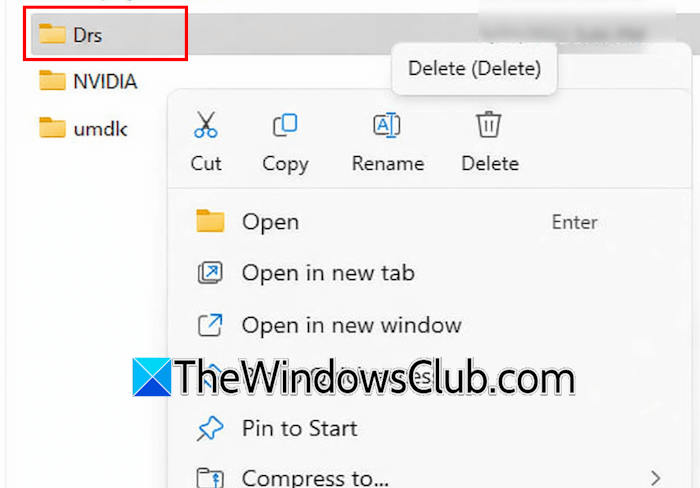
Right-click on each of these services and select Stop. After stopping these services, open File Explorer and go to the following location:
C:\ProgramData\NVIDIA Corporation\Drs
Open the Drs folder and delete the files inside it. This folder contains the Display Resolution Settings files. If these files get corrupted, you may encounter errors with the NVIDIA app. These files will be created again automatically.
After deleting the files, restart the above-mentioned services.
3] Move the _NvMessageBusBroadcast.dll file
If the problem persists, you can move the _NvMessageBusBroadcast.dll file to another location and see if it helps. Open File Explorer and navigate to the following location:
C:\Program Files\NVIDIA Corporation\NvContainer\plugins\LocalSystem
Find the _NvMessageBusBroadcast.dll file and move it to another location on your system. Restart your computer and launch the NVIDIA app.
4] Enable Push Notifications
Windows shows push notifications in the bottom-right corner of the screen. These notifications are also called Toast Notifications. Disabled Push Notifications seems an unrelated cause of this issue. However, if you have used any debloat tools to install Windows and disabled the Push Notifications at the registry level, this might be affecting the NVIDIA app.
Enable the Push Notifications through the Windows Registry. Follow all the instructions carefully, as incorrect modifications in the Windows Registry can make your system unstable. Before proceeding, I recommend you create a system restore point and back up your Registry.
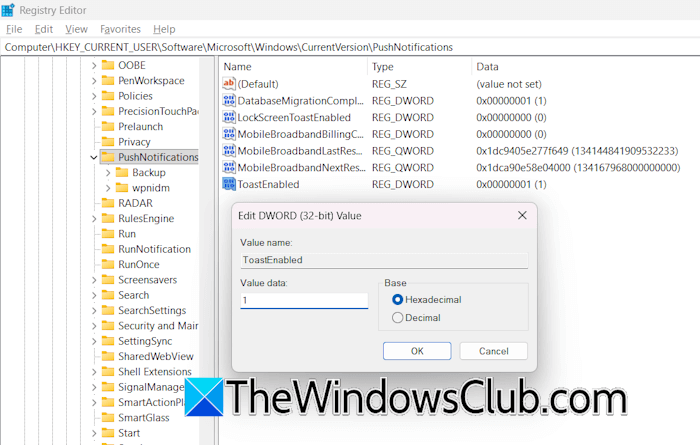
Open Registry Editor and navigate to the following location:
HKEY_CURRENT_USER\Software\Microsoft\Windows\CurrentVersion\PushNotifications
Make sure that the PushNotifications folder is selected. Now, double-click on the ToastEnabled value on the right pane. Type 1 in the Value Data and click OK to save changes.
Restart your computer. Launch the NVIDIA app. The error should not occur this time.
5] Install the previous version of the NVIDIA driver
If the issue persists, you can try installing the previous version of the NVIDIA driver. Follow these steps:
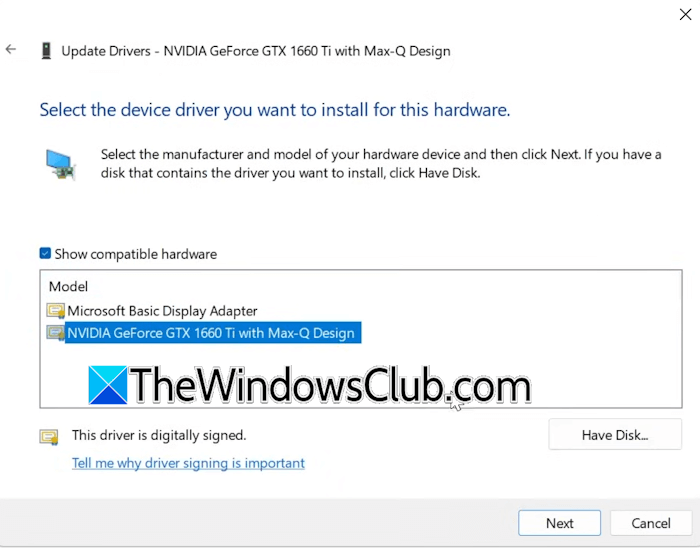
- Open the Device Manager.
- Expand the Display Adapters branch.
- Right-click on the NVIDIA driver and select Update Driver.
- Click Browse my computer for drivers.
- Now, click Let me pick from a list of available drivers on my computer.
- Make sure that the Show compatible hardware checkbox is selected. Select the NVIDIA driver and click Next to install it.
- Follow the on-screen prompt to complete the installation.
Now, launch the NVIDIA app and see if the issue persists.
6] Perform the clean installation of the NVIDIA driver
If the error still occurs, performing a clean installation of the NVIDIA driver can help. Download and install the Display Driver Uninstaller (DDU). Visit the official website of your computer manufacturer and download the latest version of the NVIDIA driver from there. Now, boot in Safe Mode and use DDU to completely remove the NVIDIA driver from your system.
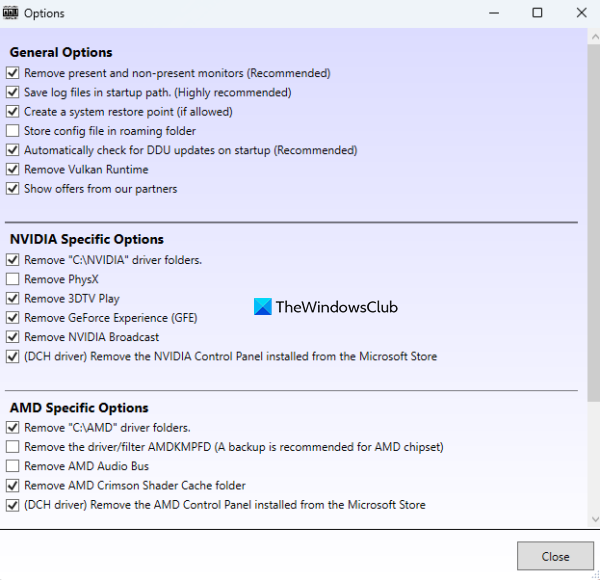
Exit Safe Mode and run the NVIDIA installer file to install the NVIDIA driver from scratch.
7] Uninstall and reinstall the NVIDIA app
As the error message shows, if nothing works, try reinstalling the NVIDIA app. Use Revo Uninstaller to completely uninstall the NVIDIA app and remove all its components. After uninstalling the NVIDIA app, restart your computer.
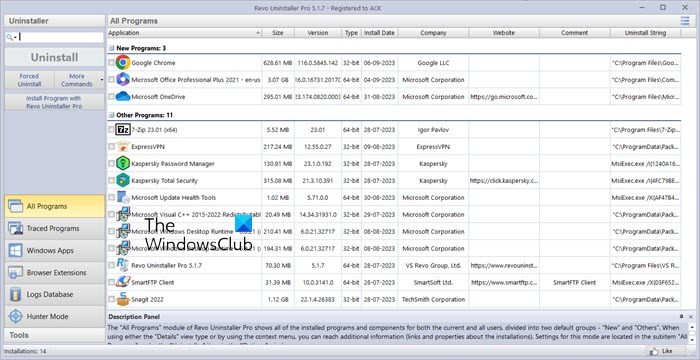
Now, download the latest version of the NVIDIA app from the official website and install it.
That’s it. I hope this helps.
How to fix faulty NVIDIA drivers?
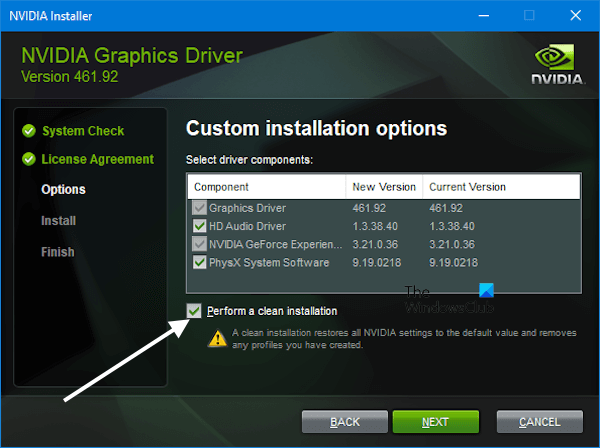
To fix the faulty NVIDIA graphics driver, you can update it to the latest version. If this does not work, perform a clean installation of the GPU driver. For this, you can use the NVIDIA installer or DDU utility.
What are the signs of GPU failure?
If your graphics card is faulty, your system will show you multiple symptoms. Most of these symptoms are related to your system’s graphics, such as frequent graphics glitches, stuttering effect while playing videos or video games, FPS drops in video games, etc.
Read next: NVIDIA Container stopped working.
