When you connect hardware to your computer, Windows scans for hardware changes and installs its driver, so the device can work as expected. You can also manually scan for hardware changes to fix driver issues. However, some users cannot use this feature, as it freezes their computers. If the Scan for hardware changes freezes your Windows computer, use the solutions provided in this article.
Scan for hardware changes freezes the Windows computer
Use the following fixes if performing a Scan for hardware changes freezes your Windows 11/10 computer:
- Disconnect all peripherals
- Install the affected driver manually
- Roll back the storage controller driver
- Repair your system image files
- Check in Clean Boot state
- Update BIOS
- Restore your system or reset your PC
All these fixes are explained below in detail:
1] Disconnect all peripherals
Faulty hardware is the most common cause of this problem. Check this. Disconnect all the peripherals connected to your system and scan for hardware changes. If your PC does not freeze this time, you can identify the faulty hardware manually. Now, connect one hardware and scan for hardware changes. When your computer freezes again, the device that you have just connected is faulty.
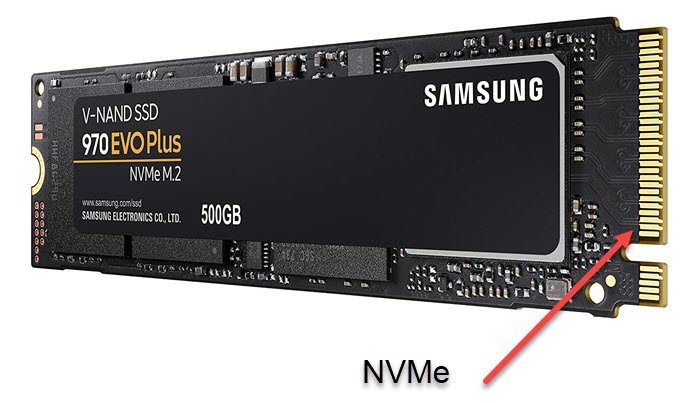
If the computer still freezes after disconnecting all peripherals, the problem may be with your hard drive connection. You might have connected the hard drive to the incorrect port. Check this. Another possible cause of this problem is a faulty port or cable. If another port is available on your motherboard, connect your hard drive to that port and check if this fixes the issue.
2] Install the affected driver manually

The problem might be associated with a particular device driver. You can install the required device driver from the official website of your computer manufacturer. Now, run the installer file to install the driver.
3] Roll back the storage controller driver
The issue may also be with the storage controller driver. It might be corrupted. Rolling it back can help. Before proceeding, create a system restore point. Follow these steps:
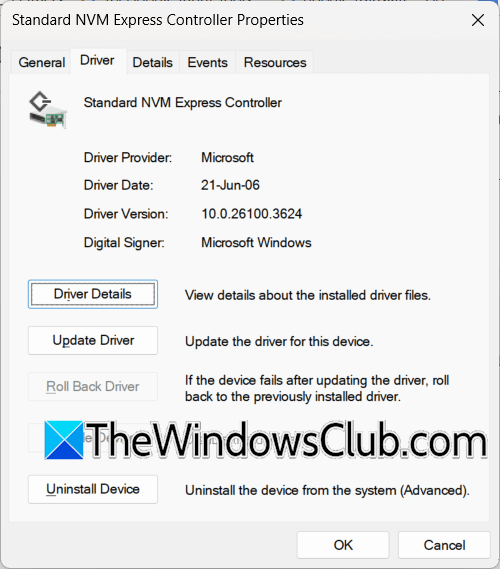
- Open the Device Manager.
- Expand the Storage controllers branch.
- Right-click on the storage controller driver and select Properties.
- Go to the Driver tab and click on the Roll Back Driver button (if clickable).
4] Repair your system image files
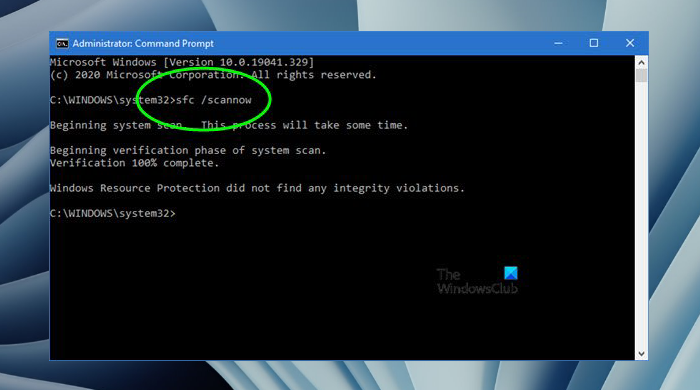
Corrupt system image files can also cause such types of problems. Use the built-in tools, System File Checker and DISM, to repair the corrupt system image files. Do not interrupt the scan. It will take some time to be completed.
5] Check in Clean Boot state
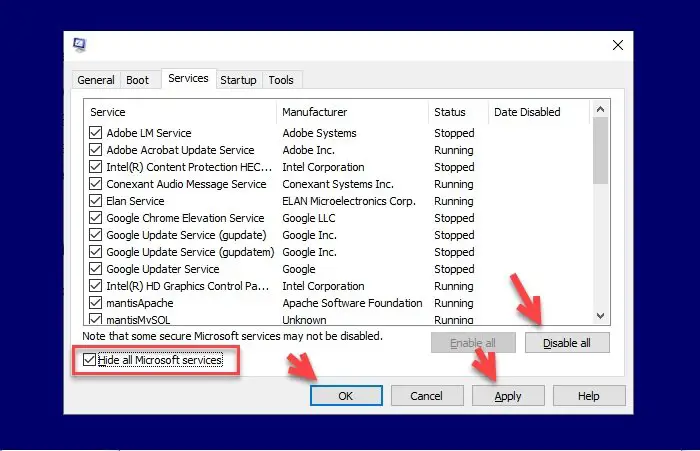
A third-party service might be causing this issue. Check this by entering the Clean Boot state. Once you are in the Clean Boot state, open the Device Manager and scan for hardware changes. If the issue does not persist, you need to identify the problematic third-party service.
6] Update BIOS
A BIOS update enhances system stability and hardware compatibility. We suggest you check for BIOS update and install the same (if available). You can check the current BIOS version of your system in System Information.
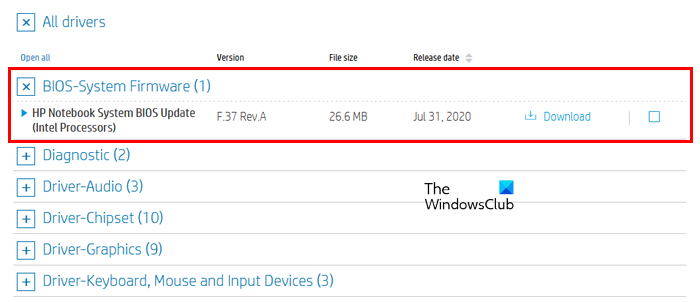
Visit the official website of your computer manufacturer and download the latest BIOS version from there. Now, install the BIOS update. While installing the BIOS update, you need to provide a continuous power supply to your system. If you are a laptop user, connect its charger and turn on the switch even if your laptop is fully charged. Power supply interruption during the BIOS update can damage your motherboard.
7] Restore your system or reset your PC
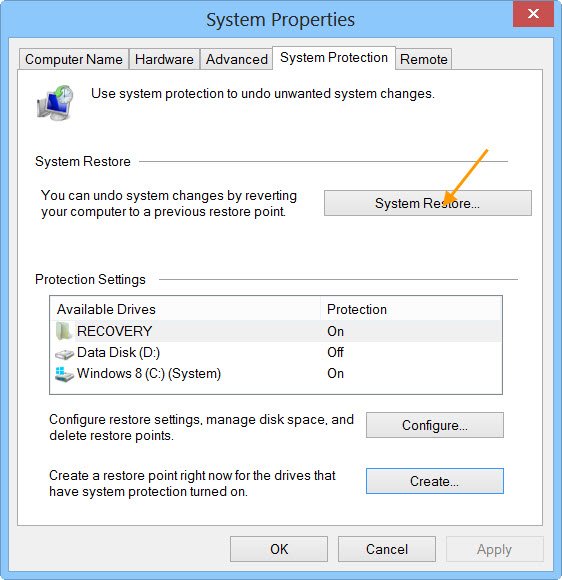
If nothing works, restore your system to the previous working state. Open the System Restore tool and select the restore point created before the problem started occurring. If you cannot restore your system, you can reset your PC to the factory default settings without deleting data.
That’s it. I hope this helps.
What happens when you scan for hardware changes?
When you scan for hardware changes, the Device Manager sends a request to the Plug and Play (PnP) Manager. The PnP Manager is a crucial component in the Windows operating system that provides support for PnP functionality. It is responsible for the following tasks:
- Device detection and enumeration while the system is booting.
- Processing the addition or removal of devices while the system is running.
- Installing new devices with a matching driver package.
The kernel-mode PnP Manager maintains the Device Tree that keeps track of the devices on a Windows computer. When the bus driver detects an arrival or removal of a device, it reports it to the kernel-mode PnP Manager. Now, the kernel-mode PnP Manager takes appropriate action.
After receiving a request from the Device Manager, the PnP Manager starts a scan. If a device is found connected to the system, the kernel-mode PnP Manager installs the driver package for the device. If it does not find any appropriate driver package, it notifies the user-mode PnP Manager that a new device is connected to the system and its driver should be installed.
How do I scan my computer for hardware problems?
You can use built-in tools on your Windows computer to scan for hardware issues. Use the Memory Diagnostic Tool to test your RAM. You can run the System Diagnostics test to generate a health report of your system. Additionally, you can also use third-party tools to scan your system for hardware problems.
Read next: List of Device Manager error codes and solutions.