Sometimes, you might fail to configure Outlook in Windows 11 due to various unknown reasons. If so, you can use the Outlook Advanced Diagnostics Troubleshooter to fix configuration problems in Windows 11. It runs on the Get Help app and works on Microsoft Outlook.
Use Outlook Advanced Diagnostics Troubleshooter to create configuration report and fix problems
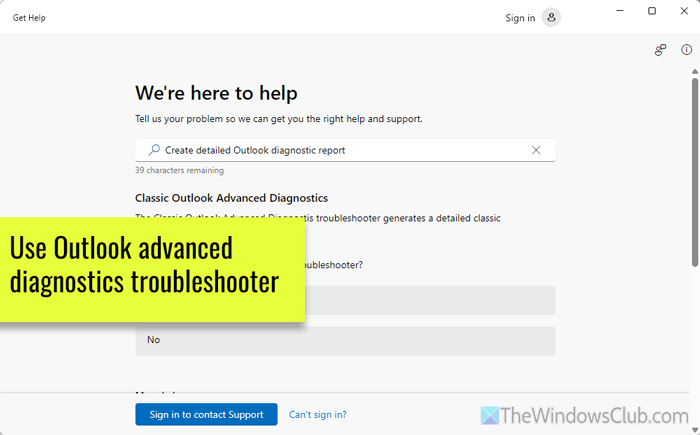
To use Outlook Advanced Diagnostics Troubleshooter to create a detailed configuration report and fix configuration problems in Windows 11/10, open the Get Help app on your computer. You can search for Get Help in the Taskbar search box or Start Menu and click on the individual search result to open it.
Then, search for Create detailed Outlook diagnostic report.
Alternatively, you can click here to open the Get Help app.
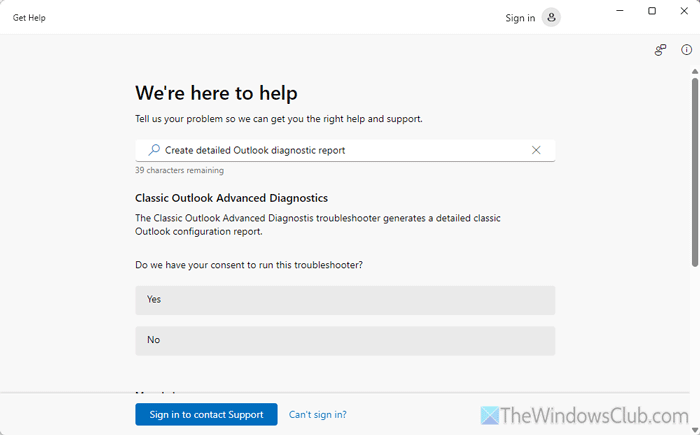
Windows will ask for permission to run the troubleshooter. You need to click on the Yes button.
After that, open Outlook and then click the Next button in the Get Help app.
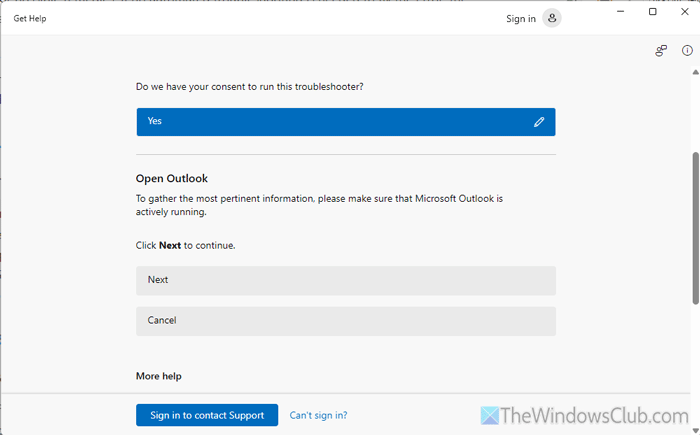
Once you do that, it will open Outlook on your computer and make the necessary changes depending on the problem it detects. The Classic Outlook Advanced Diagnostics troubleshooter will continue running in the background until it is finished.
For your information, it takes a few minutes to create the report.
Once the results are available, an Explorer window will open with the results.


However, if it doesn’t open automatically, you can navigate to this path in the File Explorer to see the detailed configuration report:
C:\Users\user-name\AppData\Local\GetHelp
This report will help you fix Outlook configuration problems.
Read:
- How to use Outlook Authentication Check Troubleshooter
- Use Outlook Startup Troubleshooter to fix Outlook startup issues
- Use Outlook Profile Setup Troubleshooter if you cannot configure email
- How to use Outlook Connectivity Troubleshooter in Windows 11
How do I fix Microsoft Outlook problems?
Different problems may arise at times while setting up, starting, and using Outlook on Windows 11/10 PC. In most cases, you can fix the problem by using the corresponding troubleshooter. To do so, open the Get Help app and search for the troubleshooter. On the other hand, you can create a new profile, terminate all processes using Task Manager, delete Outlook cache, etc.
Read: Fix Microsoft Outlook problems like freezing, corrupt PST, Profile, Add-in, etc.
How to clear Outlook cache in Windows 11?
To clear Outlook cache in Windows 11, you need to open the Run prompt by clicking Win+R. Then, enter this: %localappdata%\Microsoft\Outlook\RoamCache and click the OK button. Next, select all the contents in the RoamCache folder and delete them. Alternatively, you can open the File Explorer and navigate to this path: C:\Users\user-name\AppData\Local\Microsoft\Outlook\RoamCache. Then, delete all the contents.