While creating a notebook, if OneNote shows an error message saying We were unable to create your notebook, here is how to fix the issue in Windows 11. You can follow these solutions if you get this error on the desktop version of OneNote.

We were unable to create your notebook. Check your internet connection and try again.
Why is OneNote showing We were unable to create your notebook?
- You have some issues with your internet connection.
- You recently changed your OneNote password but haven’t updated it in the OneNote desktop app.
- You do not have sufficient storage in OneDrive.
- Your OneNote installation is corrupt or outdated.
We were unable to create your notebook OneNote error
To fix We were unable to create your notebook OneNote error in Windows 11, follow these solutions:
- Check internet connection
- Log out and re-log into your account
- Delete OneNote cache
- Verify OneDrive storage
- Delete credentials
- Repair and reset OneNote
- Check notebook name
- Create OneNote from Web.
1] Check internet connection
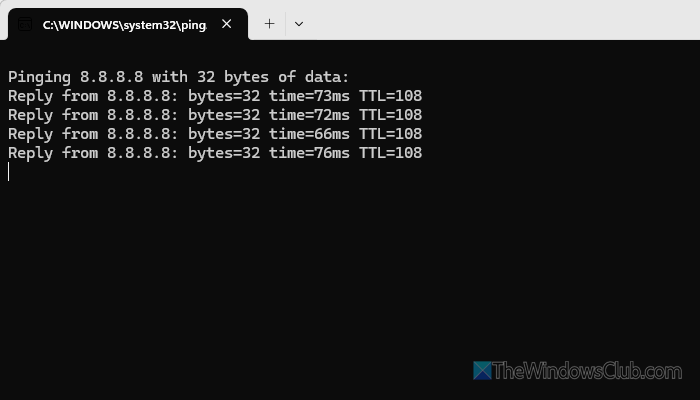
It is the very first thing, since creating a notebook requires a valid internet connection. To check your internet connection, use the ping tool. Having said that, press Win+R to open the Run prompt, type ping 8.8.8.8 -t and hit the Enter button.
If it shows positive responses, your internet connection is fine. Otherwise, you must change or use a different internet source.
2] Log out and re-log into your account
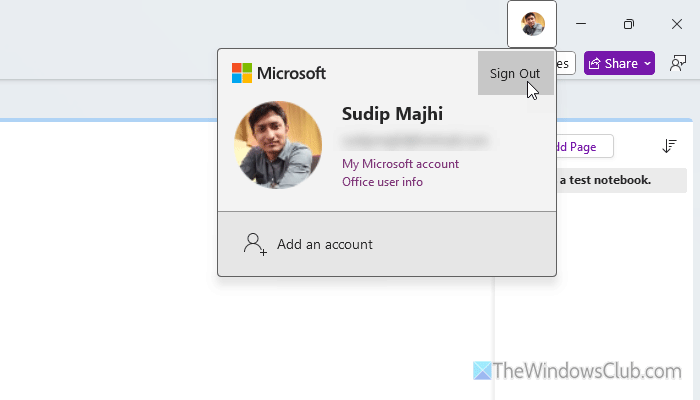
If you have recently changed your password, it is recommended to log out of your account and log back in once. To do that, open the OneNote app on your computer, click your profile picture in the top-right corner, and select the Sign Out option.
Then, enter your updated login credentials to sign back in.
Read: Fix OneNote Sign In Problems on Windows 11
3] Delete OneNote cache
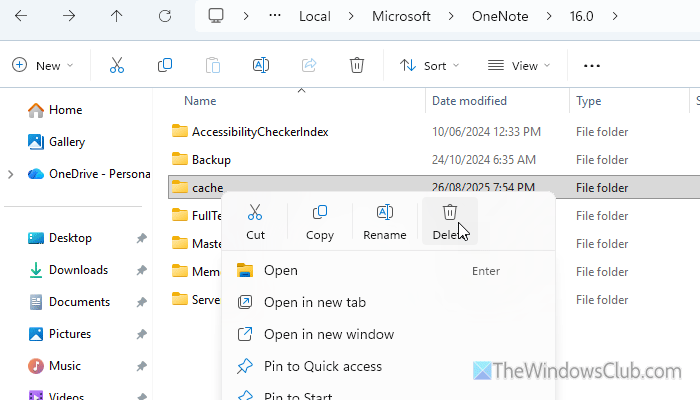
OneNote stores cache in the AppData folder, which could be hidden on your computer. Therefore, follow this guide to show Hidden folders first. Then, open the File Explorer and navigate to this path:
C:\Users\<username>\AppData\Local\Microsoft\OneNote\16.0
Here you can find a folder called Cache. Right-click on this folder and select the Delete option.
It will remove the OneNote cache. Following that, open the OneNote app to re-create the cache folder.
Note: The path is the same despite having an old Office installation, Microsoft 365, and the OneNote desktop app.
4] Verify OneDrive storage
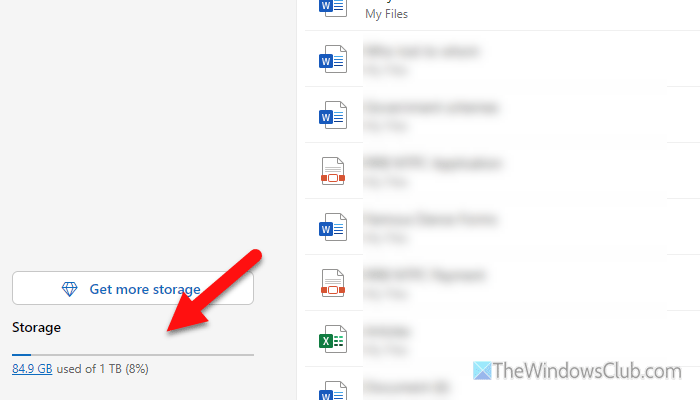
You should have sufficient storage in OneDrive in order to create a notebook in OneNote. However, if you are low on space, it is suggested that you delete a few unnecessary files from OneDrive and check whether this resolves the issue.
You can also sort files by size and delete them as needed. The most important thing is to empty your Recycle Bin. If there are files in the Recycle Bin, they would take up the same space as if they were kept in any other folder.
5] Delete credentials
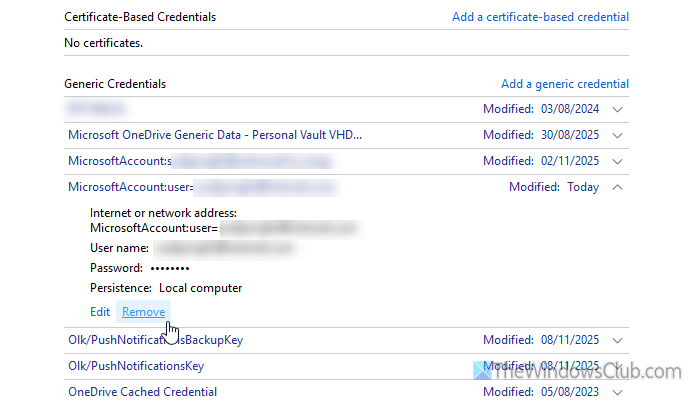
At times, the Credential Manager may store old credentials, which can cause sign-in issues if you update your password. OneNote keeps fetching the old credentials, so it doesn’t allow you to create any new notebooks. To fix that problem, you must delete the old credentials.
Search for Credential Manager in the Taskbar search box, then click the individual search result first.
Alternatively, you can open the Control Panel and click on the Credential Manager option as well. Then, go to Windows Credentials and find an entry that starts with MicrosoftOffice16_Data. If you find any such entry, expand the corresponding section and click on the Remove option.
Once done, open the OneNote again and log in to your account. Hopefully, you can create your new notebook now.
Read: Manage or Delete Credentials from Credential Manager using CMD
6] Repair and reset OneNote
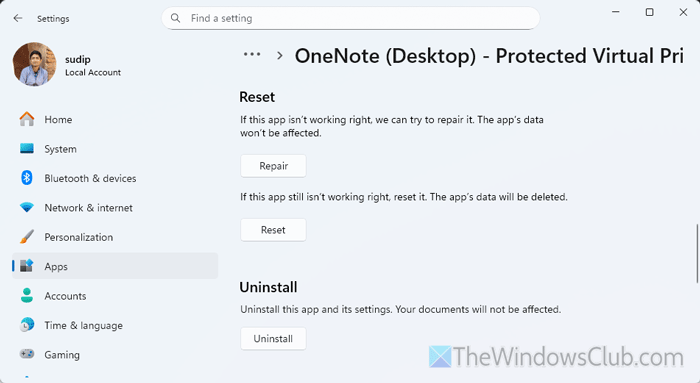
At times, this problem may arise due to a bug or glitch in the OneNote installation. In that case, your problem may be gone if you repair and reset the application.
For that, press Win+I to open the Windows Settings. Then, go to Apps > Installed apps. Then, find the OneNote (Desktop), click on the three-dotted icon, and select the Advanced options.
Next, click on the Repair button.
If it doesn’t fix the issue, click on the Reset button twice.
However, if you have Microsoft 365 or any other Office version, you must find the Microsoft OneNote entry. Then, click on the three-dotted icon and select the Modify option.
After that, choose the Quick Repair option. However, if it doesn’t fix the issue, choose the Online Repair option.
7] Check notebook name
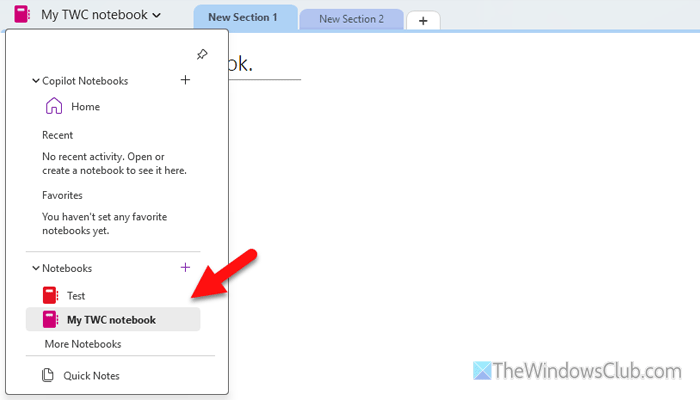
OneNote allows you to use common special characters alongside the English alphabet. However, if you include an uncommon character, there is a chance of getting this problem. Therefore, it is recommended to check your notebook name and use only simple characters.
Read: How to change Name, Color, Location of your OneNote notebook
8] Create OneNote from Web
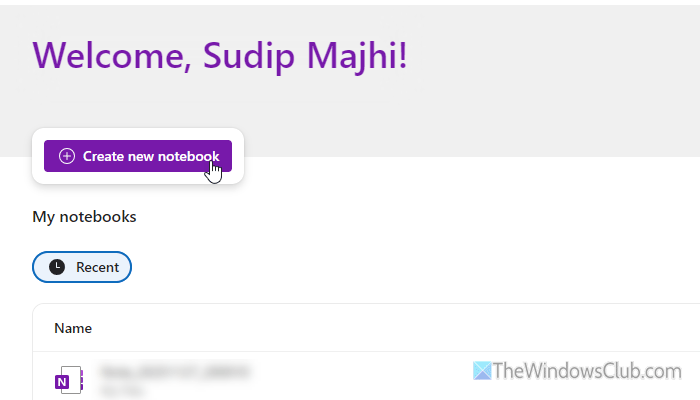
It is probably the last thing you can do if none of the aforementioned solutions work for you. For that, open the OneNote Web version by entering onenote.cloud.microsoft in the address bar first. Then, click on the Create new notebook button.
Next, change the name by clicking on the current name, which may contain the date and be visible in the top-left corner.
Read: OneNote We couldn’t open that location error
Why am I not able to create a notebook in OneNote?
The most common reason why you are unable to create a notebook in OneNote is that you do not have sufficient space in OneDrive, or you have entered an invalid character in your notebook name.
Why won’t it let me draw on OneNote?
The main reason why it won’t let you draw on OneNote is that the Text-only mode or Read-only mode is turned on. Apart from that, if your computer doesn’t recognize your external graphics pad or pen, you won’t be able to use it.
Read: OneNote error: Unable to create backup.