If the Enable 3D Acceleration option is grayed out in VirtualBox or you are unable to enable 3D acceleration in a VirtualBox virtual machine, follow these steps to troubleshoot the issue on your Windows 11/10 PC. As there are multiple reasons why you might encounter this problem, we have consolidated all the possible causes and solutions to help you resolve it.

Enable 3D Acceleration grayed out in VirtualBox
If Enable 3D Acceleration is grayed out in VirtualBox, follow these solutions:
- Ensure that your virtual machine is powered off
- Enable Nested VP-x/AMD-V
- Disable Hyper-V
- Increase Video Memory
- Install Guest Additions
- Enable hardware virtualization
To learn more about these solutions, continue reading.
1] Ensure that your virtual machine is powered off
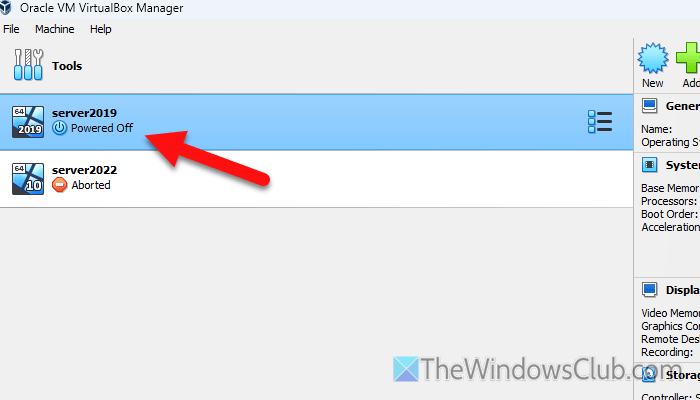
You can enable or disable 3D Acceleration only when your virtual machine is powered off. In other words, if your virtual machine is running in the background or it is in the saved mode, you cannot turn on or off 3D acceleration. That being said, you need to ensure that your virtual machine is not running in the background first.
In case it is running, you need to power it off. You can either do it from the actual virtual OS interface. Or, you can right-click on the virtual machine and select the Stop button.
Read: How to Shutdown or Restart Windows Laptop using Keyboard keys only
2] Enable Nested VT-x/AMD-V
Although it is not mandatory, some hardware combinations require you to enable Nested VT-x/AMD-V before enabling 3D acceleration. To enable Nested VT-x/AMD-V, follow these steps:
- Select a virtual machine and click on the Settings button.
- Go to the System section and switch to the Processor tab.
- Tick the Enable Nested VT-x/AMD-V checkbox.
- Click the OK button.
After that, you need to restart VirtualBox and check if you can turn on 3D acceleration.
Read: Enable Nested VT-x/AMD-V grayed out in VirtualBox
3] Disable Hyper-V
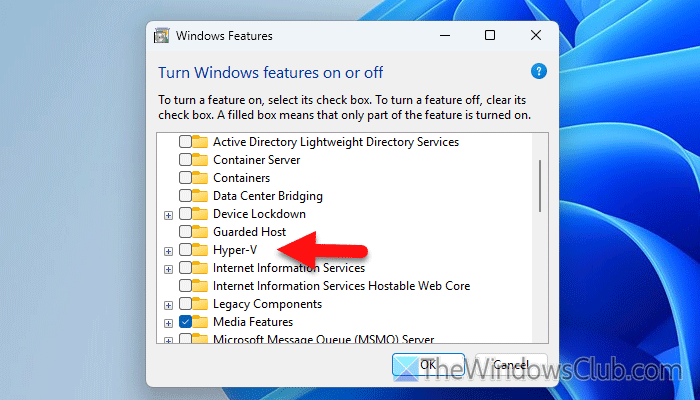
For your information, Hyper-V creates conflicts with other third-party virtual machine software. That is why it is always recommended to disable Hyper-V when you want to install VirtualBox, VMware, or any other third-party virtual machine software. To disable Hyper-V, follow these steps:
- Search for “turn Windows features on or off” in the Taskbar search box.
- Remove the tick from the Hyper-V checkbox.
- Let the process be finished.
- Restart your computer.
4] Increase Video Memory
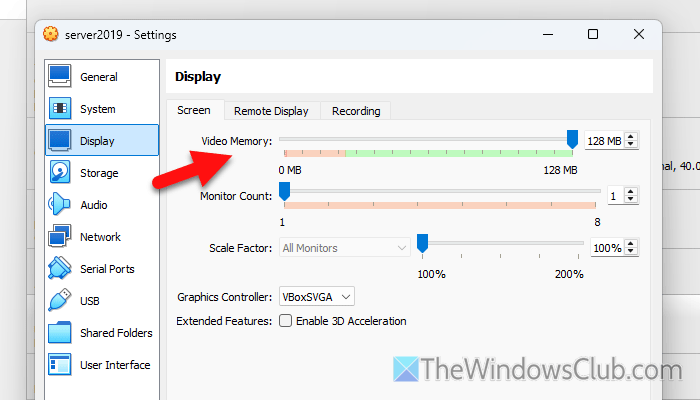
To increase the video Memory of any virtual machine in VirtualBox, follow these steps:
- Open VirtualBox on your computer.
- Select a virtual machine and click on the Settings
- Go to the Display
- Find the Video Memory
- Increase the memory by dragging the bar towards the right-hand side.
- Click the OK
After that, restart the VirtualBox and check if you can enable 3D acceleration or not.
Read: How to increase dedicated Video RAM in Windows 11
5] Install Guest Additions
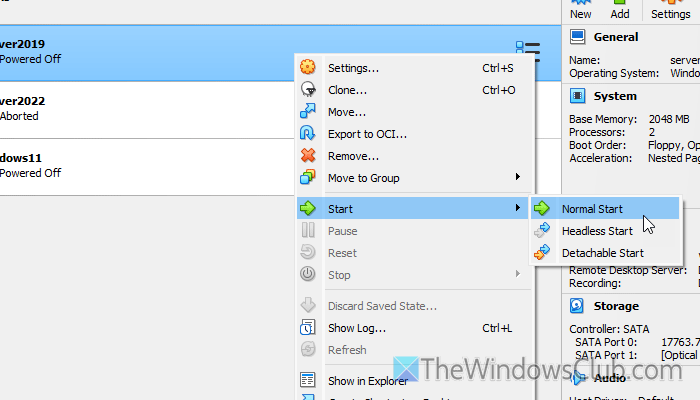
Guest Additions contains device drivers and some system applications that will help you get a better user experience while using a virtual machine. That is why it is suggested to install Guest Additions in VirtualBox. To do that, you need to start the virtual machine first. For that, right-click on the virtual machine and choose Start > Normal Start.
Then, click on the Devices and select the Insert Guest Additions CD image option. After that, open your File Explorer and select This PC > Devices and drivers > VirtualBox guest Additions.
Next, double-click on VBoxWindowsAdditions.exe and click on Next. Finally, click on the Install button. You also need to restart your virtual machine by clicking the Reboot now button.
Once done, the Guest Additions will be installed.
Read: Unable to install Guest Additions in VirtualBox
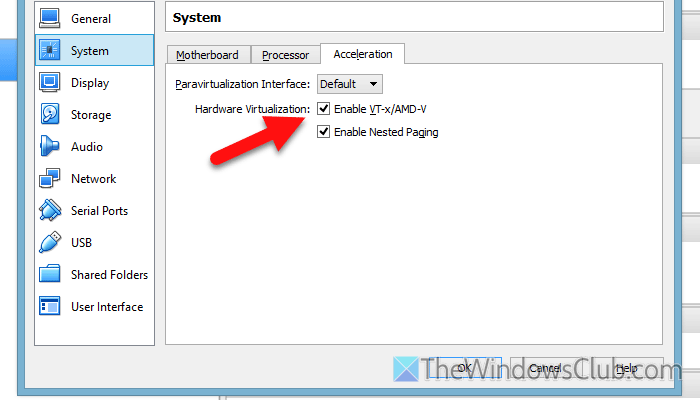
6] Enable hardware virtualization

To utilize 3D acceleration, you must enable hardware virtualization in the BIOS or UEFI firmware. Although different motherboard manufacturers include this option in different places, you can find an option called Virtualization Technology or something similar to this in the Configuration or Advanced section. You need to enable this setting and restart your computer.
Read: How to disable or enable Hardware Virtualization in BIOS
Enable 2D Video Acceleration grayed out in VirtualBox
To enable 2D Video Acceleration in VirtualBox, go to VM Settings > Display > Set Graphics Controller to VBoxVGA. You will be able to enable 2D Acceleration. Now, boot the VM > Devices > Insert Guest Additions CD > Install inside the guest OS.
How to enable 3D acceleration in VM?
To enable 3D Acceleration in VirtualBox, open VirtualBox, select the virtual machine, and click on the Settings button. Next, go to the Display section and ensure that you are in the Screen tab. If so, tick the Enable 3D Acceleration checkbox and click the OK button.
How do I enable GPU acceleration in VirtualBox?
To enable GPU acceleration in VirtualBox, open the settings of any virtual machine. Then, go to the Display tab and turn on 3D acceleration. Next, navigate to the Video Memory section and adjust the memory according to your requirements and hardware support.
Read: VirtualBox error: VT-X/AMD-V hardware acceleration is not available.