
When trying to copy files into your VMware Workstation or Player VM, you may encounter Cannot write to local file. Canceling the file copy operation. What is happening in this case is that VMware stages the file in your host’s temporary directory first, and if that staging process fails, it kills the operation entirely. In this post, we will see what you can do to resolve the issue.
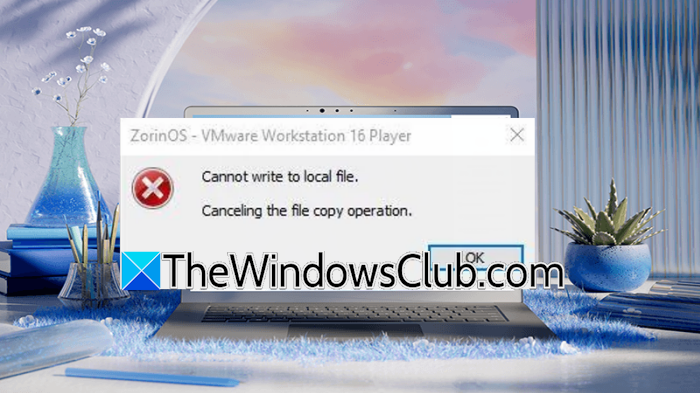
Cannot write file to virtual machine, canceling the file copy operation
VMware does not stream files directly into your VM. Instead, it first copies the file to a temporary folder on your Windows host (typically C:\Users\YourName\AppData\Local\Temp), and then pushes it to the guest. If your host’s Temp folder is clogged with garbage, if your antivirus locks that folder mid-write, if your system drive is out of space, or if VMware itself lacks write permissions to that folder, the write fails. VMware cancels the operation and throws that “local file” error. The guest OS never even sees the file.
If VMware cannot write a file to the virtual machine and is canceling the file copy operation, follow the solutions mentioned below.
- Remove VMware’s Stale Cache
- Run VMware Workstation as Administrator
- Check free space on your host’s System Drive (C:)
- Exclude VMware’s Temp Directory from Windows Defender
- Change the host’s temporary directory for VMware
Let us talk about them in detail.
1] Remove VMware’s Stale Cache
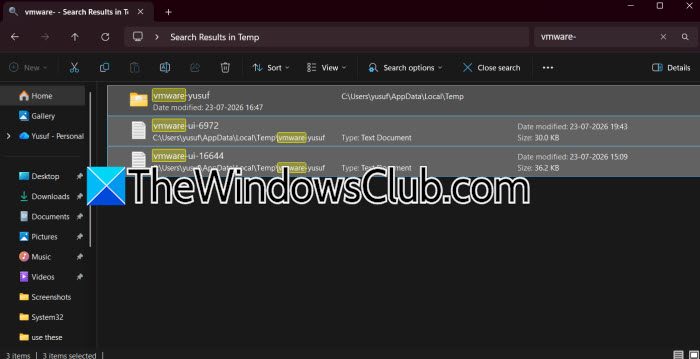
When you try to drag and drop files in Windows and it doesn’t work, it often leaves behind leftover files in the Temp directory. Over time, these files can pile up and confuse VMware. When VMware tries to create a new file, it finds the messy folder and cancels the operation. By clearing out these leftover files, you give VMware a clean space to work properly.
You need to hit Win + R, type %temp%, and hit Enter. In the search bar at the top-right of the File Explorer window, type vmware, and press Enter. Select everything in the search results (these are all VMware’s cached scrapes) and delete them. Pay extra attention to folders named VMwareDnD or starting with vmware-.
Now, empty your Recycle Bin, restart VMware Player/Pro, and try the copy again.
2] Run VMware Workstation as Administrator
Windows 11’s UAC (User Account Control) sometimes restricts applications from writing freely to system-level temp directories, even if you are an admin. Launching VMware with elevated privileges removes those artificial write barriers and gives the application full access to stage the file locally.
First, close VMware Workstation on your computer from the Task Manager. Now, right-click on the hypervisor and select Run as administrator. When prompted by UAC, click Yes.
3] Check free space on your host’s System Drive (C:)
The local file in the error lives on your host drive. If your C: drive has less than 1–2 GB of free space, Windows will refuse to allocate new temporary files. VMware writes the staging file, gets a disk full response from the OS, and immediately cancels the operation.
Open File Explorer and go to This PC. Check the free space on your C: drive (or whichever drive your %TEMP% folder resides on). If it is critically low (under 5 GB). clear space by running Disk Cleanup (Win + R > cleanmgr), uninstall unused applications, or move large files to another drive. Now, restart VMware and test the copy.
4] Exclude VMware’s Temp Directory from Windows Defender
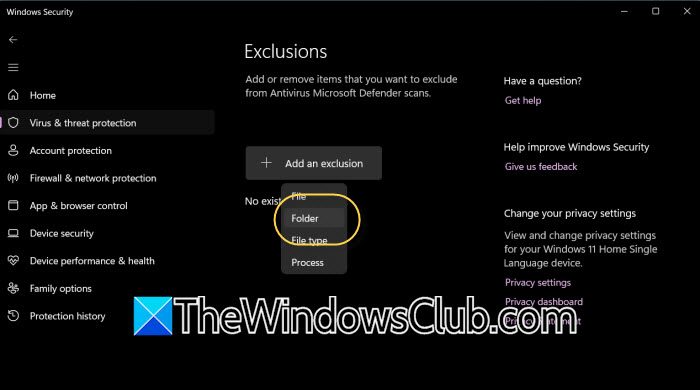
When using real-time antivirus scanning, like Microsoft Defender, it checks every file being written. If VMware is trying to save a large file in the %temp% folder, the antivirus will try to scan it at the same time. This causes a conflict: VMware writes the file, Defender locks it to scan, and VMware gets blocked and has to cancel the operation. To avoid this issue, exclude the %temp% folder from antivirus scanning using the steps mentioned below.
- Open Windows Security.
- Go to Virus & threat protection > Manage settings (under Virus & threat protection settings).
- Scroll down to Exclusions > Add or remove exclusions.
- Click on Add an exclusion > Folder.
- Paste this path: C:\Users\YourUsername\AppData\Local\Temp (replace YourUsername with your actual Windows username).
- Click OK.
Now, restart VMware and try the transfer again.
5] Change the host’s temporary directory for VMware
If your C: drive is perpetually full or has permission quirks, you can redirect VMware to use a different, larger, or cleaner drive (like D:\Temp) for staging files. This bypasses all the clutter and space constraints of the default location.
First, create a registry backup.
Create a new folder on a drive with plenty of space, e.g., D:\VMwareTemp. Press Win + R, type regedit, and hit Enter. Navigate to: HKEY_CURRENT_USER\Software\VMware\VMware Workstation (or VMware Player if you are using Player). If you see a string value named TempDirectory, double-click it and change the path to D:\VMwareTemp. If it does not exist, right-click, select New > String Value, name it TempDirectory, and set the path.
Close regedit, restart VMware, and try your file copy. VMware will now use that fresh, empty folder for staging.
That’s it!
Read: How to recover deleted files from VMware Datastore
Why is copy paste not working in a virtual machine?
Copy-paste may not work if VMware Tools is outdated, Guest Isolation is disabled, or if the clipboard service has crashed. For Linux, install the necessary tools. For Windows, restart the VMware Tools service. Check VM Settings, then go to Options and make sure both copy/paste options are ticked. If you are still having issues, edit the specific file and add the required settings.
Read: VMware Workstation Insufficient permission to access the file [Fix]
How to fix failed to write file to disk?
If VMware fails to write a file to disk, the hypervisor lacks write permission to your VM folder. You can try running it as an admin, but if that doesn’t work, try taking Full Control of the VM folder.
Also Read: Enable AutoStart of VMs on VMware ESXi and Workstation.
