DNS (Domain Name System) settings in Windows help your computer translate website names into IP addresses. However, many of us tend to use a third-party DNS, such as Google Public DNS, as it is often considered better than the one that comes by default. We have noticed that the DNS Settings reset after reboot on our computer, which is not its usual behaviour. In this post, we will talk about this issue and see what you can do to fix it.

Why does DNS automatically change?
DNS settings can automatically change primarily due to DHCP lease renewals, where your network’s DHCP server reassigns IP configurations, including DNS servers, upon reboot or connection changes. Windows may also revert settings when detecting new networks or due to Group Policy enforcement in managed environments. Additionally, misconfigured network profiles, driver issues, or the “Fast Startup” feature can trigger unexpected resets. Third-party software (like VPNs or “optimization” tools) may forcibly override configurations without user consent.
Fix DNS Settings reset after reboot in Windows 11/10
If your DNS Settings keep resetting after reboot or if DNS Server keeps changing from auto to manual in Windows 11/10, follow these suggestions:
- Flush DNS Cache
- Reset winsock and release TCP/I
- Check Registry
- Check your Group Policy Editor
- Configure DNS via PowerShell
- Use Network Reset.
Let us talk about them in detail.
1] Flush DNS Cache
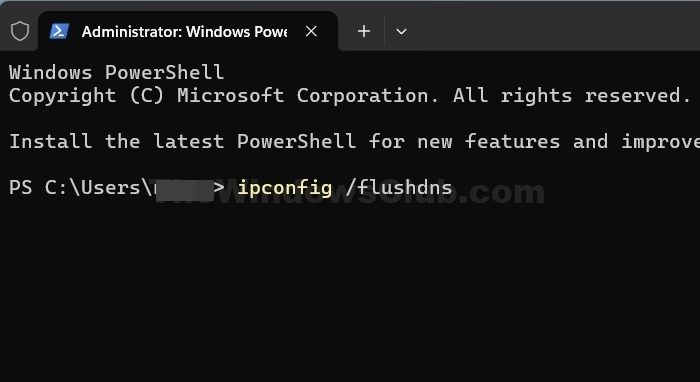
Since your DNS Settings are being reset, we suspect it’s because the DHCP is overriding the static settings or a configuration issue. Dynamic Host Configuration Protocol automatically assigns IP addresses and other network settings (like the default gateway and DNS servers) to devices on a network. Since it is overriding the DNS Settings, our best bet is to flush the DNS cache, as it stores DHCP information. To do so, you need to open the Command Prompt or PowerShell as an administrator and then run the following command.
ipconfig /flushdns
Once done, reboot your computer and check if the issue is resolved.
2] Reset winsock and release TCP/IP
If your network is misconfigured, it might force your DNS to switch back to the default. To reset network components, you need to open the Command Prompt as an administrator and then run the commands mentioned below to reset winsock and release TCP/IP.
netsh winsock reset

netsh int ip reset

ipconfig /release

ipconfig /renew
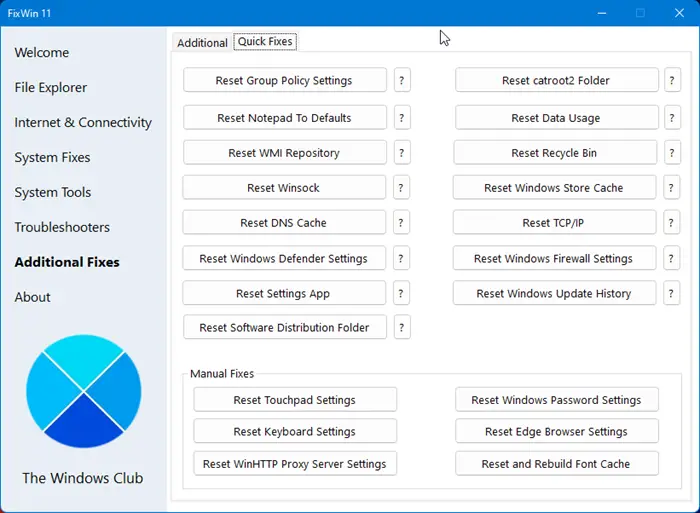
Our portable freeware FixWin allows you to reset this and most other Windows settings or functions with a single click.
3] Check Registry
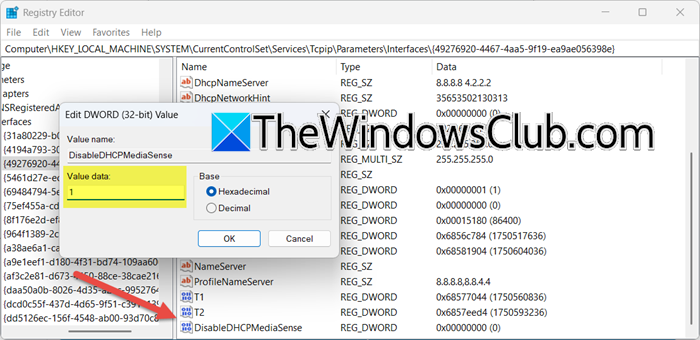
If there is a registry configured to override DNS settings, we need to check and edit it. However, before that, take a backup of your registry. Once you have taken the backup, open Registry Editor and go to the following location.
HKEY_LOCAL_MACHINE\SYSTEM\CurrentControlSet\Services\Tcpip\Parameters\Interfaces
Find your active network interface GUID (check via ipconfig /all).
Right-click on your GUID and select New > DWORD (32-bit) Value. Name the newly created value to DisableDHCPMediaSense. Double-click on DisableDHCPMediaSense and set the Value data to 1. Finally, click on Ok.
Once done, reboot your computer and check if your issue is resolved.
4] Check your Group Policy Editor
Registry is not the only thing that can override your DNS Settings, Group Policy Editor can also configure your network settings, either locally or organization-wide. If you have a standalone machine, you can open Local Group Policy Editor by searching it out of the Start Menu and then go to the mentioned location.
Computer Configuration -> Administrative Templates Network -> DNS Client
Ensure Configure DNS servers is set to Not Configured or Disabled.
Also, set your network to Private and disable overriding DNS at the following location.
Computer Configuration -> Windows Settings -> Security Settings -> Network List Manager Policies
If you are a part of an organization, ask your IT admin to make the changes above. Finally, go ahead and check your DNS Settings from Settings and check if the issue is resolved.
5] Configure DNS via PowerShell
The GUI method can sometimes be unreliable therefore, you need to configure the DNS settings via PowerShell. To do so, open PowerShell as an administrator and then use the following commands.
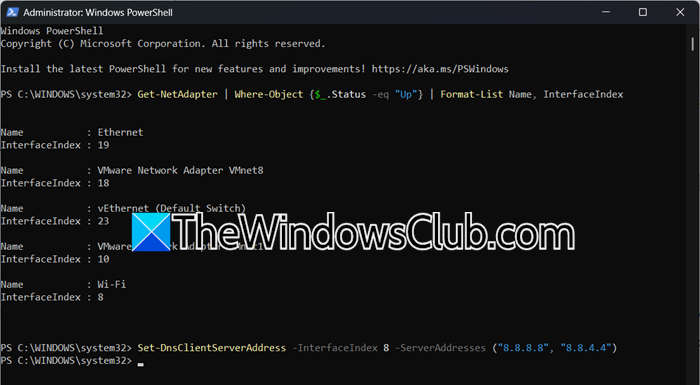
First of all, we need to run the following command to get interface index.
Get-NetAdapter | Where-Object {$_.Status -eq "Up"} | Format-List Name, InterfaceIndex
Set static DNS (replace 8 with your interface index and DNS values):
Set-DnsClientServerAddress -InterfaceIndex 8 -ServerAddresses ("8.8.8.8", "8.8.4.4")
Now, we need to prevent DHCP override using the following command.
Set-ItemProperty -Path "HKLM:\SYSTEM\CurrentControlSet\Services\Tcpip\Parameters" -Name "DisableDynamicUpdate" -Value 1
Since the command edits the registry, it’s essential to understand it. The command disables Windows’ dynamic DNS registration by setting the DisableDynamicUpdate value to 1 in the registry path:
HKLM\SYSTEM\CurrentControlSet\Services\Tcpip\Parameters
This prevents Windows from automatically updating your computer’s IP address and hostname with the DNS server when network changes occur, overriding the default behavior (value 0) where dynamic updates are enabled.
Read: How to install and configure DNS on Windows Server
6] Use Network Reset
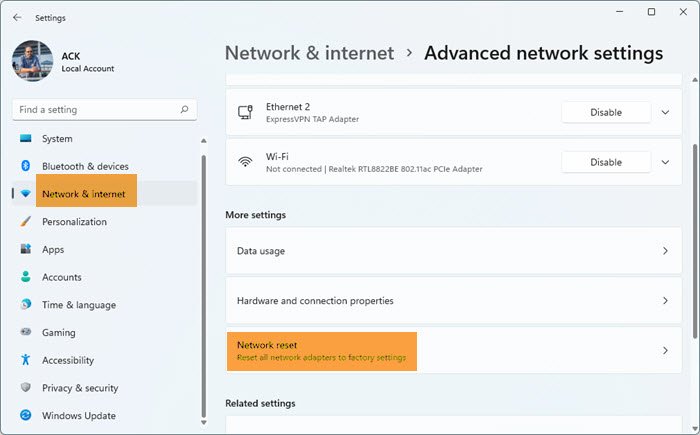
Open Settings, go to Network & internet > Advanced network settings > Network reset, and click on Reset now.
Reboot your computer and check if your issue is resolved.
Read: Enable and Configure DNS Aging & Scavenging in Windows Server
DNS Server keeps changing from Auto to Manual
If the DNS Server keeps changing from Auto to Manual, you need to execute the solutions mentioned earlier. This stubbornness is due DHCP overrides and organization-wide or system-wide settings, and the aforementioned solutions are perfectly capable of dealing with that. Additionally, we recommend you perform Clean Boot to see if there is any third-party app meddling with your DNS Server.
Also Read: Your DNS Server might be unavailable in Windows.