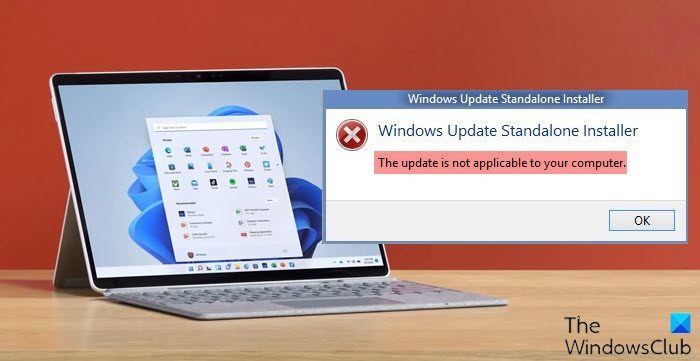
If the Windows Update Standalone Installer says The update is not applicable to your computer, this post is sure to resolve the issue for you.
The scenario is that, when you try to install Windows 11/10, using Windows Update Standalone Installer, you might receive this error message. This error may indicate that your computer is missing the required updates. The reasons could be many!
- The update is superseded: Sometimes, there is a newer version of Windows already available on the PC, and Windows, or maybe the version you are trying to install manually, is an older version. This is why it fails.
- The update is already installed: Sometimes while the update process is in progress, the earlier payload might have already installed the same update that the next payload has.
- Wrong update for architecture: 32 Bit or 64 Bit or maybe an ARM. Updates are designed for a specific PC architecture, and if the update you are trying to install does not match your CPU architecture, you may encounter this error message.
- Missing prerequisite update: Some updates depend on other updates. If that’s the case, any missing prerequisite will make other updates fail.
The update is not applicable to your computer: Windows Update Standalone Installer
Here are a few things you should try to fix the issue.
1] Verify the Package
Updates are based on the Windows version. If one of the updates fails to install, you need to find out whether it’s applicable. The best way is to search for the Windows Update name on the official Windows website or use a search engine.
2] Check if it’s for your Processor Architecture
Ensure the update is compatible with your system. If you have an X86-based processor, you cannot install x64-based versions of Windows and vice versa. This usually occurs when you have manually downloaded the update and attempted to install it.
3] Check if the update is old
If you install an older version of the same update, it will not work. Go to Settings > Update and Security > View Update history. Here you can search for the update.
4] Check if the update is already installed
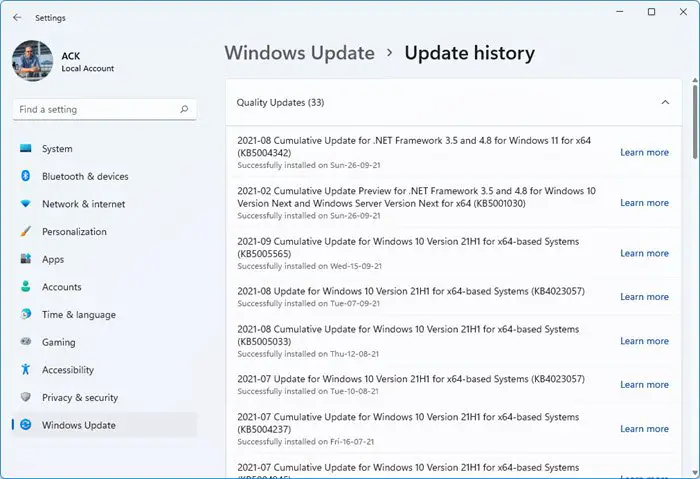
Visit the Windows Update History again, and see if the update is already installed on your PC.
5] Check for prerequisites
Some updates depend on other updates that should be installed on your PC. The best way to figure it out is by checking the Microsoft Knowledge Base (KB). To determine if the prerequisite updates are installed, run the following PowerShell command:
get-hotfix KB1111111,KB2222222,KB3333333
Here we have mentioned ‘KB1111111, KB2222222, KB3333333’ randomly – you need to replace them with the actual Update KB numbers.
If the updates were already in place, the command would return the installed date in the “Installed on” section of the output.
6] Run Windows Update Troubleshooter
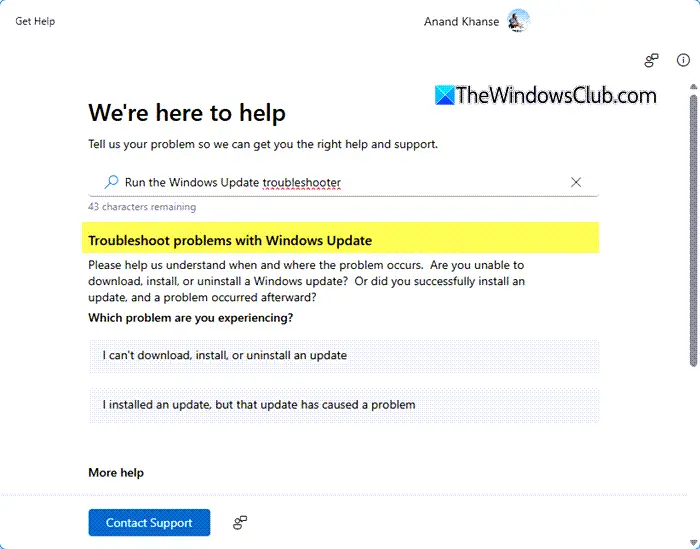
Run this inbuilt Windows Update Troubleshooter to fix the most common Update problems on Windows 11/10.
7] Language issue
This issue can also occur if you have a language version that is not supported by Windows. You can download the Windows 11/10 ISO and upgrade your Windows version. Here’s the kicker: by doing so, you’ll lose all the applications. According to the Windows FAQ, if you install Windows in a language different from the one currently on your PC, you can only keep your files, not your apps or settings. If you’re running Windows OS and have installed a language pack or a language interface pack (LIP), they’ll be removed when you install a later Windows OS version.
Now how do you get your language back?
Press Win + X and select Windows PowerShell (Admin)
Type dism /online /get-intl and hit Enter.
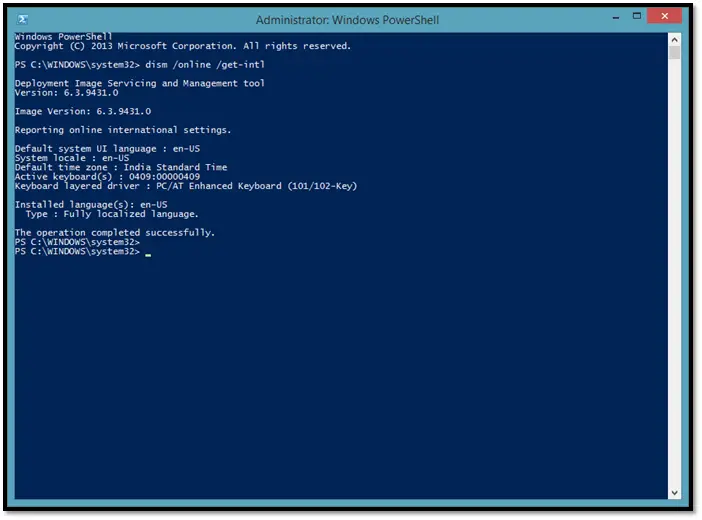
This should install the language pack on your operating system. This will be a good step to check if your machine is now compatible.
The other scenario is if you’re running Windows Enterprise. Then you’ll need to download the ISO image. I have to stress this point again you cannot upgrade or keep your Windows settings, personal files, or applications if you are performing a cross-language installation. You can only keep your files during a cross-language installation using Windows Setup.
9] Manually apply the Windows Update file
Another option is to manually apply the Windows update file.
Download the required Windows Update package by clicking on “Get the update.”
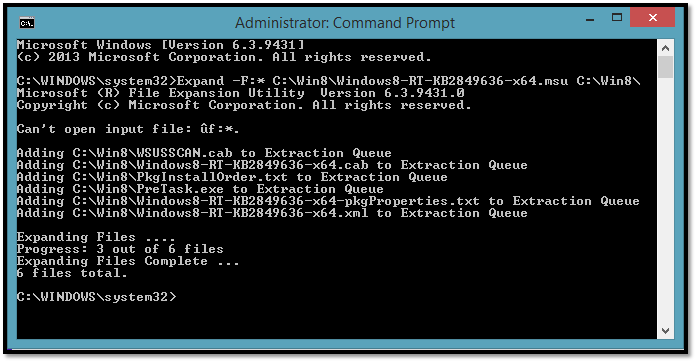
Then create a folder under C drive called – say – Win8. Then move the downloaded file there. Next, open a command prompt as administrator and type in
Expand -F:* C:\Win8\Windows8-RT-KB2849636-x64.msu C:\Win8\
Now open a command prompt as administrator and type in
DISM.exe /Online /Add-Package /PackagePath:C:\Win8\Windows8-RT-KB2849636-x64.cab
The name of the folder and package is indicative and you have to use yours there.
Reboot your system, and you should receive a notification to download Windows. If that does not work, then try to change the Language pack from Control Panel.
Open language Settings and click on Add a Language and download and install “English (United States)” and then set it as primary. Now it should work.
If the above does not work, then I’m afraid you need to do a clean install.
I hope you find this article helpful.
Related:
- Windows Update Standalone Installer stuck on Copying packages to the Windows Update cache
- Windows Update Standalone Installer stuck and taking a long time – Searching for updates on this computer or Preparing the installation.