Unable to execute file in temporary directory, Error 5, Access Is Denied in Windows 11/10 mainly due to privileges or malware. The tips here will help you fix the error. Installing new software on Windows 11/10 computers should be a breeze. You don’t have to unpack the files or perform any complex tasks. Just double-click and follow simple instructions (if any).

However, you may experience issues when installing applications or starting them up. You may attempt to install software on your PC and get the error that says-
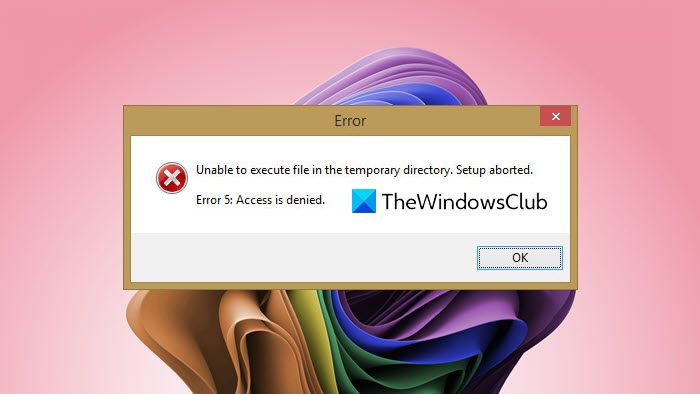
Unable To Execute Files In The Temporary Directory. Setup Aborted. Error 5: Access Is Denied.
The above error message is common in Windows, so you have nothing to worry about. It shows up if you try to install applications or modify a folder without having sufficient privileges to the directory or application.
You may also be unable to execute the file in the temporary directory due to an infection of your computer system. Before proceeding with the troubleshooting steps in this guide, be sure to perform a virus scan on your PC.
Unable to execute file in temporary directory
This Unable to execute file in temporary directory, Error 5, Access Is Denied error has been around for the last several years, and it prevents you from installing or opening programs. Use the following solutions to get rid of this error message.
- Run the file as an Administrator.
- Create a temporary (TEMP) folder.
- Change Permissions.
The sections that follow provide breakdowns on performing the above operations to fix Error 5.
1] Run the file as an Administrator

You may be getting this error because the user account lacks sufficient privileges to install applications. Even when a bug causes the error, many users have bypassed it by running it with elevated privileges.
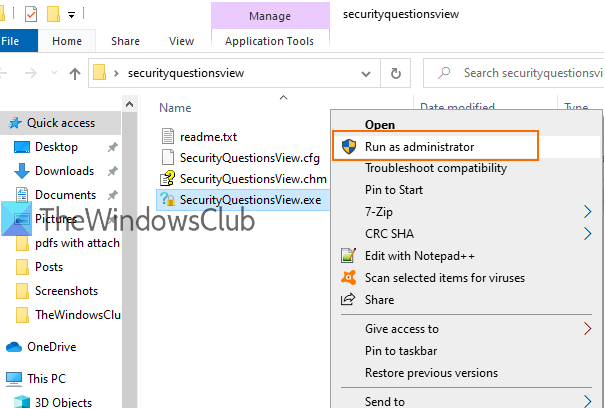
If you don’t know how to do this, it’s easy. Right-click on the file and select the Run as administrator option from the context menu.
Related error: System error 5 has occurred, Access is denied appears when running a command in the Command Prompt.
2] Create a TEMP folder

You need to create a new Temporary files folder and name it Temp.
Open File Explorer and go to the C: drive. Open it, right-click on the empty space, select New > Folder, and create a new folder. Name it Temp.
Next, right-click on This PC (called My Computer in earlier Windows versions) and click on Properties.
Click on the Advanced System Settings link on the left-hand pane and a new window will open.
Navigate to the Advanced tab and click on the Environment Variables button at the bottom.
Double-click on TEMP from the box at the top and on the new box that opens, you should see the following value in the field provided:
%USERPROFILE%\AppData\Local\Temp
Remove it and change the value to:
C:\Temp
Hit the OK button to save the inputted value and exit the windows you opened.
Related: Error 5, Access is Denied while installing software on Windows
3] Change Permissions
You can fix the error by performing the following operation:
Open File Explorer and go to C:\Users\[username]\AppData\Local.
Here, right-click on the Temp folder and choose Properties from the context menu.
Go to the Security tab and click on the Advanced button.
In the new window, you’ll see the following user permission categories – System, Administrators, and another with your username.
The above categories (objects) inherit their permissions from their parent.
Therefore, you should be sure to enable the option for this.
Click on Change Permissions and mark the checkbox beside Include inheritable permissions from the object’s parent.
Finally, hit the Apply button to save your changes and the OK button to close the window. Click on Continue and delete the inherited permissions.
I hope this helps.
Leave a Reply