
If you are unable to add a custom picture watermark in Word documents, this article will be helpful, as it gathers all possible reasons and solutions to troubleshoot the issue. You can follow these instructions even if you use Microsoft 365.

Primary reasons why you are unable to add a custom picture watermark in Word
- An administrator protects the file you are trying to access.
- The image you are using as a watermark may not be supported for watermark purposes.
- You have changed your Microsoft account password, and you haven’t updated the credentials for OneDrive.
- The filter you are using to find an image on Bing may not always display images.
- Some macros and add-ins may prevent you from adding a watermark.
- Your Word installation may be corrupt.
There could be other reasons, but these are some of the most common causes.
Unable to add Custom Picture Watermark in Word
If you are unable to add a custom picture watermark in Word, follow these instructions:
- Check the file availability and permissions
- Check file format support
- Update the password
- Use a different keyword to find image
- Check in Safe mode
- Repair Word installation
To learn more about these solutions, continue reading.
1] Check the file availability and permissions
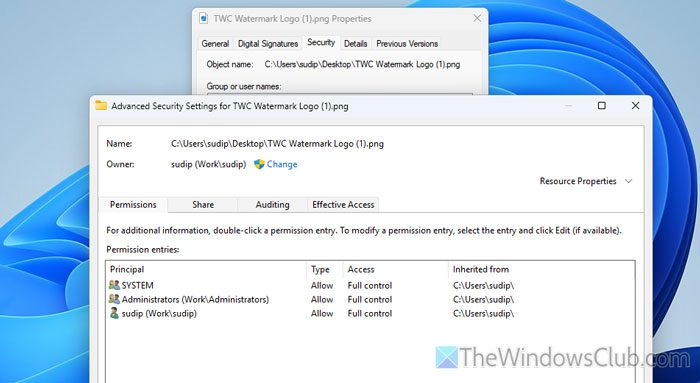
It is the very first thing you need to do, since if the file is not intact, you won’t be able to use it as a watermark. On the other hand, if your user account doesn’t have the permission to access the image, you cannot use it as a watermark.
It is suggested to go through this article to learn more about Effective Permissions. Next, you should know how to change file permissions in Windows 11/10 PC so that you can obtain the required permissions in case your user account doesn’t have them.
Read: Unable to change File or Folder Permissions in Windows 11/10
2] Check file format support
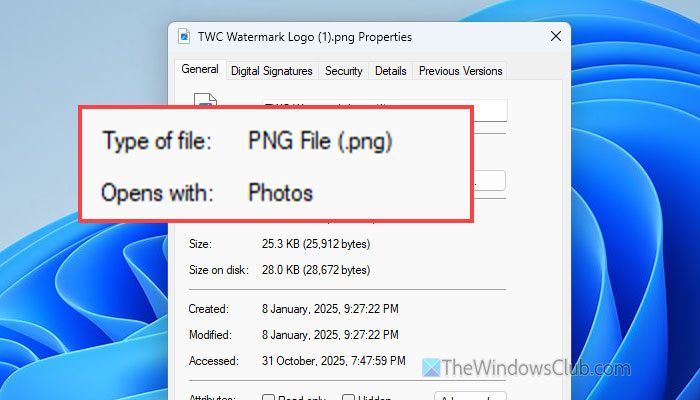
Although Word supports many file formats, it is recommended to use JPG, PNG, or BMP so that you can scale them according to your requirements. On the other hand, Word may often block you from adding a low-quality image due to scaling issues.
Therefore, you must ensure that your desired image is of good quality and is in the format mentioned above.
Read: Convert HEIC to JPG and PNG with free HEIC converter tools
3] Update the password
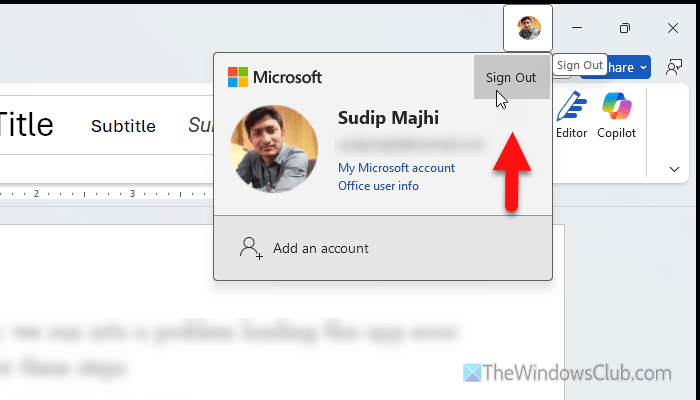
If you have recently changed your Microsoft account password from the browser, you should update it in Word and OneDrive as well.
To do this, open Microsoft Word, click on your profile picture, and select the Sign Out option.
Then, click on the Sign In button and enter your account credentials.
Next, open the OneDrive app on your computer, log out of your account, and then log in again.
Read: Microsoft Account protection: Login and security tips
4] Use a different keyword to find image
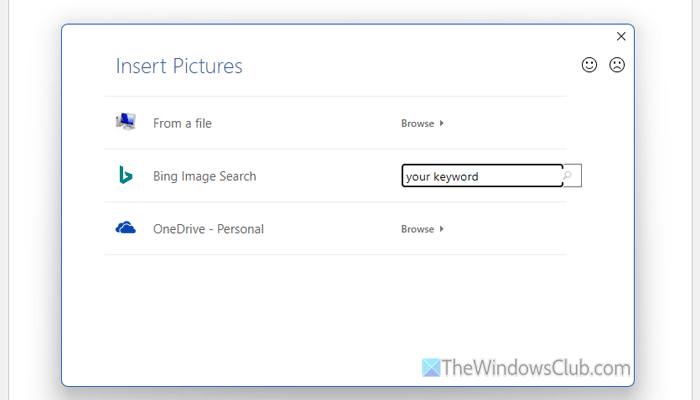
If you want to insert an image as a watermark from the Bing search, you must enter a keyword that is closely related to the type of desired image. In case you cannot find any search results, you may have to enter a different keyword.
Read: Bing Search Tips and Tricks to improve Search Experience
5] Check in Safe mode

At times, macros and add-ins could cause this problem. If so, first you must find out whether they are actually accountable for this problem or not. Then, you should find the problematic add-in or macro.
To get started, open Word in safe mode. For that, press Win+R to open the Run prompt, type winword /safe and hit the Enter button.
Alternatively, search for Word in the Taskbar search box, press and hold the CTRL key, and click on the search result.
Once it is opened, try adding the watermark with the same image. If you can insert the watermark, close the Word window and go to File > Options > Add-ins. Then, select COM Add-ins and click the Go button.
Remove the tick from all checkboxes and click the OK button.
If it resolves the issue, enable one add-in at a time to find out the culprit.
6] Repair Word installation

To repair the Word installation, you must repair either the Microsoft 365 or the entire Office installation. You can go through this guide to repair Microsoft 365.
Read: How to insert a watermark in Word document
How to enable custom watermark?
To enable a custom watermark, open Word and go to the Design tab. Click on the Watermark option and select Custom Watermark. Choose Picture Watermark or Text Watermark and type text or select an image. Click the OK button.
Why is my watermark not working?
The main reason why your watermark is not working is that you have chosen an unsupported image format, or you do not have access to the image file. Apart from that, a corrupt installation and conflicts between add-ins and macros can also cause the same problem.
