
Windows allows users to create multiple partitions on a hard drive by using the built-in Disk Management utility. Some users reported that they could not create a new partition on the hard drive because the Shrink Volume option was unclickable. If the Shrink Volume is greyed out in Disk Management on your Windows 11 computer, the solutions provided in this article will help you.
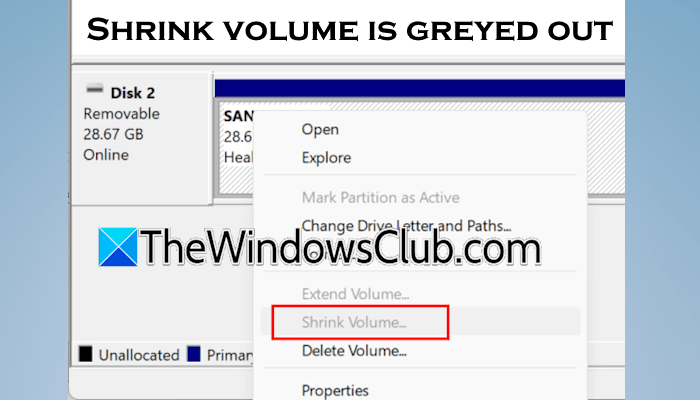
Shrink volume is greyed out in Windows 11
Use the following fixes if the Shrink volume is greyed out on your Windows 11/10 PC.
- Check the File System
- Check if the volume is encrypted
- Defragment your hard drive
- Disable Hibernation, Paging file, and System Protection
- Use a third-party tool
All these fixes are explained in detail below:
1] Check the File System
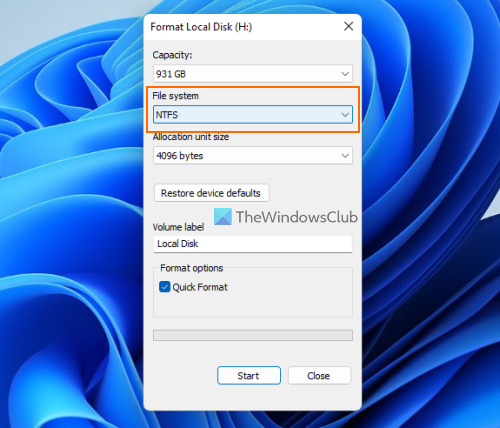
The first step is to check the File System of the hard drive on which you want to create a partition. To check the File System, open File Explorer and right-click on any of the partitions on that hard drive. After that, select properties. You will see the File System under the General tab. If the File System is FAT32, convert it into NTFS. To do so, you need to format the hard drive. Therefore, before proceeding, back up all your data. Now, follow these steps:
- In File Explorer, right-click on your hard drive.
- Select Format.
- Select NTFS in the File System drop-down.
- Select the Quick Format checkbox and click Start.
- Your hard drive will be formatted, and the File System will be changed to NTFS.
After performing the above steps, the Shrink Volume option will become clickable in Disk Management.
2] Check if the volume is encrypted
You cannot shrink an encrypted volume. Therefore, before attempting to partition the drive, it is crucial to check if the target volume is protected by data encryption software. When a volume is encrypted, Windows cannot read or reallocate the files to create an unallocated space. If your volume is encrypted, turn off the encryption for that volume.
3] Defragment your hard drive
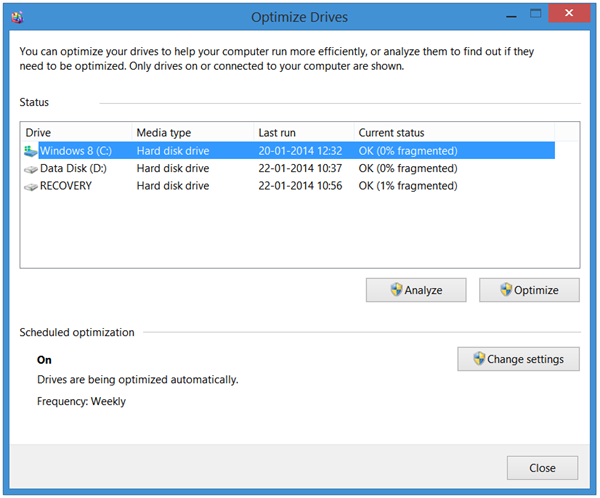
A fragmented hard drive has scattered data blocks that are created over time as you install programs, modify, and delete files. This is one of the reasons why the Shrink volume option in the Disk Management is greyed out. Optimize your hard drive using the built-in tool in Windows 11, Defragment and Optimize Drives. After running this tool, check if you can shrink that volume.
4] Disable Hibernation, Paging file, and System Protection
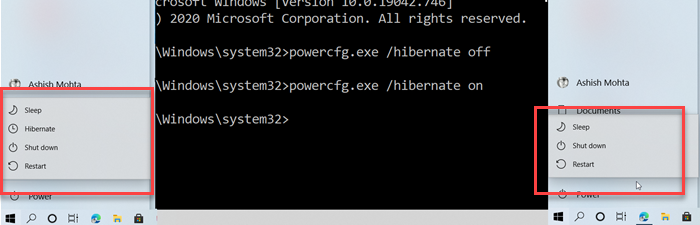
If the issue occurs on your C drive, you have to temporarily disable Hibernation (if applicable), the paging file, and System Protection. These features prevent Disk Management from creating a new volume by shrinking the existing one. Click Start and then click the Shut Down button. If you see the Hibernate option, that means Hibernate is enabled on your system. You can disable Hibernation through the Command Prompt or the Control Panel.
After disabling Hibernation, disable the System Protection and Paging file. Do note that disabling the System Protection will delete all the previous Restore Points saved on your system. Disabling the Paging file can sometimes cause issues. Therefore, first disable the Paging file, so you can use System Protection if any problem occurs. If no problem occurs after disabling the Paging file, you can disable the System Protection.
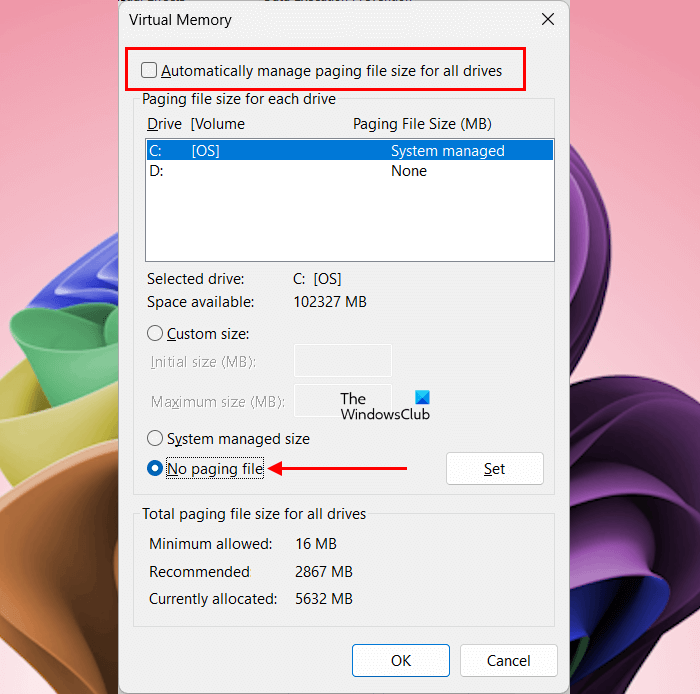
To disable the Paging file, follow these steps:
- Open the Run command box.
- Type sysdm.cpl and click OK. This will open the System Properties window.
- Go to the Advanced tab and click Settings under the Performance section.
- Now, navigate to the Advanced tab.
- Uncheck the Automatically manage paging file size checkbox.
- Select the No paging file option and click Set.
- Click Yes in the confirmation box and click OK.
- Now, restart your system.
If no issue appears after a restart, disable System Protection. Now, you should be able to shrink the volume. When you are done, enable System Protection and the paging file. Also, create a System Restore Point manually. If you need Hibernate mode, you can enable it.
5] Use a third-party tool
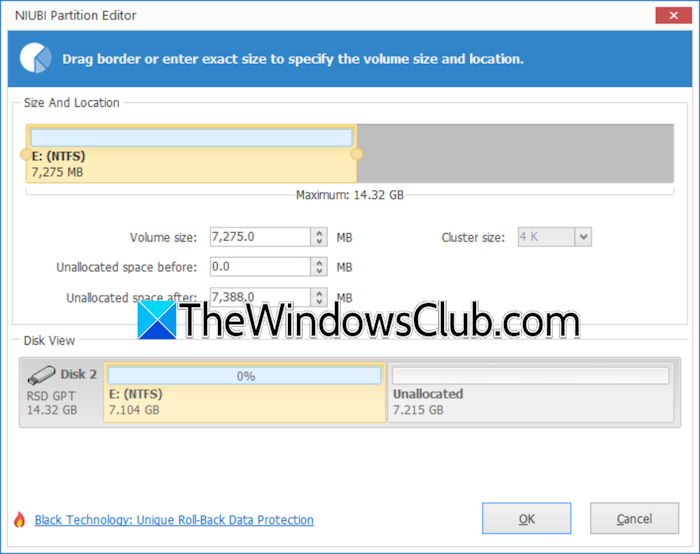
If you do not want to disable Hibernation, Paging file, and System Protection, the simplest way to resolve this issue is to use a third-party tool, such as AOMEI Partition Assistant or NIUBI Partition Editor. These tools make complex tasks easier.
That’s it. I hope this helps.
Why can’t I shrink volume?
If the Shrink Volume option in Disk Management is greyed out, it can be because some system files like the Page file, Hibernation file, Shadow copies, NTFS metadata, etc. cannot be moved and so block resizing. If Disk Management shows 0 GB free space to shrink the selected volume, that would be due to the unmovable files existing on that partition. This case happens only with the C partition. You may also be unable to shrink a partition due to the FAT32 file system on your hard drive. You can check the file system of your hard drive by opening its properties.
Read: How to Shrink Volume with Unmovable Files in Windows 11
Why is the delete volume greyed out?
You will find the Delete volume option greyed out in Disk Management if that volume contains the operating system. Another reason is that the selected volume has system-protected files, such as bootloader files and drivers.
Read next: How to increase System Reserved Partition in Windows.
