Windows 11/10 is an operating system designed to work seamlessly with both touch and mouse-oriented interfaces. The OS is designed to run on various devices like PCs, tablets, Xbox One, smartphones, and other embedded systems. Like many others, you might have upgraded to the latest Windows 11/10 on your tablet or notebook. While it’s doing exceptional in all the devices, be it PC or tablets, users have faced some issues with screen auto rotate in Tablet Mode. The issue is most often encountered by users who recently downloaded Windows 11/10 for devices used in tablet mode.
Why Rotate option is greyed out?
There can be several reasons why the auto-rotate option is not working or is greyed out on your Windows computer. The most common cause is a corrupted driver. Hence, make sure that your driver is up to date. The issue may also be associated with the motion sensor. Microsoft has a Sensors Troubleshooter in Windows that helps users fix issues with location, motion, and other sensors.
Auto Rotate not working in Windows 11/10
Autorotation is one of the features that is mostly used for larger devices, particularly your tablet. It’s more convenient when you want to switch from portrait to landscape orientation, or vice versa, based on the device’s rotation. Briefing about its working, basically your tablet uses sensors to detect rotation and adjust the display to the current orientation. That is, the device’s sensors automatically rotate when you switch from portrait to landscape and back. But with Windows 11/10 on your tablet, the screen auto-rotation may not be working for some users. So if you cannot rotate the screen in Windows 10, read on.
Screen Auto-Rotation not working in Windows 11/10
The root cause of the problem may be due to the issue in software or there may be a problem with Device Drivers. Before trying these suggestions, make sure that your device is updated to the latest patch as sometimes, downloading the latest update may fix most of the software issues associated with autorotation.
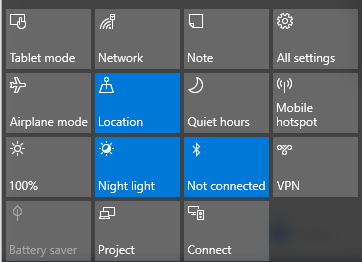
1] Turn Rotation Lock Off
- If you are using the system in laptop mode, convert your PC from Laptop mode to Tablet mode.
- Next, open Action Center in the Taskbar and toggle the Rotation lock to Off position.
You can also Turn off the Lock rotation in Settings as follows. Open Action Center and click on Tablet mode. This will convert your PC into laptop mode to Tablet mode.
Next, go to Settings in Start Menu and click on Systems and tap on Display. Here, turn off the Auto Rotation lock and close.
2] Update the drivers
Update your device drivers and see – specifically, update your Display Drivers.
Follow one of the methods below to update your device drivers:
- You may check for Driver & Optional Updates via Windows Update to update your drivers
- You may visit the manufacturer’s site to download the drivers.
- Use a free driver update software
- If you have the INF driver file already on your computer then:
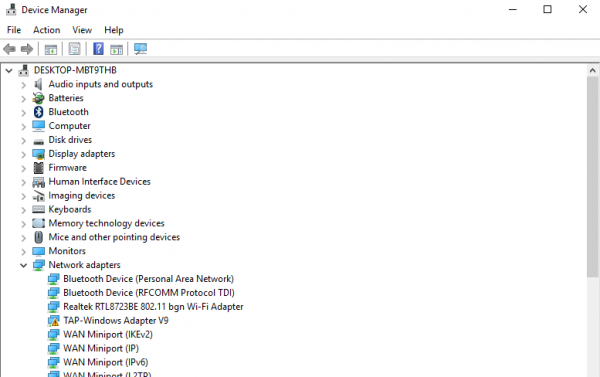
- Open Device Manager.
- Click the driver category to expand the menu.
- Then choose the relevant driver and right-click on it.
- Select Update Driver.
- Follow the on-screen wizard to finish updating your audio drivers.
Once the driver is installed, reboot the device and see if it has helped.
3] Run Sensors Troubleshooter
Download and run the Sensors Troubleshooter from Microsoft and see if it helps you fix the problem.
Screen Auto-Rotate greyed out in Windows 11/10
If you find that the Screen auto-rotate option is greyed out, backup the Registry. and then open the Run command by pressing Windows Key +R.
Type regedit and click on Ok.
Now navigate to the following path:
HKEY_LOCAL_MACHINE\SOFTWARE\Microsoft\Windows\CurrentVersion\AutoRotation
Find key LastOrientation and double-click on it.
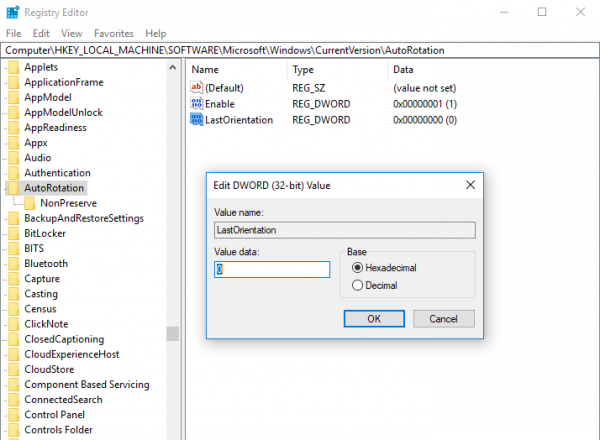
Add 1 in DWORD value data field and click OK to save the changes.
Next, use Ctrl+F to search for the SensorPresent key. If it’s available, double-click on it and change the DWORD value to 1. If it is not available, you may create it under AutoRotation and give it a value 1.
Restart your PC and see.
How do I rotate Windows screen with keyboard keys?
In supported Windows 2-in-1 devices, like Surface Pro, you can rotate the screen by using the keyboard shortcut. The CTRL + ALT + Up Arrow Key will turn your screen into landscape mode, the CTRL + ALT + Right Arrow Key will rotate your display 90 degrees right, the CTRL + ALT + Left Arrow Key will rotate your display 90 degrees left, and the CTRL + ALT + Down Arrow key will turn your display upside down (180 degrees).