If you have recently imported a virtual machine using any virtual machine software and the network adapter or internet connection is not working after completing the import, here are solutions to fix it. Whether you use VirtualBox, VMware, or Hyper-V, you can follow these instructions to fix the issue on Windows 11.
Why is the network adapter not working after importing the virtual machine?
If the network adapter is not working after importing the virtual machine, one of these could be the reason:
- Your files are corrupted, and the import process was not successful.
- You have more than one virtual machine software installed, and the other one is causing issues.
- The network driver is gone, missing, or corrupt.
- The host computer has some issues with the network adapter or driver.
Network adapter not working after importing virtual machine
If the network adapter is not working after importing the virtual machine, follow these solutions:
- Uninstall and install network driver
- Use a different internet connection
- Ensure the import is done correctly
- Verify the external network adapter
- Enable the network adapter
- Remove unnecessary devices
- Turn on Cable Connected
- Restart service.
1] Uninstall and reinstall network driver
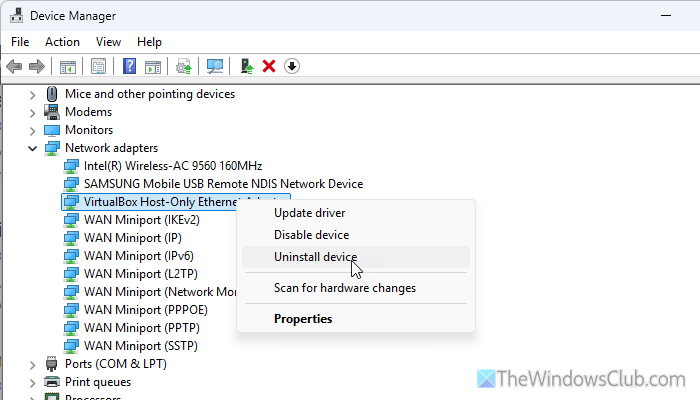
It is the very first thing you should check when the network adapter is missing after importing a virtual machine. At times, the network adapter may go missing due to an incorrect setting or an exporting process.
To uninstall the network driver, open Device Manager and expand the Network adapters section. Then, right-click on the corresponding network adapter and select the Uninstall device option.
Once the process is complete, visit your motherboard manufacturer’s official website and download the driver. However, if you use an external adapter, visit that website.
2] Use a different internet connection
If you use Ethernet, it is suggested to use Wi-Fi, and vice versa. If you use Wi-Fi, try using a mobile hotspot or USB tethering.
The main reason for this switch is that, at times, the virtual machine may conflict by overriding one specific adapter over others. If you manually switch the internet connection, there is a chance this issue will be fixed.
Read: How to set preferred WiFi network on Windows 11
3] Ensure the import is done correctly
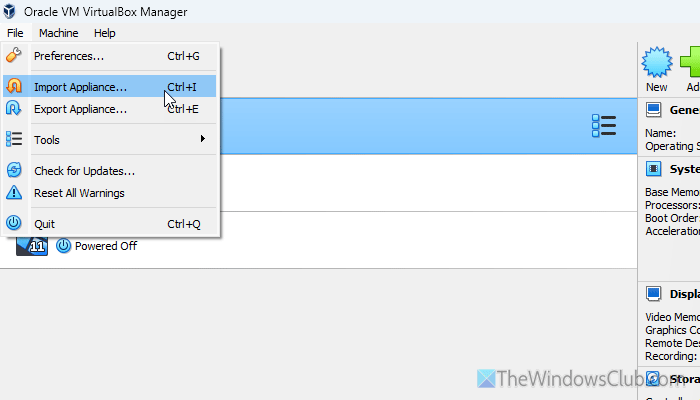
It is the most important solution amongst these. If the import process was interrupted or there were some issues with the virtual machine itself, there is a chance of getting this problem. That is why it is highly recommended to check the entire process. If you are not 100% sure, it is recommended to go through the same import process again.
Read: How to Export, Import and Clone Virtual Machine in VirtualBox
4] Verify the external network adapter
If your integrated network adapter is not working and you are using an external one, there is a chance the external adapter has a problem. If so, you won’t be able to use the internet via that adapter. So verify whether the external adapter is fully functional.
To do that, you can connect the adapter to another computer and check whether it works. If not, it is time to change the adapter. However, if it is working, you can follow the other solutions.
5] Enable network adapter
Different virtual machine software has different options, but you can find one similarity – network adapter settings. That said, it is possible to enable or disable a network adapter on any virtual machine.
If you use Hyper-V, open Hyper-V first. Then, select the virtual machine and click on the Settings option visible on the right-hand side.
Switch to the Network Adapter tab. Expand the drop-down menu and choose the Default Switch option.
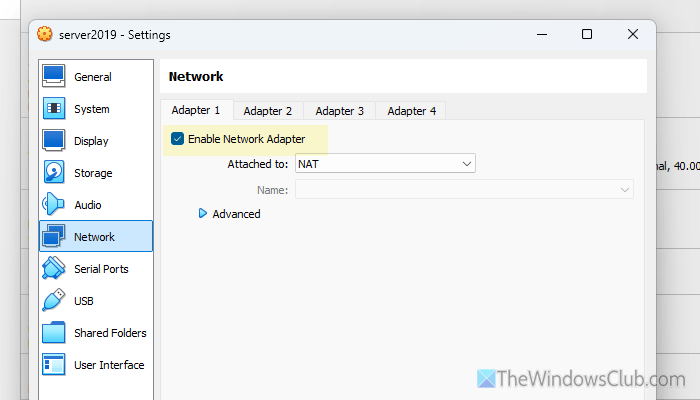
If you use VirtualBox, open it and select the virtual machine first. Then, click on the Settings and switch to the Network tab. Then, check whether the Enable Network Adapter option is ticked or not. If not, tick this checkbox and click the OK button.
On the other hand, if you use VMware, the same option can be found in the Virtual Network Editor section.
6] Remove unnecessary devices
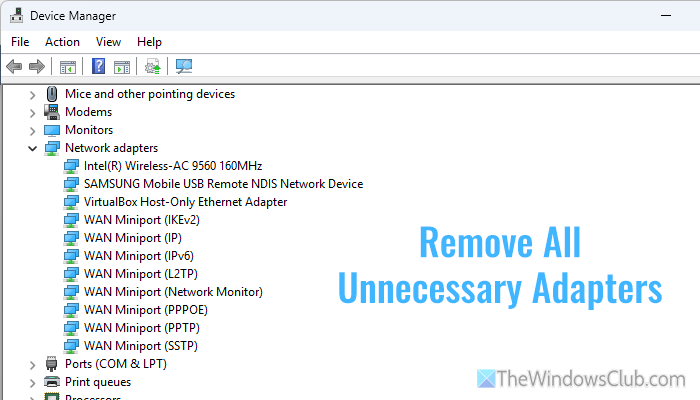
After importing, you may find several network adapters in Device Manager that you have never heard of before.
Perform a spring cleaning so that your virtual machine software doesn’t encounter conflicts when selecting the correct adapter. You can do that via Device Manager. Open it and expand the Network adapters section.
Read: Reinstall Network adapters in Windows 11
7] Turn on Cable Connected
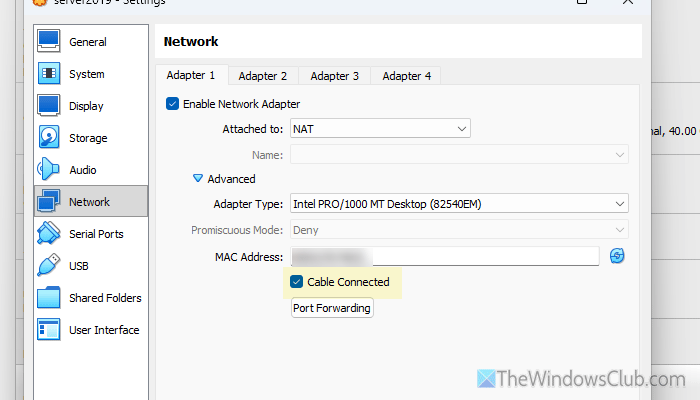
To turn on the Cable Connected setting in VirtualBox, follow these steps:
- Open VirtualBox > select the virtual machine and click on Settings.
- Go to the Network tab and click on the Advanced.
- Tick the Cable Connected checkbox and click the OK button.
This option lets you mask your cabled internet connection via a VirtualBox virtual network adapter.
Read: The VirtualBox system service service terminated unexpectedly
8] Restart service
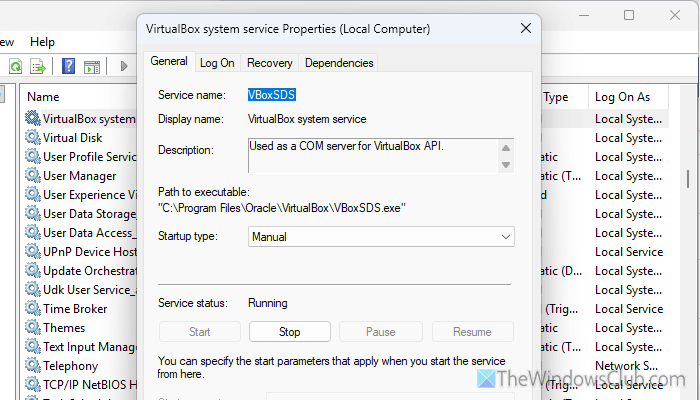
Almost all the virtual machine software come with a service that must be running all the time. For example, VirtualBox has VirtualBox system service, Hyper-V has Hyper-V Virtual Machine Management, and so on.
To restart such a service, open the Services panel first. Then find the service for your virtual machine software and double-click it. Click the Stop button > choose Manual from the Startup type list and click the Start button.
Finally, click the OK button to save the change.
Read: WiFi network adapter isn’t waking up or goes missing after Sleep
Why is my network adapter suddenly not working?
If the network adapter suddenly stops working, disable Fast Startup first. Then verify the driver installation and disable Link State Power Management (LSPM). You can also check the Power Management settings in Device Manager.
How to fix VMWare network adapter?
If the VMware network adapter is missing, you must check for hidden adapters first. After that, you can reinstall the network driver, install VMware Bridge Protocol, reset the host network stack, and so on.
Read: VMware network adapter not showing up in Windows 11