Microsoft Cross Device Service or cross device service.exe on Windows 11 powers the seamless connection between your PC and phone. It works when you connect your PC and phone using Phone Link and Link to Windows apps. You can use the connection to transfer images, see SMS, reply, and manage phone calls. It also works with the Cross-Device Resume feature. It is okay to use CPU and memory as per the need when the connections are in use, but if it uses high CPU and memory, irrespective of the connection and stresses system resources, it might be an issue. In this guide, we show you what to do when you find Microsoft Cross Device Service using high CPU and memory on your PC.

Microsoft Cross Device Service high Memory or CPU usage in Windows 11
If you are seeing the Microsoft Cross Device Service using high CPU and memory in the Task Manager, follow the methods below to fix it easily and improve the performance of your PC.
- Disable the Phone Link app and Mobile devices from Startup
- Turn off Share across devices
- Turn off the Show mobile device in File Explorer feature
- Remove Phone Link app
- Reinstall Cross Device Experience Host
Let’s get into the details of each method and stop Microsoft Cross Device Service from consuming high memory and CPU.
1] Disable the Phone Link app and Mobile devices from Startup
Phone Link app and Mobile devices, by default, start running from the Startup in the background. As Microsoft Cross Device Service powers these programs, removing them from starting automatically in the Startup can help decrease CPU and memory usage. You can manually open the Phone Link app whenever you want to connect your phone to the PC.
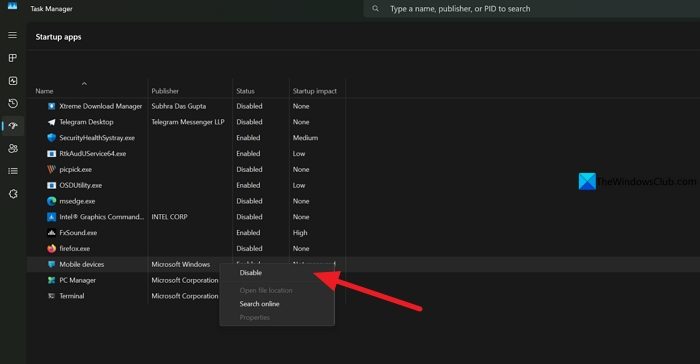
To disable the Phone Link app and Mobile devices from the Startup, open the Task Manager. Then, click the Startup tab. Right-click on Phone Link and select Disable. Similarly, right-click on Mobile devices and select Disable.
When you restart your PC, Phone Link and Mobile devices will not run in the background automatically, thereby decreasing the CPU and memory usage by Microsoft Cross Device Service.
Read: CrossDeviceService.exe Bad image or Parameter is incorrect
2] Turn off Share across devices
The “Share across devices” feature on Windows 11 also uses Microsoft Cross Device Service to function. This feature is also enabled by default in Windows. Turning the “Share across devices” feature helps decrease the CPU and memory usage by Microsoft Cross Device Service and improves your system performance.
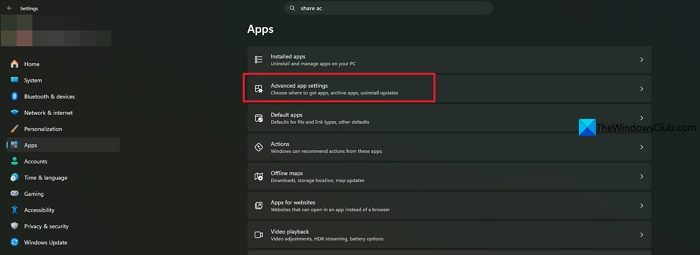
To turn off the Share across devices feature on Windows 11, open the Settings app and click Apps. Then, select the Advanced app settings tab.

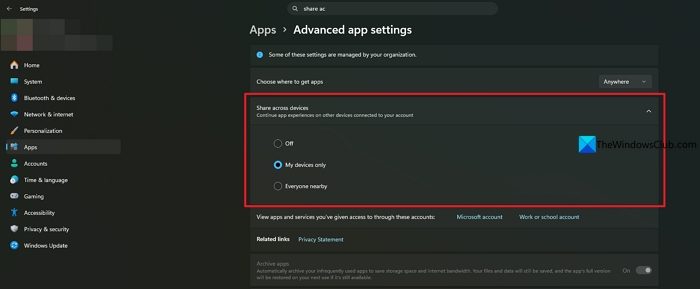
In the Advanced app settings, click on the Share across devices tab to expand it. In the options that open, check the button beside Off to turn off the Share across devices feature.
It will stop Microsoft Cross Device Service from using more CPU and memory than it requires on your PC.
Read: Cross Device Experience Host not installing or updating
3] Turn off the Show mobile device in File Explorer feature
If you always keep your phone connected to your PC using the Phone Link and Link to Windows apps, it always makes Microsoft Cross Device Service run in the background. If it is using more memory than it requires, you need to turn off showing your phone in the Windows File Explorer. This would considerably lower the resource usage and let you use other programs with ease simultaneously.
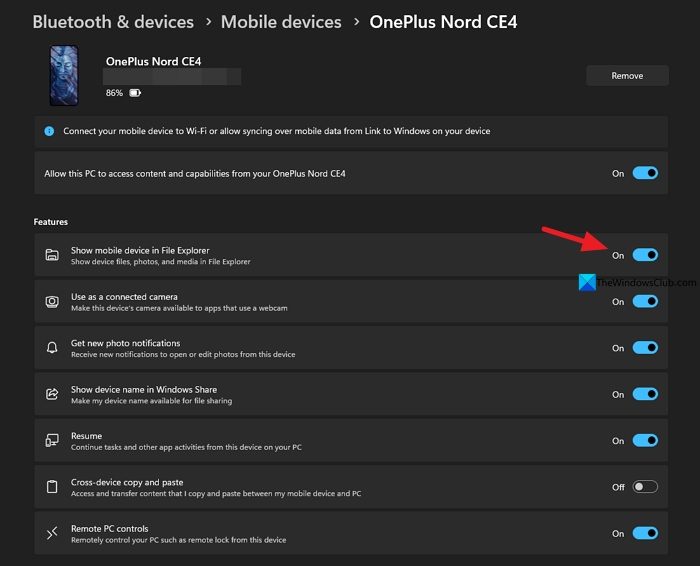
Open the Settings app on your PC, and go to Bluetooth & devices settings. Then, select the Mobile devices tab. Find your phone and click on it in the Mobile devices. Under Features, toggle the button off beside Show mobile device in File Explorer.
Your phone will now disappear from File Explorer, which makes Cross Device Service use fewer resources.
4] Remove Phone Link app

If you do not use the Phone Link app features on your PC to connect your phone, it is better to uninstall it completely. Removing Phone Link does not impact the options to transfer files between your Windows PC and phone in any way. You can just connect via FTP apps, WiFi, or USB cable and transfer files. You cannot access Phone Link features. That’s all. You can uninstall the Phone Link app from the Settings app or use a third-party uninstaller program.
5] Reinstall Cross Device Experience Host
If there is any issues or corruptions with the files of Microsoft Cross Device Service or Cross Device Experience Host, you can see it behaving abnormally by using more system resources, making it hard for other programs to work properly. You can just reinstall Cross Device Experience Host to fix the issue.
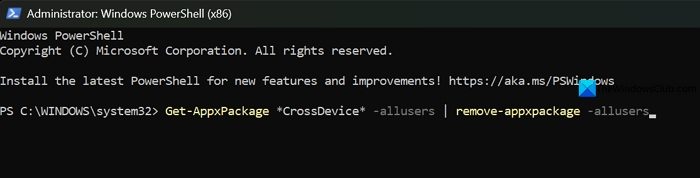
To reinstall Cross Device Experience Host, open Command Prompt or Windows PowerShell as an administrator and run the following command.
Get-AppxPackage *CrossDevice* -allusers | remove-appxpackage -allusers
It will remove the Cross Device Experience Host upon successful run of the command. Restart your PC. Now, open Command Prompt or PowerShell as an administrator again and run the following command to reinstall Cross Device Experience Host.
winget install 9NTXGKQ8P7N0
You will get Microsoft Cross Device Service running again after this, but it will use less CPU or memory.
Read: Stop or Allow this PC to access your mobile devices on Windows 11
Can I disable Cross Device Service on Windows?
You cannot directly disable Cross Device Services on Windows. You can only remove it from your PC by running a Command. After removing Cross Device Services, you cannot link your phone to a Windows PC using Link to Windows and Phone Link apps, as their base is removed from your PC.
Do I need Cross Device Service on Windows?
If you connect your Phone to your PC and access SMS, calls, and images via the Phone Link app, you absolutely need Cross Device Service on your PC. If you do not use Phone Link or such apps to connect your PC and phone, you can remove Cross Device Service or Cross Device Experience Host using a Windows PowerShell command.
Related read: How to Turn off Phone Link feature in Windows 11.