
If you want to install Windows 11 Home without a Microsoft Account, then you can follow this step-by-step guide. You don’t need to connect to Wi-Fi or any other internet source to start using Windows 11 Home on your computer.
It’s been a long time since Microsoft rolled out Windows 11 to the public, and it came with one tiny issue for those who don’t want to use the internet on the first day or have a Microsoft account. If you use Windows 11 Pro, you may not face this problem, although recent Insider builds suggest Microsoft is about to make a Microsoft account mandatory even when installing Windows 11 Pro.
You may not have a Microsoft account or internet connection during the installation – or you may not want to use it! You can bypass the Microsoft account requirement for installing Windows 11 by closing a simple process named Network Connection Flow. There are multiple methods, and this article covers both.
How to install Windows 11 Home without Microsoft Account
To install Windows 11 Home without Microsoft Account or an Internet connection, follow these steps:
- Continue with the installation process as usual.
- Press Shift+F10 when it asks for an internet connection.
- Type taskmgr and hit the Enter button.
- Click on the More details button.
- Find out the Network Connection Flow process.
- Select it and click the End task button.
- Close all windows and enter your name and password to continue.
How to bypass Windows 11 Online Account requirements
First, go through the regular installation process. At one point, it asks for an internet connection if you are not connected already.
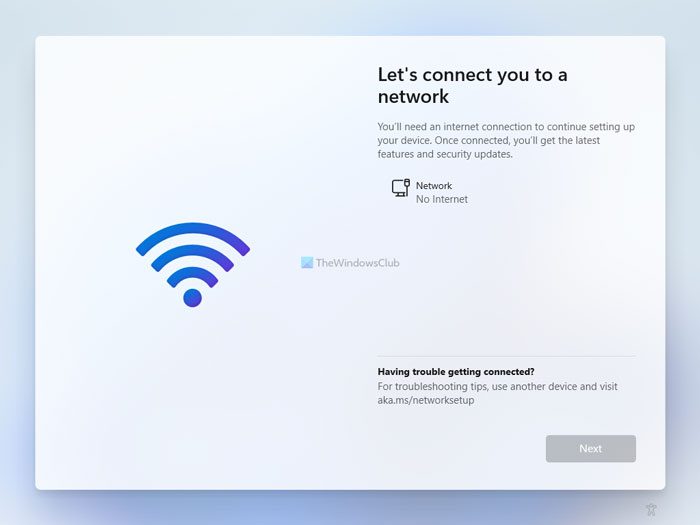
Instead of connecting to Wi-Fi or any other internet sources, press Shift+F10 to open the Command Prompt on your screen.
Once it is opened, enter taskmgr and press the Enter button to open the Task Manager on your computer.
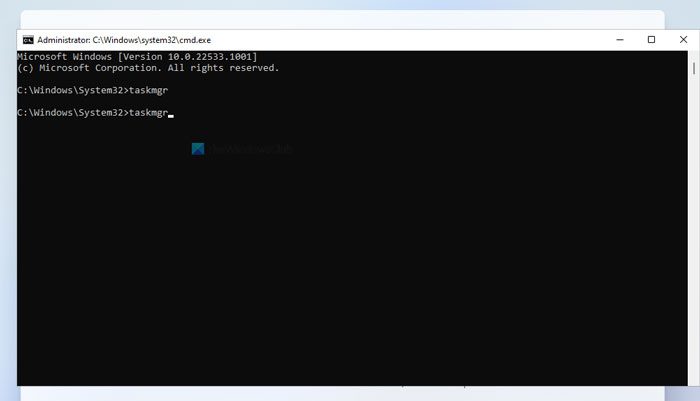
By default, it displays only running tasks. Click More details to show the full Task Manager.
In the Task Manager, you need to find the Network Connection Flow process, select it and click the End task button.
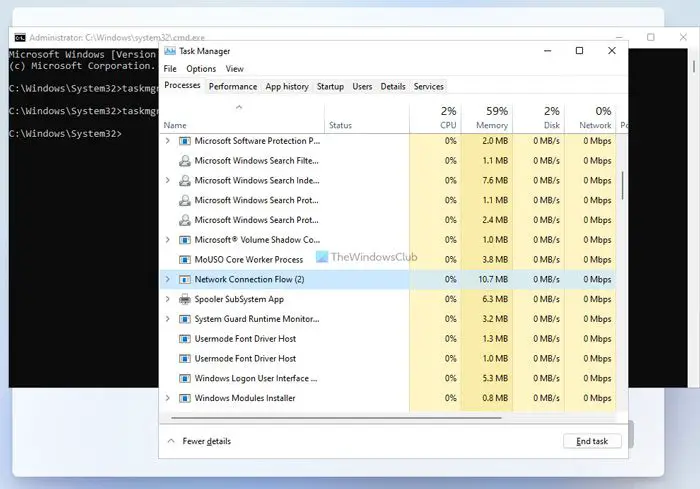
In other words, you need to close the Network Connection Flow process from running in the background.
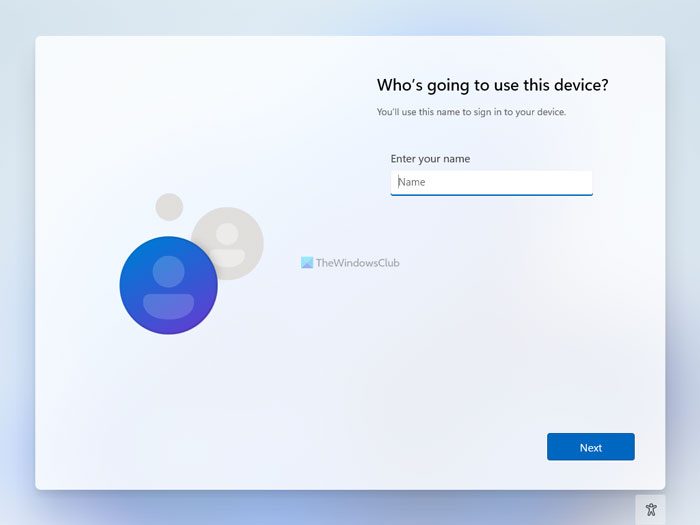
Next, you can close all the windows of Task Manager and Command Prompt to continue with the Windows 11 Home installation process.
For your information, you can close the Network Connection Flow process without opening Task Manager on your computer.
In that case, you need to press Shift+F10 to open the Command Prompt and execute the following command:
taskkill /F /IM oobenetworkconnectionflow.exe
Once done, you can close the Command Prompt window and continue with the installation process.
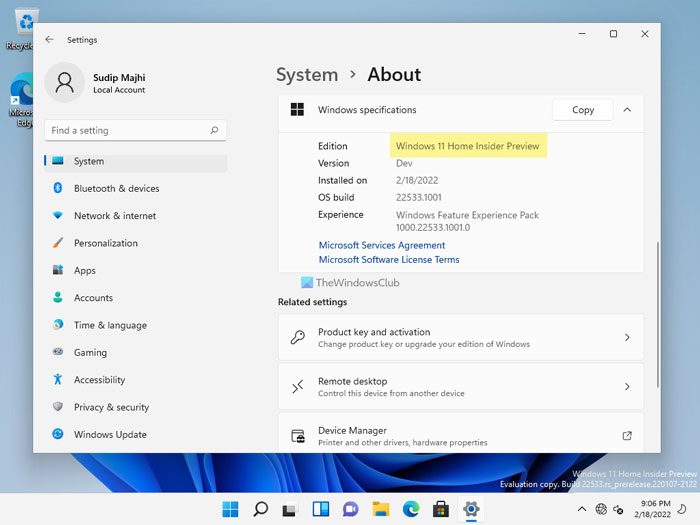
Then enter your name, password, security questions, etc., to create a local account and install Windows 11 Home.
For your information, you can also install Windows 11 Home without an internet connection. In this case, you need to use a different command to block the internet connection.
Read:
- How to bypass Windows 11 Online Account requirements?
- How to install Windows 11 on unsupported CPU/RAM hardware?
- How to bypass Windows 11 TPM requirement?
- How to bypass Windows 11 Secure Boot requirement?
- Bypass Windows 11 requirements easily using Flyby11.
How to install Windows 11 Home without internet connection
To install Windows 11 Home without an internet connection, follow these steps:
- Make sure you are on the installation window.
- Press Shift+F10 on the installation wizard.
- Enter this command:
OOBE\BYPASSNRO - Restart your computer and click the I don’t have internet option.
- Click the Continue with limited setup button.
- Enter your local account details and continue with the installation.
Related read: How to install Windows 11 Pro with a Local Account.
How to install Windows 11 Home with Local account?
To install Windows 11 Home with Local account, you need to follow the above-mentioned steps. If you are connected to an internet source, you need to close the Network Connection Flow process, which runs in the background. For that, press Shift+F10 to open the Command Prompt and enter taskmgr command to open the Task Manager. Then, find the Network Connection Flow process, right-click on it, and select the End task option. After that, close all windows and continue with the installation process.
Read: Upgrade unsupported computer to Windows 11 using Rufus easily
How to bypass Windows 11 Microsoft account requirements?
To bypass Windows 11 Home’s Microsoft account requirements, you can go through the above-mentioned solution. For that, press Shift+F10 to open the Command Prompt and enter this command: taskkill /F /IM oobenetworkconnectionflow.exe. For your information, it will close the Network Connection Flow process.
