When I installed the latest version of Windows, one of the biggest challenges I faced is to get my ATI display drivers to work. Sure, the generic display got installed, but none of the ATI CC features worked – especially since the pictures weren’t sharp and crisp like they used to be earlier. When I connected my LED TV using an HDMI cable, the resolution was totally messed up. I spent hours and finally got it to work.
Fix ATI Display issues on Windows 11/10
One of the major challenges that Laptop users face is that sometimes the generic drivers won’t really work. So we have to get the older driver to work and need to get the ATI Control Center to work as well.
So the first thing I did was remove the generic drivers.
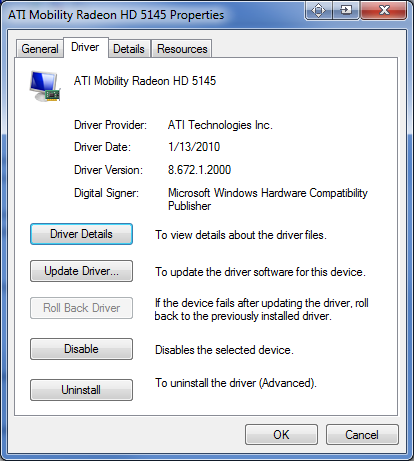
I used the Uninstall function to remove the drivers completely. But one of the features of Windows is that it will scan and automatically reinstall the drivers. So I had to delete them.
I downloaded the freeware Driver Sweeper to remove the leftover files.
Once you have removed all the leftover files, clear the temp files, and reboot the system. Now download the appropriate drivers compatible with my Windows OS (Laptop users may download it from the manufacturer’s website).
Once you download them, you need to open the setup file compatible with Windows 7 (Earlier versions). To load the program under Windows 7 compatibility mode, right-click on setup.exe and click on Troubleshoot Compatibility. Follow the wizard and you’ll reach this screen.

Select the earlier OS version and click next, and select “Start the Program.” Now, the setup Windows launches under Windows 7 compatibility mode and install it. You should have a fully functional ATI driver with ATI CC.
You could also download and install the ATI Test drivers for Windows after that.
I hope this guide helps you.
Fix: Display Driver Installation Failed errors on Windows.
How do I fix my display on Windows 11?
In order to fix your display on Windows 11 or Windows 10, you need to find the primary cause of the issue. If it is saying a message related to the cable, you need to check the cable. Similarly, if it is saying anything related to the signal, you need to check the power connection, cable, port, etc.
How do I update my ATI graphics driver in Windows 11?
To update the ATI graphics driver on Windows 11 and Windows 10, you can head to the official website and download the latest version of the driver. However, if the new version of the driver is not being installed, you need to remove the older version first. Following that, you will be able to install the latest version of the ATI graphics driver on your PC.
As usual clear concise information. Great Job SS
The AMD drivers for Windows 8 Release Preview are terrible.
Text looks terrible in many programs. No amount of color adjustment or Clear Type tuning makes much difference.
Secondly, the AMD Catalyst software itself just crashes after a few minutes making it unusable.
I tried the Windows 7 drivers as per this article. They did not work at all.
Are you using Laptop or Desktop? Have you ran the Driver Cleanup software before you installed the drivers?
Thanks Ken!
I had a problem that my Windows 8 detected that my videocard is 5000 but actually it has a different version. But i had absolutely different drivers installed. I removed these drivers manually but it did not work. Then i removed all video drivers (*.inf) from my system including default video adapter and installed Windows 7 driver. And now it works like a charm. I have a laptop.
Nice explanation but unfortunatly still bug for me.
I have an old integrated x1100 ATI graphic board. Drivers were for Vista 32 bit compatible, downloaded from ASUSTEK website.
Dirvers are installed using “udgrade drivers” directly from hardware system page (not doble click setup.exe).
the screen keep crashing for few miliseconds, usually after I open youtube or dailymotion and windows 8 tells me a message like “windows did recuperate a problem in driver ATI familly radeon….”
I tried everything, including the windows 8 drivers 12.10. and still crash.
Now, said that, I am 99.9% sure it DID NOT crash with W8 developer preview or W8 customer preview. I seems to crash with w8 pro only