
If you have upgraded to Windows 11 and suddenly notice the vanished OneDrive options, then you are not alone. This issue usually shows up after system updates, OneDrive sync problems, or changes in how Windows 11 handles context menus. In this article, we will see what to do if Windows 11 OneDrive context menu is missing.
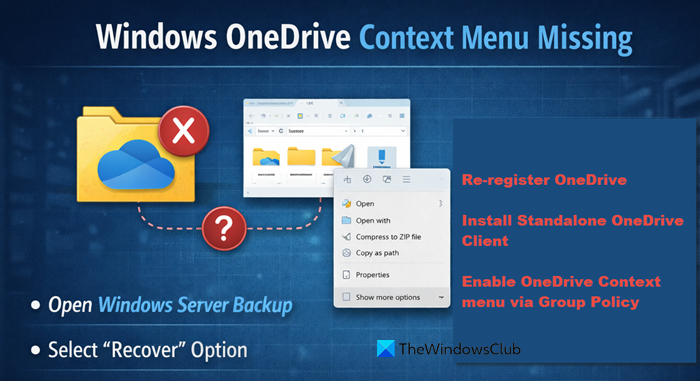
How do I enable the context menu in Windows 11?
Windows 11 shows a simple right-click menu by default. To view the full classic menu, right-click and choose Show more options, or press Shift+F10. If one wants to enable it permanently, then one can do so through the small registry editor and restart Explorer. However, if the context menu is missing, navigate to the next section.
Windows 11 OneDrive context menu missing
If the OneDrive context menu is missing in Windows 11, execute the solutions mentioned below.
- Re-register the OneDrive Shell extension
- Install the standalone OneDrive client
- Enable OneDrive Context menu via Group Policy
- Reset File Explorer and context menu with a batch script
- Disable Launch folder windows in a separate process
Let’s get started.
1] Re-register the OneDrive Shell extension
OneDrive registers special shell extension files (.dll) that tell Windows how to display its options in the context menu. If these files become unregistered or corrupted, the menu items disappear. We are going to re-register these exact files to reinstall the OneDrive-to-Exolorer interface at the system level.
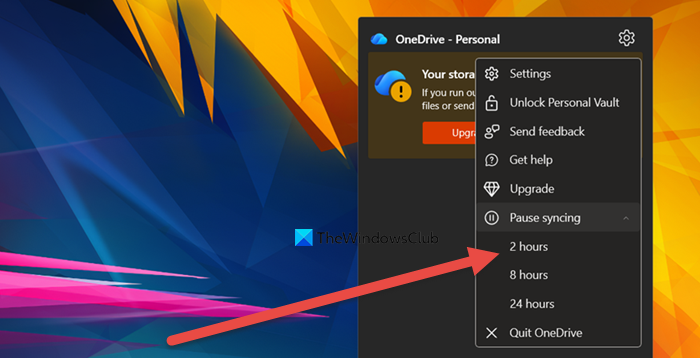
- Right-click on the OneDrive cloud icon and click on the cog icon.
- Click on Pause syncing, select 2 Hours.
- Click on the cog icon > Settings, navigate to the Account tab, and click Unlink this PC.
- Exit OneDrive fully, and press Win + R to open the Run dialogue box. Type ‘cmd‘ and press Ctrl+Shift+Enter to open it with administrative rights.
- Execute the following command to reinstall the Windows Shell extension component:
regsvr32 "C:\Program Files\Microsoft OneDrive\OneDriveShellExt64.dll"
- If you encounter an error or if you are on a 32-bit system, then execute the following command:
regsvr32 "C:\Program Files (x86)\Microsoft OneDrive\OneDriveShellExt.dll"
Restart the device, launch OneDrive, and sign back in. Move to the next solution if the issue persists.
2] Install the standalone OneDrive client
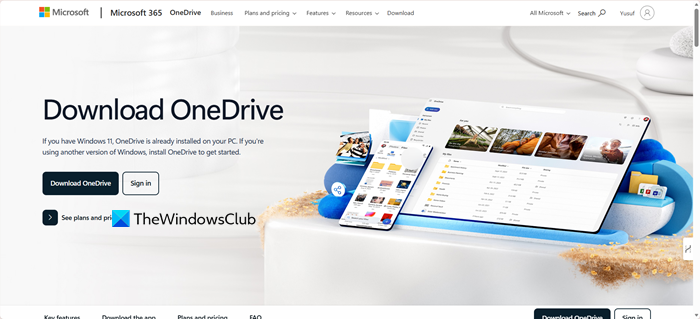
Sometimes, Windows 11 comes with a stripped-down or preinstalled version of OneDrive that lags in features or has incomplete integrations. In such cases, installing the standalone client from Microsoft’s website which is the full complete app, can help resolve the issue.
- Open the browser, go to microsoft.com, and click the Download OneDrive button.
- Launch OneDrive, click on Settings, and go to the Account tab. There, click Unlink this PC and then exit the current OneDrive client.
- Next, locate the downloaded file and double-click to run it. The installer will launch the setup wizard upon completion.
Once done, sign in with the Microsoft account, and when prompted with the sync folder location, point it to your existing OneDrive folder. This will sync the new client with the files and register the context menu entries correctly.
3] Enable OneDrive context menu with a batch script
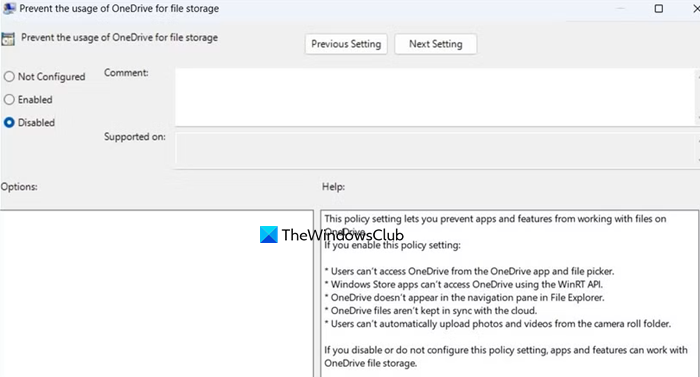
One of the policies, called Prevent the usage of OneDrive for file storage when enabled, acts as a master switch that actively removes OneDrive from the explorer, including its context menu. In this solution, we will review and correct this policy to remove the administrative block and restore OneDrive’s normal integration.
- Press Ctrl + R to open the Run dialogue box, type gpedit.sc, and hit Enter to open the Group Policy editor.
- Navigate to the following location:
User Configuration > Administrative Templates > Windows Components > OneDrive
- Click on the OneDrive folder to load its policies, scroll to find the policy called Prevent the usage of OneDrive for file Storage, and double-click on it to open its configuration window.
- If it is set to Enabled, disable it, and if it was already disabled or set at Not Configured, then set it to Enabled, wait for a few seconds, restart it, and then set it to disabled once again.
- Once done, close the Group Policy Editor, and open Command Prompt with admin rights. There, execute the following command to update the Group Policy Editor:
gpupdate /force
Wait for the command to show Computer policy update has completed successfully and User Policy Update… Restart the device for the changes to take place, and then check the context menu. Slide to the next solution if the context menu is still missing.
4] Reset File Explorer and context menu with a batch script
Windows Explorer stores its UI state in a specific user registry key and memory caches. These caches often get corrupted. We are going to reset File Explorer and context menu with a batch script to restart File Explorer, and delete the exact registry keys that hold this cached UI/state data.
- Right-click anywhere on the screen, hover over New, and select Text Document. A new file named New Text Document.txt will be created. Rename it to FixOneDriveMenu.bat, and hit Yes when prompted with “If you change a file name extension, the file might become useless.”
- Right-click the FixOneDriveMenu.bat file and choose Edit to open it in Notepad.
- Delete any existing text in Notepad, and paste the following code:
@echo off
echo [INFO] Stopping File Explorer process…
taskkill /f /im explorer.exe >nul 2>&1
timeout /t 3 /nobreak >nul
echo [INFO] Clearing Explorer UI state cache…
reg delete “HKCU\Software\Microsoft\Windows\CurrentVersion\Explorer” /v “ShellState” /f >nul 2>&1
reg delete “HKCU\Software\Microsoft\Windows\CurrentVersion\Explorer” /v “States” /f >nul 2>&1
reg delete “HKCU\Software\Microsoft\Windows\CurrentVersion\Explorer” /v “Streams” /f >nul 2>&1
echo [INFO] Restarting File Explorer…
start explorer.exe
echo [SUCCESS] Process completed. Your desktop will return shortly.
echo Please test the OneDrive right-click menu now.
pause
- Click File from the top left of the screen, select Save, and close Notepad. Next, right-click on the FixOneDriveMenu.bat, select Run as administrator, and click Yes.
Follow the on-screen instructions, then test whether the context menu options have returned. See the next solution if the issue is not resolved.
Read: How to encrypt and secure OneDrive files?
5] Disable Launch folder windows in a separate process
Launch folder windows in a separate process is an advanced setting that opens each File Explorer window in its own isolated window. While this improves stability, it can sometimes prevent certain shell extensions from loading correctly or consistently across all windows.
- Open any folder, click on the View menu, and select the … button.
- Select Options from the drop-down menu, and click on the View tab at the top.
- In the long list of Advanced settings, scroll down to find Launch folder windows in a separate process, and uncheck the box.
- Click Apply and OK to save and exit the Folder option window, and perform a full restart.
After the device boots back, log in and test the OneDrive context menu. Hopefully, there won’t be anymore issues with the context menu.
Read: OneDrive shared folders not showing in File Explorer
How to reset OneDrive in Windows 11?
To reset OneDrive in Windows 11, open the Run dialogue box by clicking Win + R, and executing the following command:
%localappdata%\Microsoft\OneDrive\onedrive.exe /reset
After you run the reset command, open OneDrive from the Start menu and sign in again. OneDrive will rebuild its database and start syncing fresh.
Also Read: Free up space in your OneDrive storage.
