
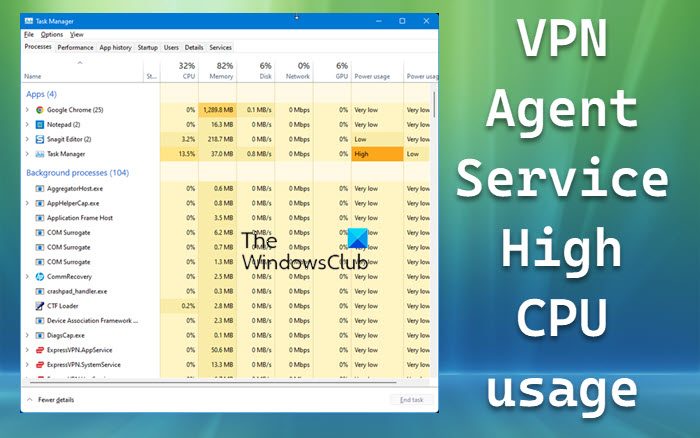
If the VPN Agent Service or vpnagent.exe is showing high CPU usage issue on Windows 11 or Windows 10 computers, here is how you can troubleshoot the problem. This problem comes from the Cisco AnyConnect Secure Mobility Client that you installed on your computer earlier. That said, you need to take a close look at this app to resolve the issue.
VPN Agent Service (vpnagent.exe) High CPU or Data usage
To fix the VPN Agent Service (vpnagent.exe) high CPU, Data or Memory usage issue in Windows 11/10, follow these steps:
- Terminate the process
- Temporarily disable firewall and antivirus
- Change these AnyConnect settings
- Reinstall Cisco AnyConnect Secure Mobility Client
To learn more about these steps, continue reading.
1] Terminate the process
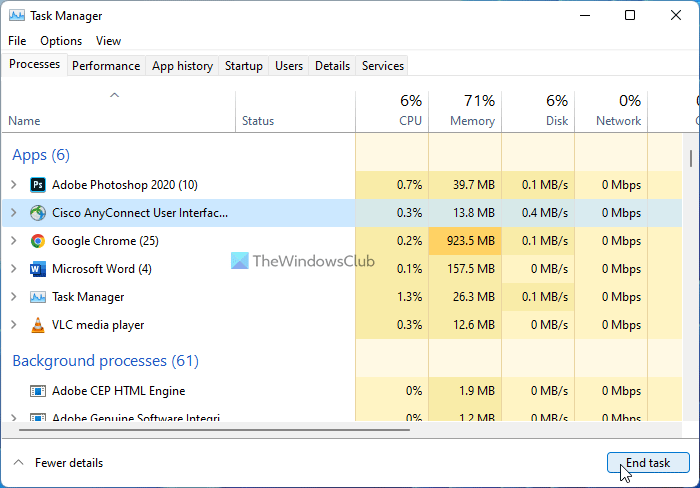
This is the first thing you can do when it is consuming more resources than usual on your computer. If your computer is acting normally, open Task Manager, find the corresponding process, select it, and click End task.
However, in most cases, you won’t be able to use your computer normally. In those cases, you need to wait a while for it to return to normal. Alternatively, you can restart your computer to get it working again quickly.
On the other hand, if the Cisco AnyConnect Secure Mobility Client app is set to start at boot, you need to remove that program from startup. You can follow this guide to disable startup programs in Windows 11/10.
2] Temporarily disable firewall and antivirus
Not all, but some third-party firewall software can cause some issues when you have installed the Cisco AnyConnect Secure Mobility Client on your computer. As it uses a VPN or virtual private network and a firewall scans all incoming and outgoing traffic, the combination might not work on all systems.
Similarly, your antivirus can also cause the same issue. People have reported issues involving Windows Security or Windows Defender. Still, you can temporarily disable Windows Security and check whether it resolves the issue. You should do the same even if you are using a third-party antivirus tool.
3] Change these AnyConnect settings
- Disable Captive Portal Detection in the AnyConnect options
- Disable any settings to send feedback or other telemetry data back to the developer.
4] Uninstall & reinstall Cisco AnyConnect Secure Mobility Client
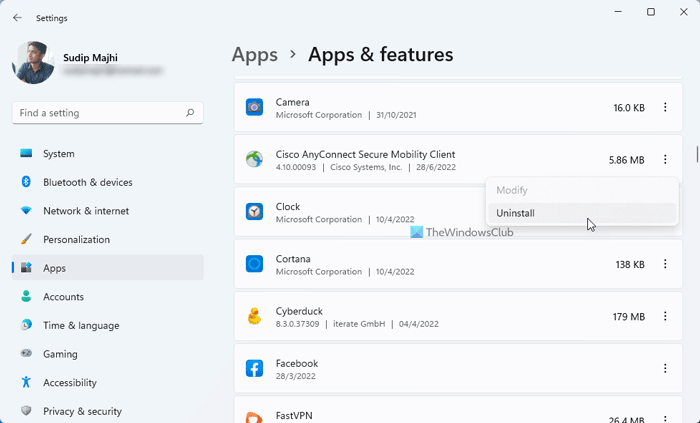
If none of the aforementioned solutions has worked for you, it is the last solution you can opt for. Because this service or process is directly tied to the Cisco AnyConnect Secure Mobility Client app, you need to uninstall it from your computer.
You can uninstall the Cisco AnyConnect Secure Mobility Client in several ways.
- First, you can use the Control Panel to get it removed.
- Second, you can use Windows Settings. In that case, you need to press Win+I to open Windows Settings and go to Apps > Apps & features. Then, click on the three-dotted icon of the Cisco AnyConnect Secure Mobility Client app and select the Uninstall button. Next, you need to confirm the change.
- Third, you can use a software uninstaller tool on your computer. This is the recommended method because it removes any leftover files after the uninstallation process.
After that, download and install the latest version of the software.
If you don’t use this software, you may want to uninstall it from your computer.
Read: Best Free Uninstaller Software for Windows
How to fix VPN high usage?
The basic solution for high CPU or Memory usage by a VPN app is to close it in Task Manager. Since this is a temporary fix, you can also check your firewall or antivirus app, as they often affect resource usage. If nothing helps, uninstall the VPN app to use your computer smoothly.
Read: Fix Services and Controller app High CPU usage in Windows
How to fix vpnagent.exe high CPU usage?
To fix vpnagent.exe high CPU usage on Windows 11/10 PC, follow the solutions above. First, you can terminate the app from Task Manager. Then, temporarily disable your firewall and antivirus software. Finally, uninstall the app from your computer to fix it.
Read: How to fix 100% Disk, High CPU, High Memory usage in Windows.
