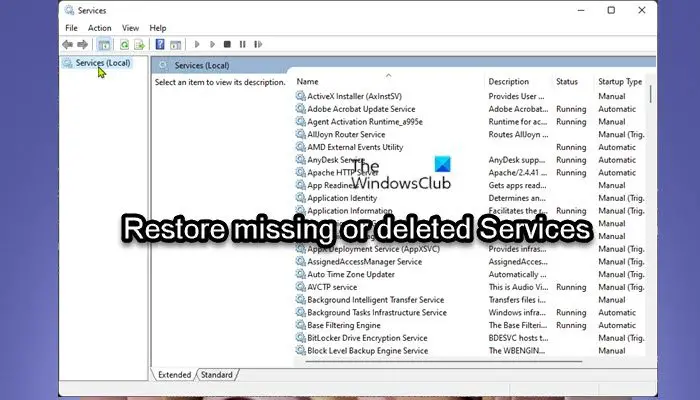
Due to one reason or the other, you may notice one or more Services is deleted in the Services Manager on your Windows 11 or Windows 10 computer. In this post, we will present the various methods or suggestions you can try to successfully restore missing or deleted Services in Windows 11/10.
Restore missing or deleted Services in Windows 11/10
Windows Services are applications that typically start when the computer is booted and run quietly in the background until it is shut down. Essentially, a service is any Windows application that is implemented with the services API and handles low-level tasks that require little or no user interaction. Services provide core operating system features (such as printing, networking, remote access, File Explorer, Windows Search, updates, etc.) and apps to operate as intended.
PC users may need to restore a missing or deleted service or restore service configuration to default if changes to the Service General, Log On, Recovery, or Dependencies properties settings are causing an issue on your system.
You can restore missing or deleted Services in Windows 11/10 in either of the following ways:
- Manually using Registry (.reg) files
- Perform System Restore
- Run SFC and DISM
- Perform Reset This PC, Cloud Reset or In-place Upgrade Repair Windows 11/10
- Clean Install Windows 11/10
Let’s take a look at the description of the process involved concerning each of the listed methods. But before you begin, please create a system restore point first so that you can revert if things go sideways.
1] Manually using Registry (.reg) files
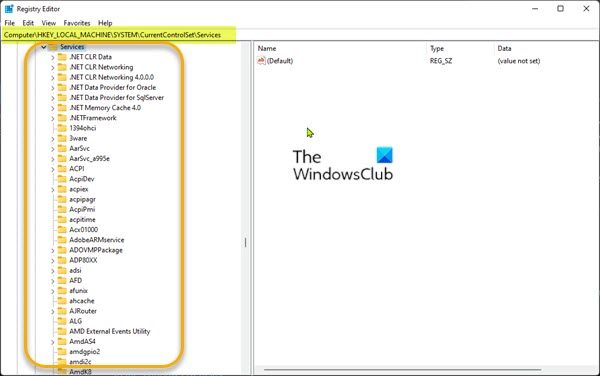
To manually restore missing or deleted Services in Windows 11/10 using Registry (.reg) files, do the following:
- Log into a working recently updated Windows PC.
- Once logged in, press Windows key + R to invoke the Run dialog.
- In the Run dialog box, type regedit and hit Enter to open Registry Editor.
- Navigate or jump to the registry key path below:
HKEY_LOCAL_MACHINE\SYSTEM\CurrentControlSet\Services
- At the location, on the left navigation pane, locate the Service folder for the Service missing/deleted for the other PC.
- Now, right-click the needed Service folder and select Export from the context menu.
- Export the registry key to an external USB drive.
- Once done, unplug the USB drive.
- Next, plug the USB drive to the PC that needs the Service.
- Explore the USB drive and double-click the exported .reg file for the Windows Service you want to restore to merge the file to the Windows Registry.
- If prompted, click on Run > Yes (UAC) > Yes > OK to approve the merge.
- You can now delete the .reg file if you like.
- Repeat for any other missing or deleted Service you want to restore.
- Restart PC when done.
2] Perform System Restore
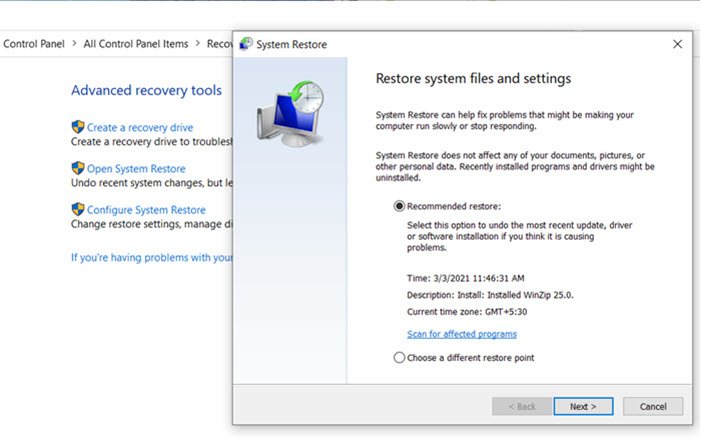
System Restore is a native feature that ships with all versions of Windows OS that basically allows PC users to revert/restore their computer’s state (including system files, installed applications, Windows Registry, and system settings) to that of a previous point in time, which can be used to recover from system malfunctions or other problems.
3] Run SFC and DISM
Maybe some system files have got damaged. Run System File Checker in Safe Mode and see if that helps.
Additionally you may also run DISM Offline to repair a corrupted Windows image and see if that work for you.
4] Perform Reset This PC, Cloud Reset or In-place Upgrade Repair Windows
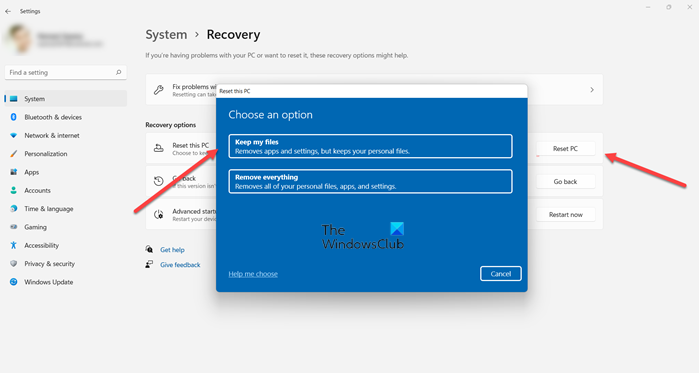
In severe cases of corrupt system files or missing, corrupted, damaged registry keys or even corrupt or damaged system image, you can try Reset This PC, or Cloud Reset to reset every Windows component. You may also try In-place Upgrade Repair which will certainly bring your system back to a pristine condition.
Related: How to repair Windows 11 without losing data or programs
5] Clean Install Windows 11/10
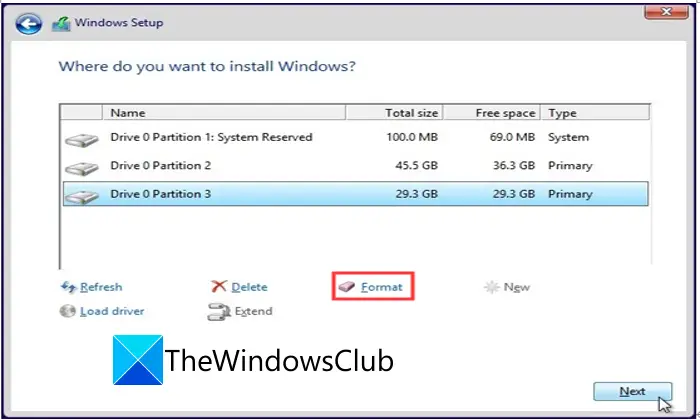
If your PC had any software (mostly when all other software troubleshooting you’ve tried has been unsuccessful) or hardware issues, performing a clean install will likely resolve any problems. Keep in mind that during a clean install of Windows 11/10, which is recommended as a last-ditch troubleshooting process—all the data on the computer’s hard drive will be erased — so be sure to take any necessary precautionary measures before you proceed with the procedure.
That’s it!
How to reset all Windows Services to default settings?
The best way to reset all Windows 11/10 Services to default settings is by running Reset This PC. The other way is to use the Repair this computer option in Windows Setup. There is also this script available on GitHub that claims to set Windows 10 Services back to default values based on Black Viper’s Service Configurations.
How do I restore Windows without a restore point?
To restore Windows 11/10 without a restore point, you can use System File Checker, Run the DISM scan, Use Reset This PC or Repair your computer using an installation media. This will get your Windows back in a healthy condition.