
A device is placed into an unspecified category when Windows cannot identify or find a driver for that hardware. In this case, if you see the Printer showing as an Unspecified device in Windows 11 or Windows 10 computer, then this post will help you resolve it.
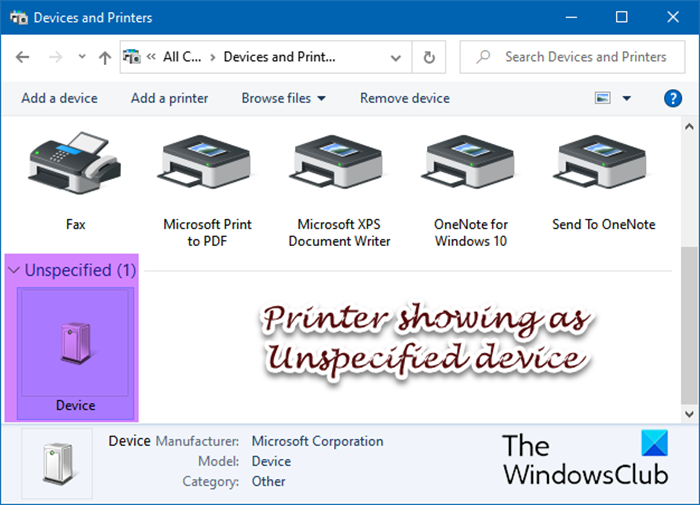
Why does the Printer appear as an Unspecified Device?
It can be caused by a corrupt driver or by a driver that is not compatible with the version of Windows. It can also happen when you try to use an old printer that worked with an older version of Windows. At times, such errors can be fixed by restarting the PC. Assuming this doesn’t work, let’s find a possible solution to resolve this problem.
Printer showing as Unspecified device on Windows 11/10
If you see the Printer showing as an Unspecified device in Windows 11 or Windows 10 computer, follow these suggestions one by one to check which one worked for you.
- Change USB Port
- Run the Printer troubleshooter
- Manually Update Driver
- Reinstall Printer
You will need an admin account to attempt these suggestions.
1] Change USB Port
A faulty USB port can sometimes cause an unspecified device to appear on your PC. When you connect anything, including a printer, Windows will not recognize it. The only way out is to change the port and see if that works for you.
You can apply the same for the USB wire that connects the Printer to the laptop. You can either buy or borrow a similar cable and give it a try.
2] Run Printer troubleshooter
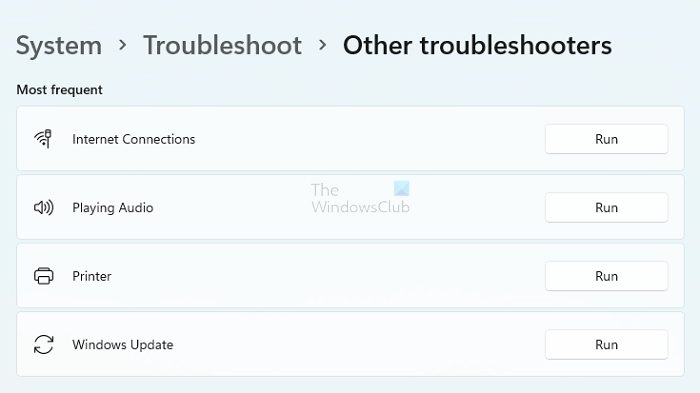
Windows includes a set of built-in troubleshooters, including one for printers. When you run the tool, it will check the virtual ports, services, or anything else that might be blocking the Printer from being recognized as a valid device.
Go to Settings > System > Troubleshoot > Other troubleshooters. Locate the Printer troubleshooter, and click on the Run button. Once the wizard completes the process, reconnect the printer and check if the issue is resolved.
3] Manually Update Printer Driver
While Windows Update downloads the driver of any device that is connected, it is possible this did not happen. The best approach is to manually download and install the driver.
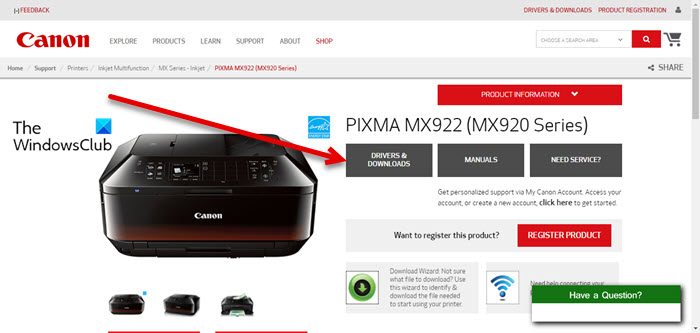
Most OEMs have a dedicated download page where anyone can find drivers by model number and Windows version. Once you’ve downloaded and installed the driver, check whether the issue persists.
4] Reinstall Printer
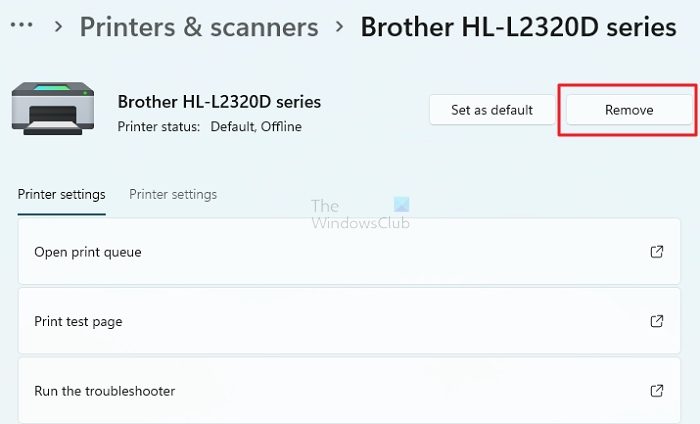
If you were already using the Printer, which happened after an update or any configuration change, you need to uninstall the Printer. There are two ways of doing this.
Using Device Manager
Use Win + X to open Power Menu, and then click on Device Manager. Expand the Printer section, and then right-click on the Printer you want to remove. Choose Uninstall device and complete the steps.
Using Device Settings
Open Windows Settings and navigate to Bluetooth & devices > Printer & scanners. Select the printer that you want to delete. Once the printer page opens, click the Remove button. The device will be removed from the System, but it may remember a few settings around the device.
After following any of the methods, ensure to restart the PC. Done that, reconnect the printer to the laptop, and let Windows detect it. Ensure to install the OEM driver instead of letting Windows install a generic driver.
I hope these suggestions were easy to follow, and you were able to resolve the error related to the Printer showing as an Unspecified device on a Windows computer.
Related: Devices and Printers page is blank in Windows.
How do I check my printer for errors?
There are two ways to know about it. First, run the Windows Printer Troubleshooter, which can fix most issues that the software can address. The second method is to check the Event Logs for any printer-related activities. If you can understand the logs, it can tell you a lot more about them. You will need an admin account to access the Event logs.
Read next: Printer icon not showing in Devices and Printers.
