The Microsoft 365 network connectivity test tool is a diagnostic utility designed to validate a client’s connectivity to Microsoft 365 services by running checks on network latency, DNS resolution, and data throughput. When this tool fails, it prevents administrators from accurately assessing the health and performance of their network path to Microsoft’s infrastructure. In this post, we are going to see what to do if Microsoft 365 network connectivity test tool fails.

Why is the Microsoft 365 connectivity test not working?
The tool typically fails to establish the required connections to Microsoft’s front-door servers or service endpoints due to network interference. This is often caused by on-premises firewall rules or proxy servers that are blocking the specific HTTPS endpoints or IP ranges required by the tool. Additionally, misconfigured DNS settings that fail to resolve Microsoft’s URLs correctly, or the presence of SSL inspection (decryption) on the network path, can corrupt the data stream and cause the connectivity tests to abort.
Fix Microsoft 365 network connectivity test tool fails
If Microsoft 365 network connectivity test tool fails, you need to follow the solutions mentioned below.
- Whitelist required URLs and IP ranges on Firewall/Proxy
- Bypass the SSL Inspection
- Flush DNS and Switch to a Public DNS Provider
- Disable IPv6 or Check Network Adapter Settings
Let us talka bout them in detail.
1] Whitelist required URLs and IP ranges on Firewall/Proxy
Firewalls and proxies often block the specific Microsoft endpoints the tool needs to connect to in order to download test scripts and send data. By explicitly allowing these domains and IPs, you remove the blockage that causes the tool to stall at startup or fail to complete its tests. You need to follow the steps mentioned below to do the same.
- Determine if you are behind a corporate firewall, a proxy server (like Zscaler or Bluecoat), or using network security software.
- Log in to your firewall administration console or proxy management interface.
- Navigate to the URL filtering or web content filtering section. Create a new allow rule (or exception) for the following domains:
- *.office.com
- *.cloud.microsoft
- connectivity.office.com (The specific tool domain)
- Check if you have Geo-IP filtering enabled. Temporarily disable blocking for Microsoft’s regions, or ensure that Microsoft’s IP ranges are added to the allowed list.
- You can download the official Microsoft 365 IP ranges here: Microsoft 365 URLs and IP address ranges (learn.microsoft.com).
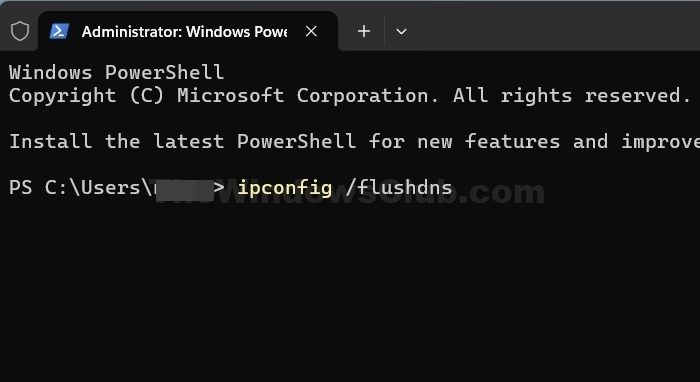
- Save the configuration changes. Clear your browser cache and DNS cache (
ipconfig /flushdnsin Command Prompt), then re-run the Microsoft 365 connectivity test tool.
Finally, check if the issue persists.
2] Bypass SSL Inspection
SSL inspection breaks the encrypted tunnel between the tool and Microsoft’s servers by presenting a fake certificate the tool doesn’t trust. When the tool detects this certificate mismatch during the data validation phase, it aborts the connection to prevent man-in-the-middle attacks.
We need to go through the steps mentioned earlier, but this time, instead of performing a URL filtering or Web-based filtering, you need to create a new rule that exempts the following domains from any form of SSL inspection or decryption.
- *.office.com
- *.cloud.microsoft
- connectivity.office.com
Save the changes and allow a few minutes for the policy to propagate. Run the Microsoft 365 connectivity test tool again and check if the data tests now complete successfully.
3] Flush DNS and Switch to a Public DNS Provider
Internal DNS servers often return cached, outdated, or geographically incorrect IP addresses for Microsoft’s front-door servers. This causes the tool to connect to the wrong endpoint, leading to resolution failures or high latency errors during the test. Do the following to change DNS settings.
- Press Windows Key + S, type cmd, right-click and select Run as administrator.
- Type
ipconfig /flushdnsand press Enter. You should see a confirmation message. - Change DNS Settings:
- Go to Control Panel > Network and Sharing Center > Change adapter settings.
- Right-click your active network adapter and select Properties.
- Select Internet Protocol Version 4 (TCP/IPv4) and click Properties.
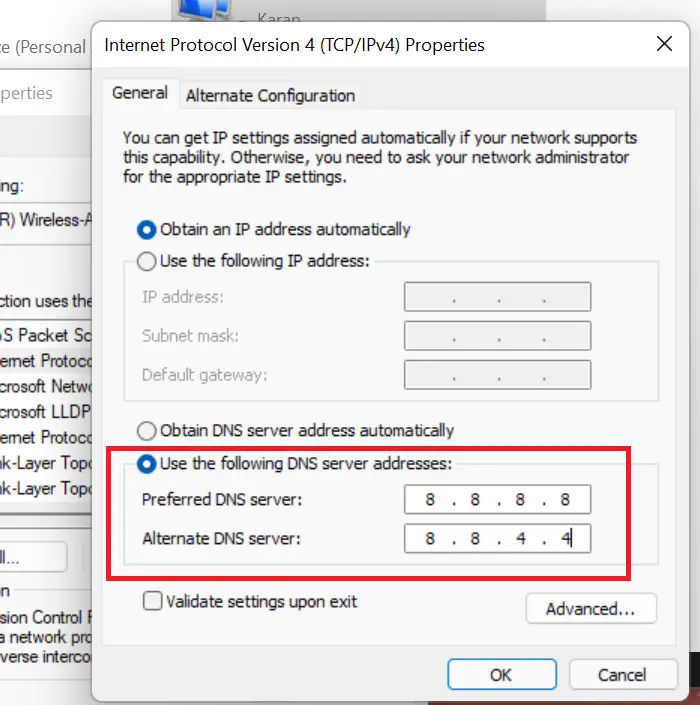
- Select Use the following DNS server addresses.
- Enter 8.8.8.8 (Google) or 1.1.1.1 (Cloudflare) as Preferred DNS.
- For Alternatate DNS Server: 8.8.4.4 (Google) or 1.0.0.1 (Cloudflare).
- Click OK to save, close all windows, and run the connectivity test tool again.
Finally, check if the issue is resolved.
Read: Microsoft Dynamics 365 app for Outlook installation failed
4] Disable IPv6 or Check Network Adapter Settings
Windows often attempts to use IPv6 for connectivity if it is enabled, but if your network has broken or misconfigured IPv6 routing, the tool fails immediately with a Network unavailable error. Disabling IPv6 forces the tool to use IPv4, which is typically stable.
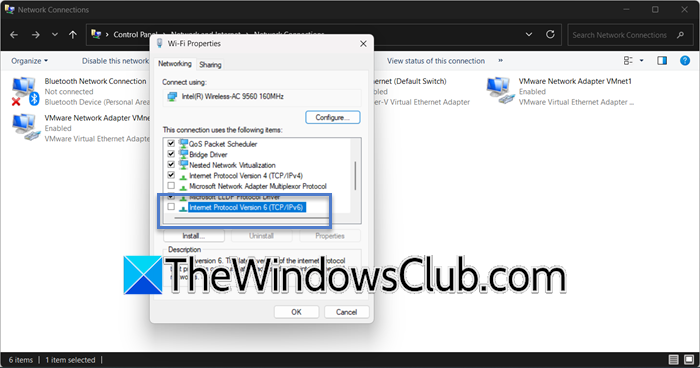
- Press Windows Key + R, type ncpa.cpl, and press Enter.
- Right-click your active network connection (Wi-Fi or Ethernet) and select Properties.
- In the list of items, find Internet Protocol Version 6 (TCP/IPv6).
- Uncheck the box next to it.
- Click OK to save the changes.
Run the Microsoft 365 connectivity test tool. If it works now, your IPv6 configuration is faulty and needs investigation, or you can leave IPv6 disabled.
What ports and URLs does the Microsoft 365 test tool use?
The tool primarily uses HTTPS over port 443. It requires access to connectivity.office.com, .office.com, and .cloud.microsoft domains to download scripts and perform tests. Additionally, the tool may need to authenticate with Microsoft’s identity platforms, so access to login.microsoftonline.com is also required for complete functionality.