Have you ever found yourself staring at a sluggish, error-ridden, or simply misconfigured virtual machine (VM) in VirtualBox, wishing for a fresh start? You’re not alone. This is a common issue, and one solution is to reset the machine. In this post, we will see how to reset a virtual machine in VirtualBox.
How to reset a Virtual Machine in VirtualBox
If you want to reset your VirtualBox virtual machine, follow the steps below.
- Reboot your VM
- Reset using Snapshot
- Delete and recreate
Let us talk about them in detail.
1] Reboot your VM

When you click on the Reset button in VirtualBox GUI, it sends a hardware reset signal to the virtual machine, simulating pressing the physical reset button on a PC. It’s slightly more forceful than a graceful shutdown from within the guest OS and is useful if the VM is unresponsive. To do the same, follow the steps below.
- Open Oracle VirtualBox.
- Right-click on your virtual machine.
- Now, click on Reset.
Always shut down the guest OS properly first (e.g., by clicking Start > Shut down in Windows). Use the Machine > ACPI Shutdown option as a gentler alternative if the OS is still responsive.
2] Reset using snapshot
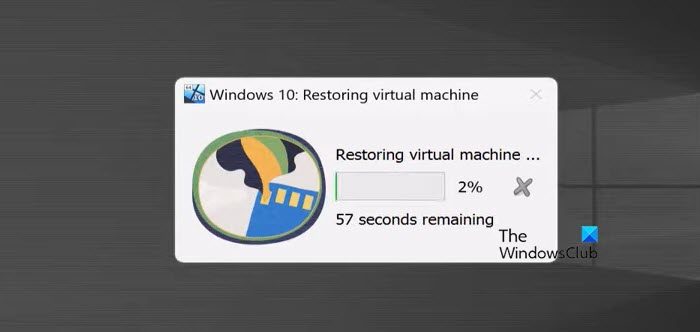
The Snapshot method works like a special “undo” for your virtual machine. When you restore a saved snapshot, you go back to the exact state the VM was in when you took the snapshot. This means you can reset the system by removing all changes made after that point. It’s a quick and reliable way to fix errors or unwanted changes.
First, you need an existing snapshot to reset to it. You can create one by selecting the machine, clicking on the Machine tab, and selecting Tools > Snapshot > Take.
If you already have a snapshot, follow the steps below.
- Shut down the machine.
- Then, go to the Machine > Tools > Snapshot.
- Select a snapshot and click on Restore.
- Finally, confirm your action and let it restore.
This should do the job for you.

3] Delete and recreate
We need to permanently destroy the virtual machine’s storage file, which contains the entire installed operating system and all its data. By deleting this core file and removing the machine’s configuration, all traces of the previous setup are erased. You then build a completely new virtual machine from the ground up, ensuring a 100% fresh start.
To perform a complete factory reset, follow the steps mentioned below.
- If there are files inside the VM you need, use shared folders or a USB drive to copy them to your host machine.
- Power Off the VM completely.
- Right-click on the VM and select “Remove”.
- A dialog will pop up with two options:
- Remove only: This only removes the VM from VirtualBox’s list. The virtual hard disk file (.vdi, .vmdk, etc.) is left on your physical hard drive. You can attach it to a new VM later.
- Delete all files (we need to select this): Select this to remove the VM configuration and permanently delete the virtual hard disk file. Basically, a True Reset.
Finally, create a new machine from the VirtualBox GUI.
Read: VirtualBox can’t overwrite the machine folder
How do I restore a VirtualBox virtual machine?
To restore a VirtualBox virtual machine, you typically use the Snapshot feature. Open the VirtualBox Manager, right-click your VM, and select Snapshots to view your saved restore points. Then, select the desired snapshot and click Restore to revert the machine to that previous state, effectively undoing all changes made afterwards.
Read: VirtualBox not signed with build certificate
Can I reset a VM?
Yes, you can reset a VM using one of two main approaches. For a soft reset that returns the system to a known good point, simply restore a previously created snapshot. For a complete factory reset that wipes everything, you must delete the virtual machine and its hard disk file before creating a brand new one.
Also Read: Recover deleted files from VMware Datastore.