Fonts in Windows 11 and Windows 10 are located in the C:\Windows\Fonts folder. Windows features over 40 new fonts. However, if you still wish to install new fonts in Windows 11/10 for all users, the process is now quite simple.
How to Install Fonts in Windows 11/10

You can download fonts from the Microsoft Store or third-party websites:
- Download the font, which you would like to install.
- There are several websites that offer free font downloads.
- Unzip the font.
- Now right-click on it and click on Install.
That’s it.
How to Preview Fonts

If you’d like to preview the font and then install it, double-click on the font and view it in the Font Viewer. In the taskbar, you will see two buttons; Print and Install. Click on Install to install the font.
Related: Cannot delete Font files in Windows
Install fonts via Windows Settings and Microsoft Store
In Windows11. you have to open Settings > Personalization > Fonts.

Simply drag and drop the font into the designated box to install it.
Windows 10 also allows you to easily download and install fonts via Settings.
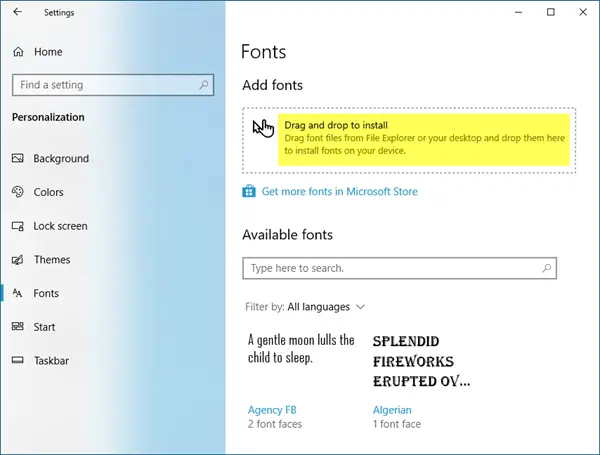
Open Settings > Personalization > Fonts. Simply drag and drop the font into the designated box to install it.

This post will show you how to download and install Fonts from Microsoft Store.
How to Uninstall fonts in Windows 11/10
Via Control Panel
To uninstall the font, open the Fonts Control Panel applet, select the font and click on the Delete option available in the menu bar.
Via Windows 11 Settings

Open Windows 11 Settings > Personalization > Fonts, select the font, and then in the next window which opens up, click on Uninstall.
Via Windows 10 Settings
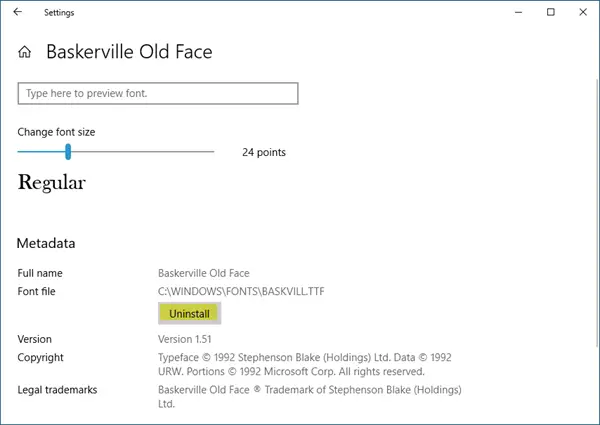
Open Windows 10 Settings > Personalization > Fonts, select the font, and then in the next window which opens up, click on Uninstall.
TIP: How to restore default fonts may also interest you.
How to install or remove a font in Windows?
To install a font in Windows, download and unzip the font file, then right-click it and select “Install.” To remove a font, go to “Control Panel,” select “Appearance and Personalization,” then “Fonts.” Find the font you want to remove, right-click it, and choose “Delete.” This will uninstall the font from your system.
How to manually install fonts in Windows?
To manually install fonts in Windows 11/10, navigate to the C:\Windows\Fonts folder. Drag and drop your desired font files into this location, and Windows will automatically install them. For a preview, right-click the font file in the folder and select “Preview” to see its appearance before use.
Related read: How to install & change Fonts only for yourself.