Black and White printing not working? If you are using a color printer and grayscale printing is not working in Windows 11, here is how to fix it. Whether you use a Canon, Brother, Epson, or any other brand, you can go through these basic solutions to troubleshoot this problem.

Why is grayscale printing not working in Windows 11?
If grayscale printing is not working in Windows 11, these could be the reasons:
- The ink level has gone down or there are some issues with the ink cartridge or ink tank.
- Your printer driver is corrupt.
- The wrong option is selected in the settings wizard.
- There are some issues with the system services.
Grayscale printing not working in Windows 11
If grayscale printing is not working in Canon, Brother, Epson, or any other brand in Windows 11:
- Reinstall printer driver
- Check ink level
- Select the correct option in settings
- Reset your printer
- Ensure app override
- Restart Print Spooler service
Black and White printing not working in Windows 11
1] Reinstall printer driver
It is the very first thing you must do. It is suggested to download and install the latest Printer Driver and Firmware first before using the printer.
You can simply search for the “printer name +driver” to find the official driver download page. Please DO NOT download it from any third-party sources.
2] Check ink level
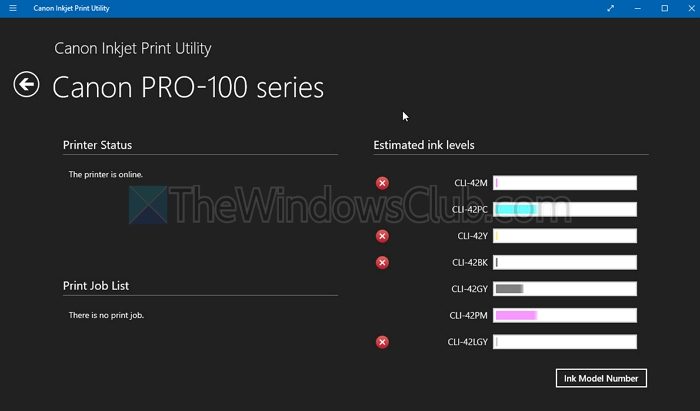
It is the second thing you must check. If you have an ink tank printer, it is very easy to check Printer Ink Levels. If the black ink level is low, you must refill it. Otherwise, you will keep getting the aforementioned problem. It is recommended to use the original, company-made ink rather than any third-party or low-quality ink.
3] Select the correct option in settings
It is the most important solution you should go through. First, you must check the default print dialog. For that, do the following:
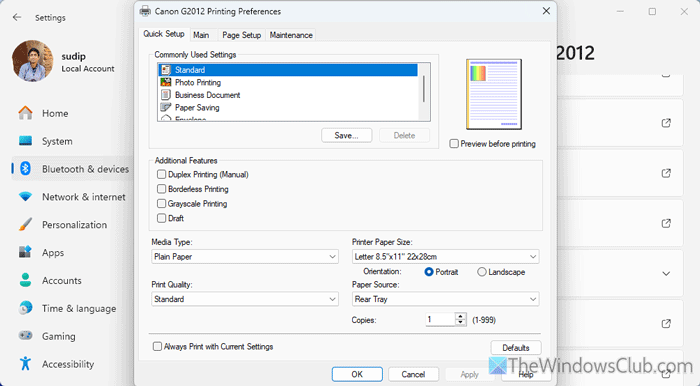
First, press Win+I to open the Windows Settings and go to Bluetooth & devices > Printers & scanners. Click on your printer and select the Printing preferences menu.
Here you can find a few options in the Commonly Used Settings box. Choose the Standard option and tick the Grayscale Printing checkbox.
Then, choose the Photo Printing and tick the same checkbox. Similarly, you need to tick the same checkbox for all the options one by one.
Then, switch to the Main tab and tick the Grayscale Printing checkbox. Once done, click the Apply and OK buttons respectively.
Read: How to change Printer default settings in Windows 11
4] Reset your printer
Nowadays, almost every printer comes with an option to reset the preferences and settings to the factory defaults. Unless your printer is 15-20 years old, you can go through this article to reset the printer. Once the reset process is done, print a colored image in grayscale mode so that you can verify the change.
5] Ensure app override
In the third solution, you have verified that the correct Grayscale Printing option is selected. However, that is not enough, as many apps such as Notepad, Word, Chrome, etc., can override that setting within moments. In other words, you must select the correct option in the app that you are using to print the file.
Here we have enlisted some of the common apps and their settings:
Chrome:
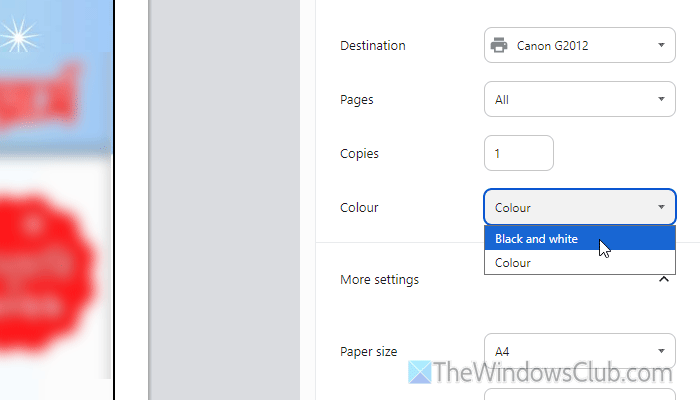
In Google Chrome, press Ctrl+P to open the print dialog first. Then, head to the Color menu and choose Black and white option. Finally, click the Print button.
In case you cannot find that option, press Ctrl+Shift+P instead of Ctrl+P. Then, head to the Color mode menu and select Grayscale.
Microsoft Edge:
Microsoft Edge offers you a direct option to choose black-and-white printing. In this case, you will have to expand the Color menu and choose the Black and White option.
Microsoft Word:
Open the Word document and press Ctrl+P. Then, click on the Printer Properties option. Choose the Standard option from the menu and tick the Grayscale Printing checkbox. Click the OK button to save the change. Following that, you can print in Black & White.
PowerPoint:
Although Word and PowerPoint options are the same, PowerPoint gives you a direct option unlike Word. In this case, you can find a menu that allows you to choose among these three options:
- Pure Blank and White
- Grayscale
- Color
You can either choose the Grayscale or the Pure Black and White option.
Photos:
If you use the Photos app to open images and print them, press Ctrl+P first. Then, click on the More settings option. Scroll down and find the Color mode menu. Choose the Grayscale option.
6] Restart Print Spooler service
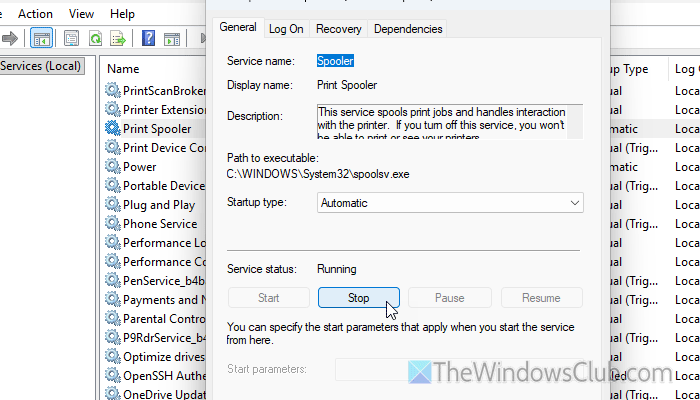
The Print Spooler service is the primary service responsible for all kinds of printing jobs. If this service has some issues, you won’t be able to print as usual. In that case, you must restart this service or check whether it is running.
For that, open the Services wizard and find the Print Spooler service. Double-click on this service and click the Stop button first.
Then, choose the Automatic option from the Startup type menu and click on the Start button. Finally, click the OK button to save the change.
Read: Printer not printing in color on Windows 11
How to fix grayscale on Windows 11?
To fix the grayscale printing problem on Windows 11, first check that the correct option is selected. Then, check the ink level and reset your printer.
How to print grayscale in Windows 11?
To print in grayscale, choose either Black & White or Grayscale in the color profile. Whether you want to print a PDF, an image, or anything else, the Print dialog lets you choose the color before printing.
Read: How to print Black and White in Word on Windows 11.