If you want to forward Zoho emails to Gmail, even on Zoho free accounts, here is how you can do that. There are mainly three options available to view Zoho mail on Gmail. We have described all these methods so that you can choose one that suits your needs.
How to forward Zoho emails to Gmail using email forwarding
To forward Zoho emails to Gmail using email forwarding, follow these steps:
- Log in to your Zoho email account.
- Click on the Settings.
- Go to the Mail accounts section.
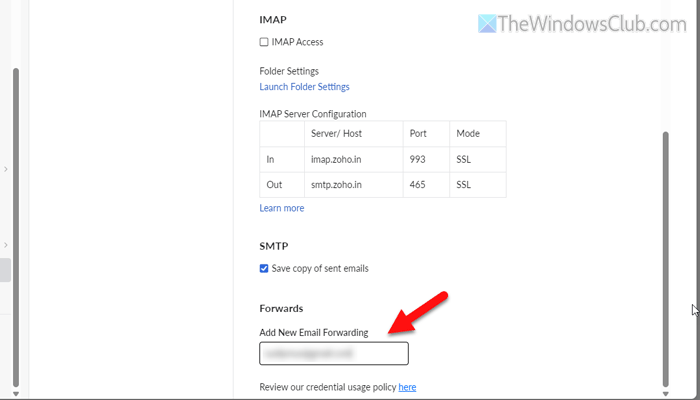
- Head to the Forwards section.
- Enter your Gmail address and hit the Enter button.
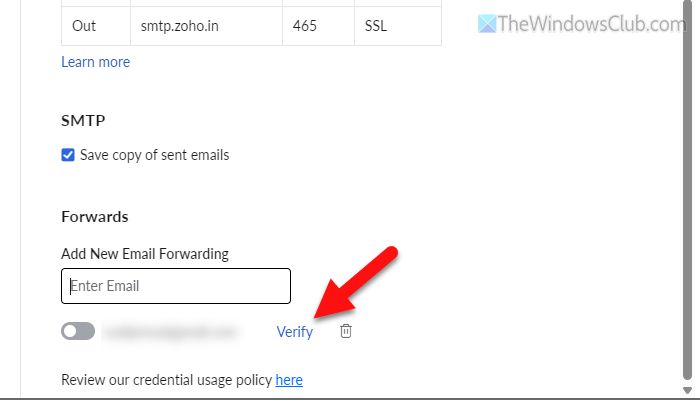
- Click on the Verify button.
- Enter the verification code.
All three methods work smoothly on the free version of Zoho.
First, log in to your Zoho mail account and click on the Settings gear icon, visible in the top-right corner.
Then, switch to the Mail accounts section and head to the Forwards menu. Here, you need to enter your Gmail address in the Enter Email box and hit the Enter button.
Click on the Verify button and enter the verification code received in your Gmail account.
Once you verify your account, you will start receiving all the emails to your Gmail account automatically.
In case you want to stop receiving them, click on the Delete icon next to your Gmail address and click on the OK button.
How to forward Zoho emails to Gmail using Check mail from other accounts
Before getting started with the steps, it’s essential to know that Gmail offers an in-built option that allows you to fetch emails from another email account and view them directly in Gmail. Here is how you can set things up:

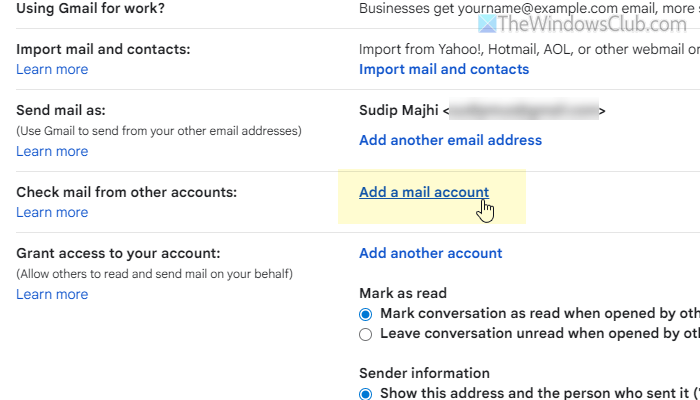
First, you need to open Gmail and go to the Gmail Settings panel. Switch to the Accounts and Import tab and head to the Check mail from other accounts section. Then, click on the Add a mail account option, enter your Zoho mail account, and click the Next button.
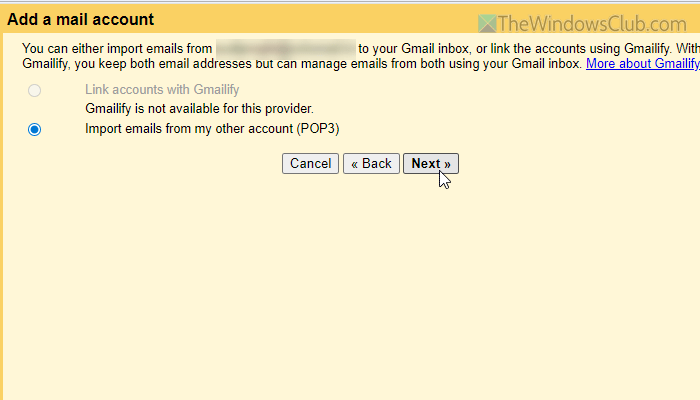
Choose the Import emails from my other account option and click on the Next button.
Enter the following details:
- Username: Zoho email account
- Password: your Zoho mail account password
- POP Server: zoho.com
- Port: 995
Tick all three checkboxes from the top and click the Save Changes button.
If you want to send/reply to an email from your Zoho mail account, you can choose the first option. Otherwise, click the No option and click the Next button.
Once done, you will start receiving emails from Zoho. However, if you see any error message while adding the email account to Gmail, you need to enable POP Access from your Zoho mail account. For that, open the Zoho mail Settings panel and go to the Mail accounts section. Tick the Pop Access option and click the Save button.
Then, you won’t find any errors while adding your Zoho mail account.
How to forward Zoho emails to Gmail using Outlook
To forward a Zoho email to Gmail using Outlook, follow these steps:
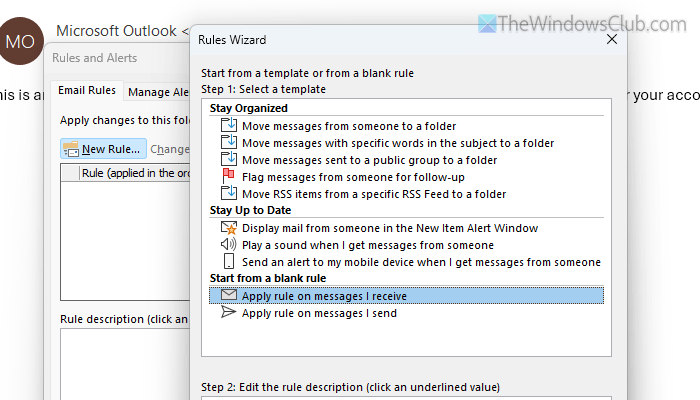
To get started, open the Outlook app and make sure that you have already added your Zoho mail and Gmail accounts to Outlook. If so, click on the Rules > Manage Rules & Alerts. Click on the New Rule and select the Apply rule on messages I receive option.
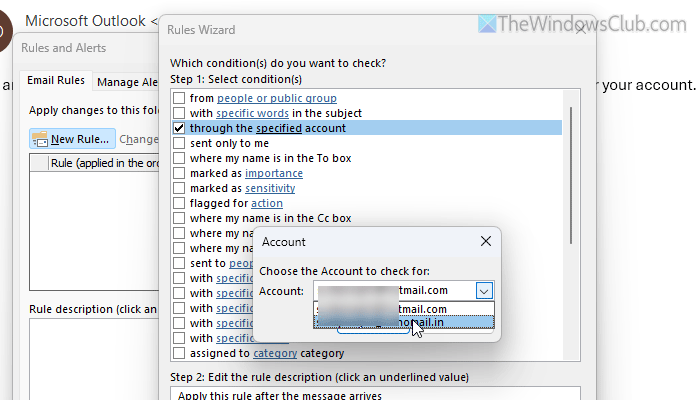
Select the though the specified account option and choose your Zoho mail account.
Select the move a copy to the specific folder option and choose a folder in your Gmail account.
Once you do that, all the emails from your Zoho mail account will be forwarded to your Gmail account.
There are two major drawbacks of this method:
- You must keep your Outlook app open at all times to execute the aforementioned task.
- Your computer must be connected to the internet at all times.
Read: How to Automatically Forward Email in Outlook
How do I forward my Zoho email to Gmail?
To forward your Zoho email to Gmail, you have three options:
- Use the built-in email forwarding method of Zoho.
- Use the built-in email fetching facility of Gmail.
- Use Outlook to create a rule to forward Zoho emails to Gmail.
How to set up email forwarding in Zoho?
To set up email forwarding in Zoho, open the Settings panel first. Then, go to the Mail accounts settings and find the Forwards section. Enter your email address and hit the Enter button. Next, enter the verification code and verify your added email address. Finally, click the Save button.
Read: How to forward Multiple Emails in bulk on Gmail.