
If when you boot your Windows computer and encounter the Error 0211: Keyboard not found, then this post is intended to help you resolve the issue with the most suitable solutions.
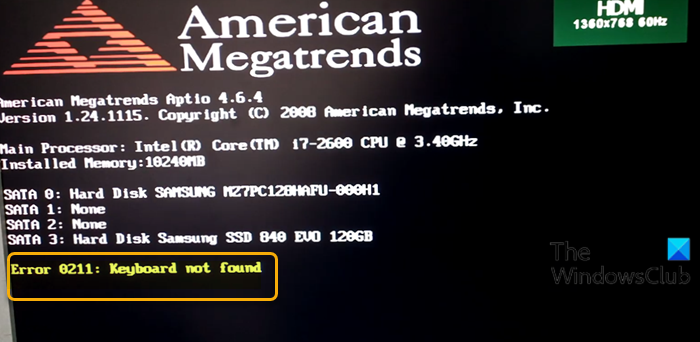
Fix Error 0211 Keyboard not found on Windows 11/10
If you’re faced with this issue, you can try our recommended solutions below and see if that helps to resolve the issue.
- Clear CMOS
- Update BIOS
- Enable USB Legacy Support in BIOS
- Check if keyboard is short-circuited.
This error pops up during boot time, so what you will have to do is chek if the keyboard is connected properly and then boot into BIOS or UEFI.
1] Clear CMOS
Once you have entered BIOS/UEFI settings, you should clear CMOS to reset the BIOS. If the error is due to a misconfigured BIOS setting, resetting BIOS to its default values will most likely fix the issue.
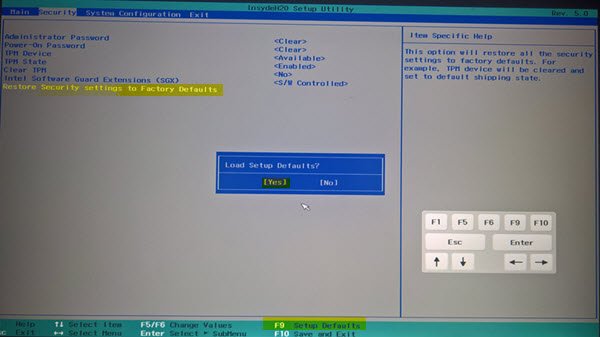
You can reset the BIOS setting to its default values by removing and re-inserting the CMOS battery. The CMOS battery is flat and round in shape. It looks like the ones used in electronic toys and watches. If it’s not removable, don’t try to remove it; instead, reset the BIOS from within the BIOS environment.
To clear the CMOS on your Windows 11/10 computer, do the following:
You may require the services of a hardware technician.
- Turn off all peripheral devices connected to the computer.
- Disconnect the power cord from the AC power source.
- Remove the computer cover.
- Find the battery on the board. The battery may be in a horizontal or vertical battery holder, or connected to an onboard header with a wire.
If the battery is in a holder, note the orientation of the + and – on the battery. With a medium flat-blade screwdriver, gently pry the battery-free from its connector.
If the battery is connected to an onboard header with a wire, disconnect the wire from the onboard header.
- Wait one hour, then reconnect the battery.
- Put the computer cover back on.
- Plug the computer and all devices back in.
- Power on the computer.
The computer should boot normally without the error. If not, try the next solution.
2] Update BIOS
To update the BIOS, visit the manufacturer’s site to download the BIOS update. Identify your product by entering the Service Tag or serial number.
You can also BIOS Update applications released by the OEMS.
3] Enable USB Legacy Support in BIOS
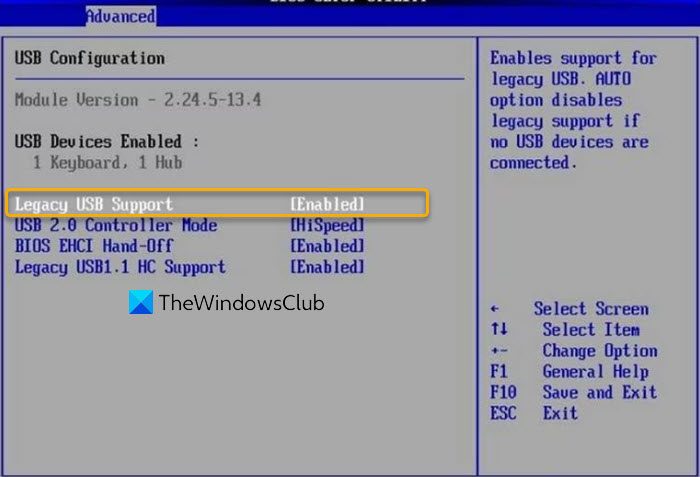
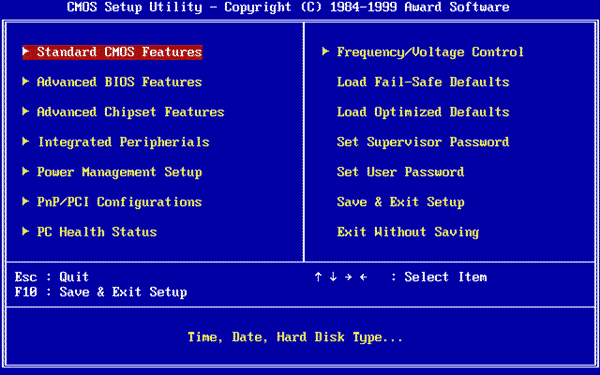
Once you have entered the BIOS setup, locate USB Legacy Support and make sure it’s enabled. Save the changes and exit.
4] Check if keyboard is short-circuited
Follow the instructions on the laptop manufacturer’s website for the removal of the keyboard in terms of removing the screws only. Remove the battery from the bay and ensure you’re grounded before proceeding. Remove the screws on the back of your laptop. Do not actually disassemble the notebook, just remove the screws. Replace the battery, turn your system on, and see if it works. If it does not, this fix is not for you.
But if it works, turn it off again and remove the battery. Re-insert the screws, which are in a line towards the front of the case. Replace the battery and turn your system on. If it works, then the keyboard was short-circuited by the single screw in its middle, which holds it in place. Your system will operate fine without that one screw as the keyboard is being held in by the wrist-rest’s screws as well.
I hope this helps!
Related post: Laptop keyboard not working on Windows.
Keyboard not found, Press F1 to continue
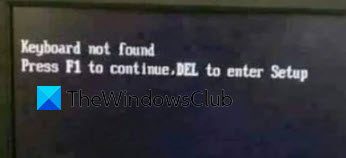
A similar error message that you may see at boot time is Keyboard not found, Press F1 to continue, DEL to enter Setup. The funny thing is, how do you press F1 when the keyboard is not working!? What you can do is check if your keyboard is working fine and attached properly. You could also attach a working keyboard and then f1 or DEL.
Next you should enter the BIOS setup, and follow one or all of these suggestions:
- Enable USB Legacy Support
- Reset BIOS
- Set Halt On to No Errors. Disable the Floppy Drive and set the primary boot device to your hard drive.
These have been explained above in the post.
