It is always advisable to create recovery media when installing a new operating system or upgrading the existing one. In the event of a system failure, you can always boot the computer with the recovery drive or media and try to fix the system. Earlier, in Windows 7, you could only create recovery media on optical media (CD-RW or recordable DVD), but this changed in Windows 11/10. Now, you can use a USB Flash Drive, too!
The Recovery Drive can be used to help troubleshoot problems with your Windows PC even if it cannot start. If your PC came with a recovery partition, you could also copy it to the recovery drive so that you can use it to Refresh your PC or Reset your PC.
Create a Recovery Drive in Windows 11
As highlighted above, you can use both USB-based and disc-based recovery media. We will use USB-based recovery media here. First, you need to find the Windows Recovery Drive Creator.
Windows Recovery Drive Creator
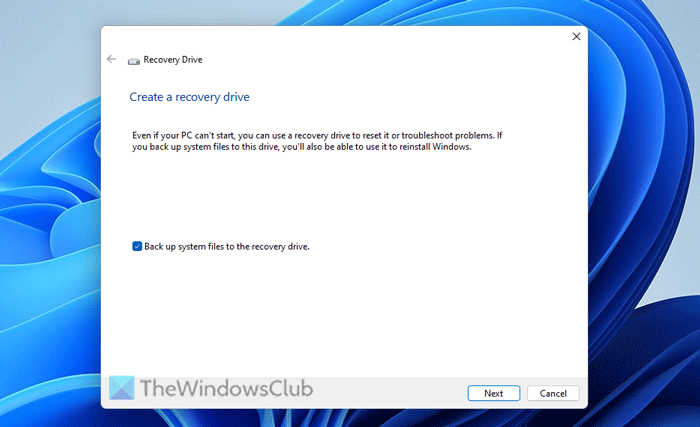
To access it, type ‘recovery drive‘ in Start Search. There, a ‘Create a recovery drive‘ option will be visible to you. Click on that option. The Recovery Media Creator is a desktop-based wizard that guides you through the process of creating the recovery drive.
Click on ‘Next, ‘ and you will be asked to connect a USB Flash drive with the following notification – The drive must be able to hold at least 256 MB, and everything on the drive will be deleted. The wizard will also give you the option to create a system repair disc on a CD or DVD instead. Choose what works best for you.
Select the drive and click Next. See the screenshot below.
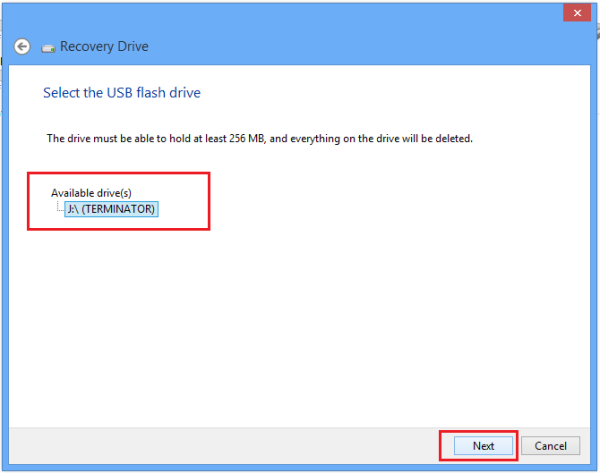
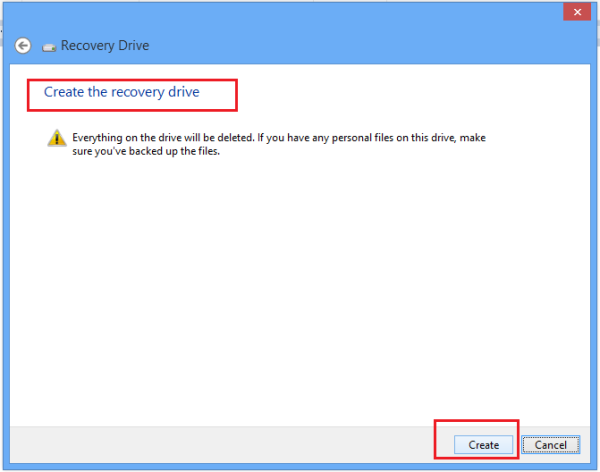
Do note that the Drive must be able to hold at least 256 MB and once you create the recovery drive, everything on it will be deleted. Click Create. Your drive will be formatted.
You will see the process of formatting in progress. Wait for some time!
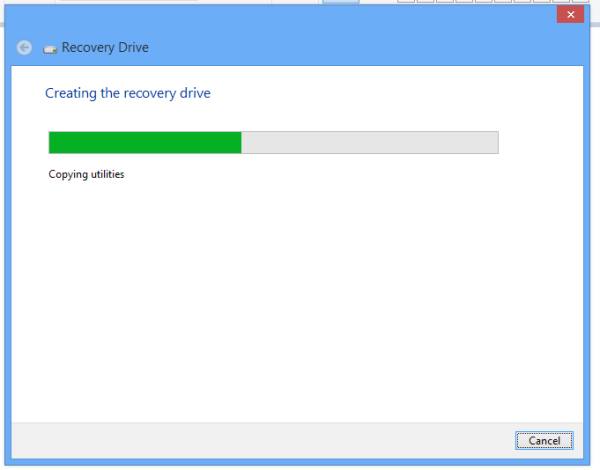
Once formatted, the wizard will transfer all the essential contents that makeup as the recovery material.

You can also always use the link offered there to create a System Repair DVD or CD, should you wish to.

Now, whenever you encounter a problem or a system failure, you can fix it from the recovery media, which contains several useful tools.
If you haven’t created one yet, you want to create one right now… just in case you need to restore your Windows computer using this Recovery Drive.
How do I create a system image recovery in Windows 11?
To create a system recovery image in Windows 11, open the Control Panel and click Backup and Restore. Then, click on the Create a system image option. After that, choose a location to save the image, then click Next.
Read: How to create System Image in Windows 11
How to create system repair disc in Windows 11?
To create a system repair disc, search for recdisc and open the individual search result. Then, click the Create disc button after choosing a disc. Next, wait a few minutes until the process completes.
Read: How to create a System Repair Disc in Windows 11.