With the Outlook app, which is the new default client, you can connect and manage your multiple email accounts from a single point without having to load different websites to check and send your emails. In this post, we will illustrate how to change the sender name on outgoing emails.
Change Sender Display Name in Outlook App
Outlook’s new app allows you to change the display name when you update it in your Microsoft account, since it is closely tied to it. The same applies to any other services like Gmail.
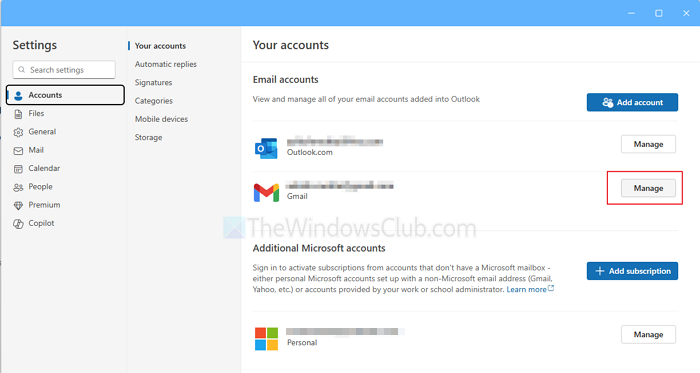
- Go to Outlook App settings.
- Click on Accounts and then click on the Manage button next to the account for which you want to change the sender name
- This will take you to the service provider name, where you can update the name
Change Name in Mail App
For any Windows 11/10 user who might be faced with a similar situation, you can follow the steps outlined below to change your email sender name.
- Launch the Mail app.
- Click the gear icon (settings) on the bottom left of the Mail app.
- Click on Manage Accounts.
- Click on the email account you want to change.
- Click on Change Mailbox Sync Settings.
- Type in the name you want into the Send your messages using this name field.
- Click Done.

While this may work for a Gmail or a Yahoo account, it may not work for a Hotmail or Outlook account.
If you do not see this setting, then the only option you have is to delete the account and add it again:
- Open Mail app
- Click the Gear icon at the bottom left
- Click Manage accounts
- Select the email account
- Select Change settings
- Click Delete account from this device
Restart the Mail app and set it up again with the correct display name.
NOTE: Sham Mo suggests below in the comments:
If the option discussed in this post isn’t available for you, you can try either of the following:

Go to Account Settings. Please select the account name to edit it. By default, the account name will display as ‘Gmail’ or ‘Outlook’, or similar as the case may be. You can edit and type in your name in the field. If you send an email now, the sender’s name will appear on the email.
If you have 2 or more linked accounts, it’ll use the same sender’s name for all accounts, but that will be the name of the account that was added first. To set this up, do the following:
- Uninstall the Outlook app via the Settings > Apps
- Next, download and install the Outlook app from the Microsoft Store.
- After the installation, add your account normally, but this time add the primary account first. You’ll have the option to specify a name, and this name will apply to all emails across all accounts.
That’s it!
Also read: How to show the Sender’s Picture in Outlookl App of Windows
PS: Refer to this guide if you encounter error code 0x8000000b – when you try to add an email account to the Outlook app in Windows 11/10.