At times, you may have experienced issues where, when you have played a video on your Windows PC; the video may start to freeze or lag. Most of the time, such issues are caused by bad or corrupted Codec Packs, Flash plugins or player or Device Drivers. Let me suggest a few fixes that can help you resolve such issues.
Windows is not just an operating system for business and work, but it’s also great for entertainment of all kinds. Want to listen to your favorite music? No problem, go ahead. If playing video games and watching movies are your guilty pleasures, then, by all means, take your time. Now, what happens when you’re unable to play videos via your Windows 11/10 computer? You tried playing videos both online and offline, but to no avail, so you’re wondering whether the operating system is acting up or maybe the entire computer.
Why video is not playing in Windows 11?
There is no particular reason why you are unable to play videos on a Windows 11 PC. To play a video, the video player you use must support the video format. If your media player does not have the required video codecs, you can download them from the media player’s official website (if available). If you are experiencing glitches while playing videos, your display driver might have been corrupted. Updating the display driver will fix this issue.
Fix Video Playback issues, problems & errors in Windows 11/10
Several reasons could be causing the issue, and as such, we’re going to talk about some fixes in hopes that at least one will change your day for the better.
- Run Video Playback Troubleshooter
- Issues with Codec Packs
- Update Display or Graphics Driver
- Remove & reinstall the Graphics card driver
- Install the Flash plugin.
Let us see them in detail.
1] Run Video Playback Troubleshooter
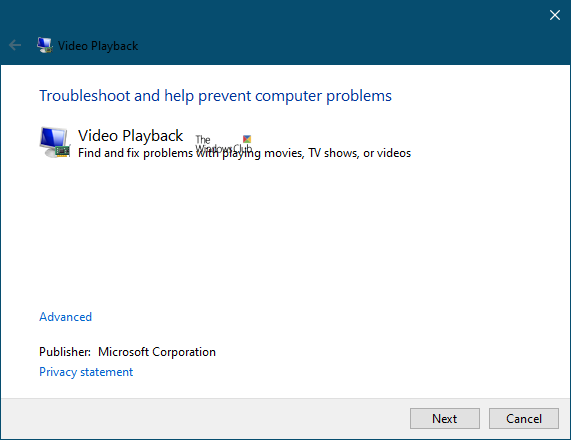
From the Start Search, open Control Panel > Troubleshooting > View all. Now run the Video Playback Troubleshooter and see if that helps you.
UPDATE: Microsoft has deprecated the MSDT-based Windows Troubleshooters. You have to use the new Get Help based Video Troubleshooter.
2] Issues with Codec Packs
The main problem I have seen in most cases is that it happens due to installing different codec packs, which can create conflicts. For example, when you install the VLC Code Pack or the K-Lite Codec Pack, the Codec version may differ, resulting in playback issues.
Then the first thing I would recommend doing is to uninstall all the Codec packs like K-Lite Codec Pack, Media Player Classic, VLC, and MPC-HC.
After uninstalling all the Codec packs, reboot the System. Then run Windows Media Player troubleshooting packs to make sure the native Codec is intact. Use this guide to troubleshoot Windows Media Player issues. If you are using Windows Media Player, run the Fix WMP Tool mentioned in that article.
Once you have completed that process, then reboot the System again.
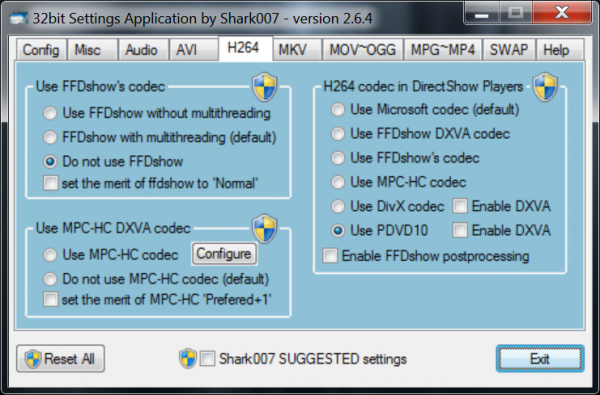
Next, download Shark007’s Codec Pack from here. These are Windows Media Player Codecs, and that’s all you need to play almost all the formats.
The Codec pack contains a Settings Application, to be used in conjunction with your Windows Media Center setup. This will enable each user to choose different splitters and decoders for specific filetypes. The application will also allow you to choose from 10 different speaker configurations from ‘same as input’ and all the way up to full 7.1 channel output.
3] Update Display or Graphics Driver
A lot of times the issue of broken video playback is caused by the graphics card driver, and a simple update could set things right again.
Go ahead and press Windows Key + R to invoke the run box. After that, type devmgmt.msc into the box and press Enter to launch Device Manager. Navigate to “Display adapter” and right-click on your graphics card, then select Update driver and move on from there.

There expand “Display adapters” and see if you have a yellow exclamation mark. If it exists, it means that Display Drivers haven’t properly installed. You need to update your drivers.
4] Remove & reinstall the Graphics card driver
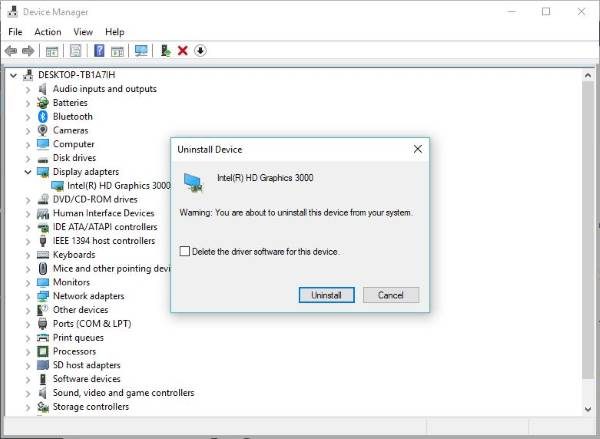
Press on the Windows Key + Run, then type devmgmt.msc in the Run dialog box. Click Enter, and watch as Device Manager fires up. Navigate to “Display Adapters” then right-click on the graphics card.
The final step is to click Uninstall, then tick the box labeled “Delete the driver software for this device.” Close Device Manager, then restart your computer to proceed.
After restarting, the system should automatically reinstall the speaker. If not, follow the above procedure to return to the Device Manager. Travel off to “Display Adapters” then right-click on the graphics card.
Here, simply enable the graphics card again, restart your computer again, and from there, everything should work as intended.
These steps are usually good enough to fix most video playback issues on Windows 11/10. Still, it might not be enough. Therefore, we’ve got something else that might work.
You may also go to the manufacturer’s website and download the appropriate drivers and install it. Once you install the Drivers, reboot the System and test your Video Playback.
5] Install Flash plugin
On the web, Flash is no longer a huge deal, but some websites still rely on it to show video content. For these rare cases, we recommend installing Flash from the official website to see if it fixes your playback issue.
Alternatively, it might be best to forget about the website you’re using because Flash is a security risk, and prone to bugs that may affect your web browser.
This should help!
How to install HEVC codec on Windows 11 for free?
To get the HEVC codec on Windows 11, you need to install HEVC Video Extensions. It is available on the Microsoft Store. Open Store and search for the same. But it is not free. You have to pay the required amount to purchase HEVC Video Extensions from the Microsoft Store. After installing it, you can play HEVC videos in any app on Windows 11.