Microsoft has unveiled the newly revamped Photos app as its primary tool for managing image files on our computer systems. While Photos is undoubtedly advanced and feature-rich, some users feel that it doesn’t quite match the speed and simplicity of the traditional Windows Photo Viewer. People who are acquainted with the old program are complaining that the Windows Photo Viewer opens multiple instances when previewing images. In this post, we will see how to fix this issue.

If you still miss the humble experience of this application from earlier days, you can restore it. But there are certain problems with using this application on Windows 11/10, we shall highlight one of them in this guide.
Normal behavior
On selecting multiple files in a folder, right-clicking, and selecting preview – What should be the normal behavior?
The app should open one single window allowing the user to cycle through the chosen set of images using arrow keys. This is the generally accepted behavior expected from this application; however, sometimes Photo Viewer encounters multiple instances of issues on Windows 11/10.
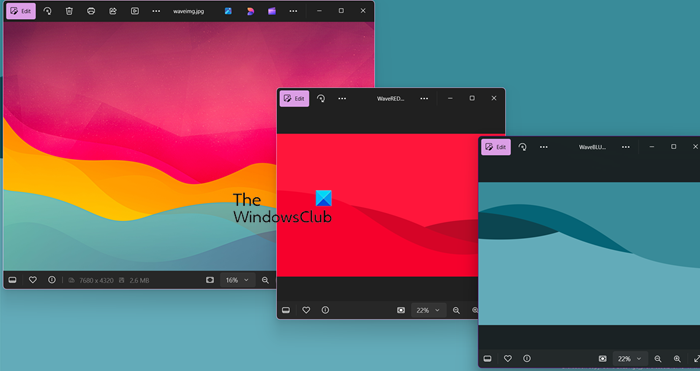
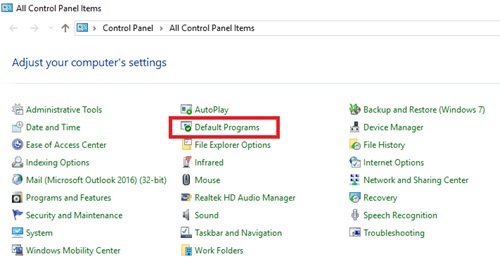
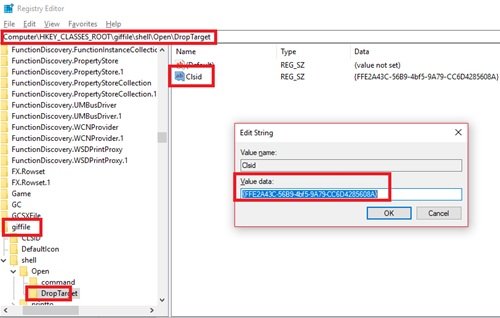
In simple words, the photo viewer that previously opened images in a single window instance when multiple files were selected and previewed would now open separate windows for every selected image.
The multiple instances issue with the photo viewer is mostly seen in the Windows 11/10 operating system. It occurs when the photo viewer app is not registered with Default Apps/programs.
In Windows 11/10, Photo Viewer is no longer registered with the Default Programs, and users who have not set the app as their Default app and programs are likely to face this issue. When users set image file associations using the standard ‘Open with….’ dialog and choose the photo viewer, the problem pops up in the form of multiple image windows.
Windows Photo Viewer opens multiple instances when previewing images

There are two solutions to this:
- Set the Windows Photo Viewer as a default image viewer
- Fix the Registry key
Let us look at these solutions in more detail.
1] Set the Windows Photo Viewer as your default image viewer

It is very simple to get your trusted old photo viewer back as your Default Photo Viewer on Windows 11/10. Follow these steps:
- From the ‘Start Menu’ go to the ‘Control Panel’.
- Now from the options, click on ‘Default Programs’.
- In the next window, under the ‘Choose the programs that Windows uses by default’ option click on ‘Set Your Default Programs’.
- You should see your current default photo viewer as the Photos App.
- Here, click on the Photos app to view the expanded list of options for Photo Viewers, and select ‘Windows Photo Viewer’.
This will set Windows Photo Viewer as your default Photo Viewer program. You can now exit settings; your photos will now open in the Windows Photo Viewer.
If your PC comes pre-installed with Windows 11, you will most likely not have this Windows Photo Viewer. Therefore, check our guide to restore Windows Photo Viewer in Windows and set it as default. However, if you want both new and old Photos apps, instead of restoring, go to apps.microsoft.com and install Windows Photos Legacy and make it the default application.
Check if the multiple instance issue is resolved. If it persists, move to the next solution.
2] Fix the Registry key

A simple file type association setting with the Registry Keys can help in fixing this issue:
Click ‘Start’ and enter ‘Regedit’ in the search field.
Click on the ‘Yes’ button when the User Account Control prompts you to agree to allow this program to make changes.
Now, navigate to the following Registry key paths and modify the string where the value name is ‘Clsid’, double click on it and change ‘Value Data’ to {FFE2A43C-56B9-4bf5-9A79-CC6D4285608A}.
Path 1 - HKEY_CLASSES_ROOT\bmpfile\shell\open\DropTarget

Path 2 - HKEY_CLASSES_ROOT\jpegfile\shell\open\DropTarget

Path 3 - HKEY_CLASSES_ROOT\pngfile\shell\open\DropTarget

Path 4 - HKEY_CLASSES_ROOT\giffile\shell\open\DropTarget
Click ‘OK’ to confirm the edits of the string.
Reboot System.
Please note – If the DropTarget subkey is not present by default, the user will need to create one in each of the registry paths mentioned above.
The problem of the photo viewer opening multiple instances should not be resolved.
How do I make Windows Photo Viewer my default image viewer?
Since Windows Photo Viewer doesn’t come pre-installed with Windows 11, you need to first download “Microsoft Photos Legacy” from the Microsoft Store on your computer. Then, go to Settings > Apps > Default apps, select the file extension you want to set Windows Photo Viewer as a default for, then click on Choose a default, and select Windows Photo Viewer.
Also Read: Add Favorites to Photos app in Windows 11.
Leave a Reply