
Voice Isolation in Windows 11 Voice Access’ feature helps reduce background noise and focuses on your voice. If it’s not working, check your Windows version, make sure you set up your voice correctly, verify your microphone, or look for voice signal issues. In this post, we will see what you can do if Voice Isolation is not working in Voice Access.
Voice Isolation is a feature in Voice Access that requires a supported version of Windows 11 and a one-time voice setup. During the setup, Windows downloads a voice model and creates a local voice signature using your recording. Voice Access uses this signature to separate your voice from other speakers and background noise. If you don’t have the necessary update, the setup wasn’t done correctly, you selected the wrong microphone, or the voice signature isn’t working well, Voice Isolation might not filter audio as it should.
Voice Isolation not working in Voice Access in Windows 11
If Voice Isolation isn’t working for you on your Windows PC, follow the solutions below.
- Update Windows
- Set up Voice Isolation again and re-record your voice
- Make sure Voice Access is using the correct microphone
- Reinstall the speech language components used by Voice Access
Let us discuss them in detail.
1] Update Windows
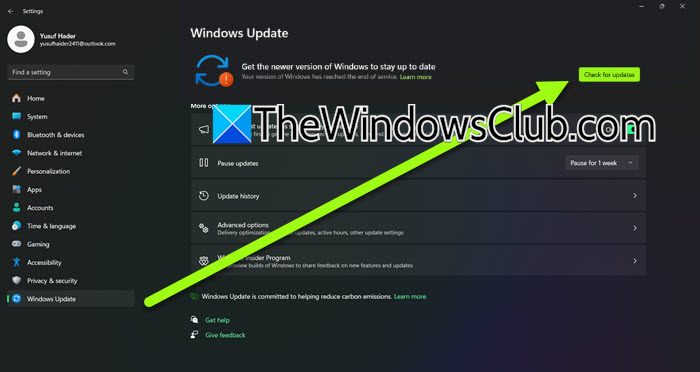
Voice Isolation was introduced with KB5101684 for Windows 11 24H2 and 25H2. It is now part of the regular Windows 11 update path, so you do not need a Beta or Insider build to use it. If your PC is running an older Windows 11 build, update it before troubleshooting Voice Access. You can check your build by pressing Win + R, entering winver, and comparing the displayed OS build with the versions above.
2] Set up Voice Isolation again and re-record your voice
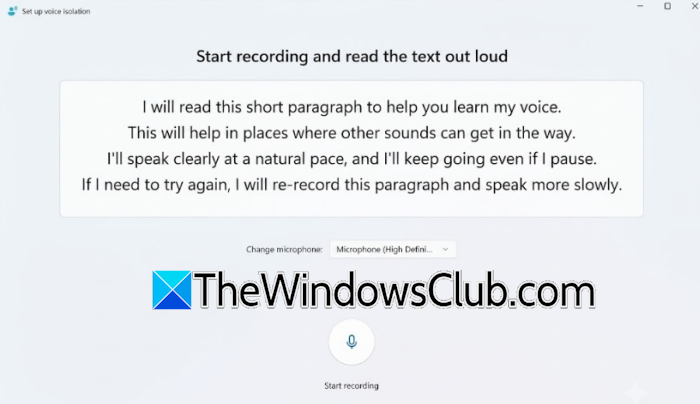
Voice Isolation does not simply switch on a conventional microphone noise filter. It creates a voice signature from a short recording, so an incomplete or poor-quality setup can affect how well it separates your speech from other voices. Microsoft also provides an option to re-record the voice sample when Voice Isolation isn’t performing well. Follow the steps mentioned below to do the same.
- Start Voice Access.
- Click the Settings button on the Voice Access bar.
- Select Improve speech recognition.
- Select Manage Voice Isolation.
- Choose Re-record your voice.
- Select the microphone you actually use.
- Record the sample in a relatively quiet room.
- Speak naturally at a normal pace while completing the recording.
- Finish the setup and test Voice Access with background audio playing.
If re-recording does not help, use Manage Voice Isolation > Delete your voice recording, then select Voice Isolation again under Improve speech recognition and complete the setup from scratch.
3] Make sure Voice Access is using the correct microphone
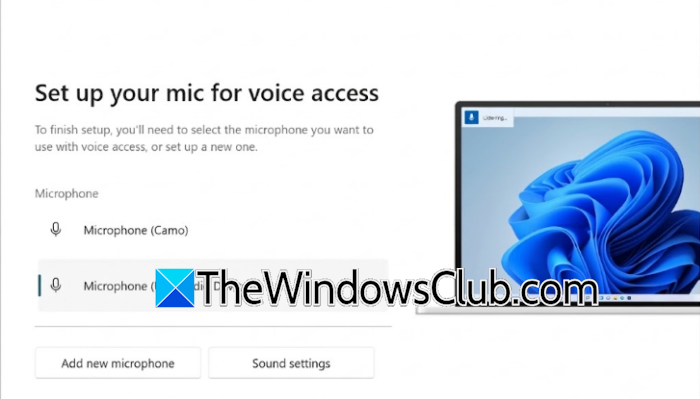
Voice Access can use a microphone different from the one selected as the default input device in Windows. If Voice Isolation was trained using one microphone but Voice Access is currently listening through another, its voice signature may not match the incoming audio properly. Microsoft provides a microphone selection option during Voice Access setup and Voice Isolation setup. You can follow the steps mentioned below to do the same.
- Start Voice Access.
- Click the Settings icon on the Voice Access bar.
- Select Select default microphone.
- Choose the microphone you normally use.
- Return to Improve speech recognition.
- Open Manage Voice Isolation.
- Re-record your voice using that same microphone.
- Test Voice Access again.
If you have a laptop with both an internal microphone and a USB headset, for example, make sure Voice Access is not using the internal microphone while the Voice Isolation recording was made through the headset.
4] Reinstall the speech language components used by Voice Access
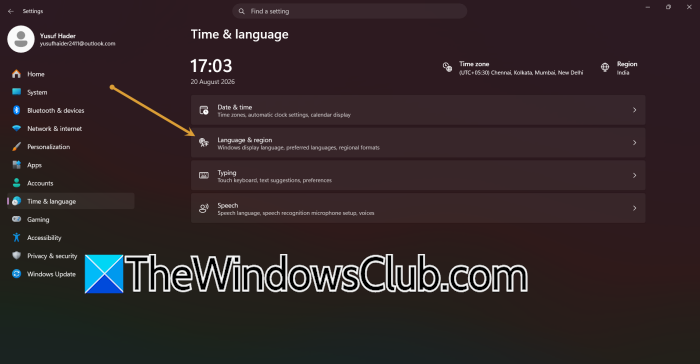
Voice Access relies on downloaded speech components for on-device recognition. Microsoft notes that the initial Voice Access setup downloads the required language files, while microphone and speech processing depend on those local components. If the speech package is incomplete or damaged, Voice Access may behave incorrectly even if the microphone works normally. Follow the steps below to do the same.
- Open Settings.
- Go to Time & language > Language & region.
- Find the language being used by Voice Access.
- Select the three-dot menu next to it and choose Language options.
- Under Language features, check whether the Speech component is installed.
- If it is missing, install it.
- Restart Windows.
- Start Voice Access and try setting up Voice Isolation again.
If the Speech component is already installed but Voice Access still behaves incorrectly, remove the Speech component if Windows allows it, restart the PC, and reinstall it before repeating the Voice Isolation setup.
That’s it!
Read: How to add words to Voice Access vocabulary in Windows 11
Why isn’t my headset microphone picking up my voice in Windows 11?
Your headset microphone may not be selected as the input device, may be muted, or may not have permission to access the microphone. Go to Settings > System > Sound > Input, select your headset microphone, and use Start test to check whether Windows receives your voice. Also check Settings > Privacy & security > Microphone and make sure microphone access and desktop app access are enabled.
Read: How to enable Voice Access in Windows 11
How to reset Voice Access in Windows 11?
To reset Voice Access, turn it off first, then turn it back on in Settings > Accessibility > Speech. If the problem is related to your Voice Access voice profile, open Voice Access > Settings > Improve speech recognition > Manage Voice Isolation and re-record or delete your existing voice recording, then set it up again. This refreshes the voice profile without resetting Windows.
