While updating Java, if you encounter an error message that says “Unable to launch the Java Update installer,” here is how to fix it in Windows 11. This article provides all possible reasons and solutions to resolve this Java update error within moments.

The entire error message says:
Unable to launch the Java Update installer: The operation was canceled by the user.
Unable to launch the Java Update installer
To fix the Unable to launch the Java Update installer error in Windows 11/10, follow these solutions:
- Restart Windows Installer service
- Validate your internet connection
- Uninstall older version and reinstall
- Download the update again
- Disable third-party firewall software
- Run the update installer with administrator privilege
- Use in-built administrator account
- Repair Registry.
1] Restart Windows Installer service
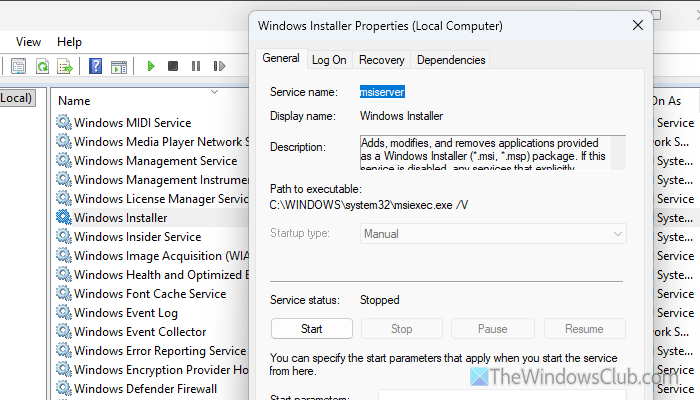
It is the very first thing you must do when you find the aforementioned error message while installing a Java update or running the Update Installer. If this service is running, you won’t be able to use any kind of installer or update installer, including the Java Update Installer. Therefore, follow these steps to verify whether the Windows Installer service is running or not and restart it accordingly:
First, press Win+R > type services.msc and hit the Enter button. Next, double-click on the Windows Installer service. If this service is already running, click the Stop button, choose Manual from the list, and click the Start button.
However, if it is not running, click the Start button.
Read: How to enable or disable Windows Installer Service
2] Validate your internet connection
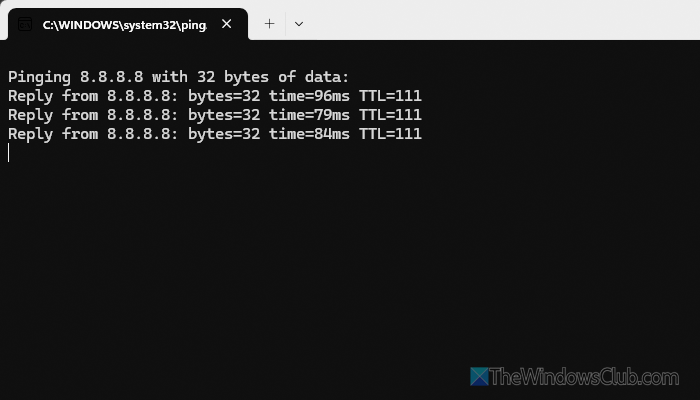
Java Update Installer requires a valid internet connection to work properly. However, if your internet connection is not working properly, you may encounter this error.
To validate whether you have an uninterrupted internet connection or not, press Win+R > type ping 8.8.8.8 -t and hit the Enter button.

If it shows positive replies, you don’t have to worry. However, if you find Request timed out or a similar message, fix your internet connection first.
3] Uninstall older version and reinstall
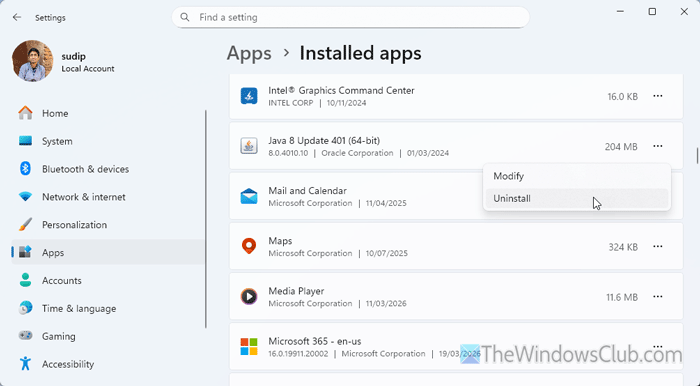
If you have an older version of Java installed, we suggest uninstalling it before installing the latest version. To uninstall Java from your computer, press Win+I to open the Windows Settings panel and go to Apps > Installed apps.
Go to Java > click the three-dot icon, then select Uninstall.
However, if you want to uninstall it completely, you can use a program uninstaller software such as Revo Uninstaller, CCleaner, etc.
4] Download the update again
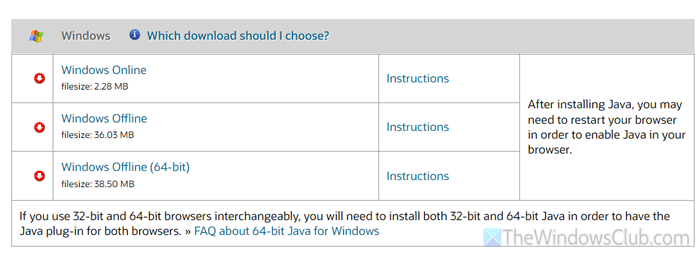
If the existing download is corrupt, you may encounter this problem when running the Update Installer. That is why it is suggested to download the Java update again.
Note: It is highly recommended to download Java updates only from the official website, called java.com. DO NOT use any third-party resources to download the installer.
5] Disable third-party firewall software
If you recently installed third-party firewall software and this problem started afterward, the firewall may be blocking incoming and outgoing connections. At this point, you will need to temporarily disable that third-party firewall and check whether you can run the installer. If yes, you will have to check the settings and set things up correctly, or make an execution for the Java Update Installer.
6] Run the update installer with administrator privilege
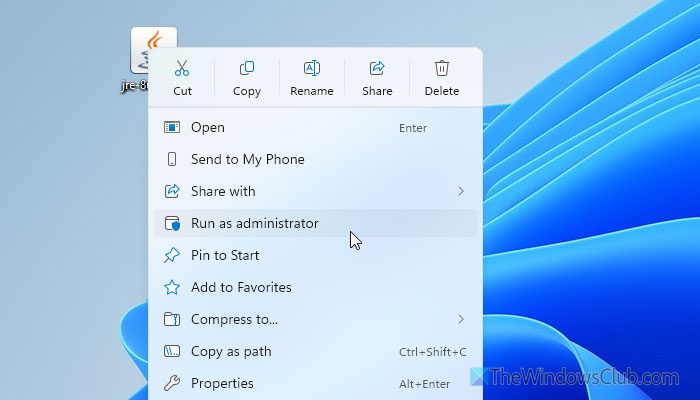
If you do not want to uninstall the older version and instead want to override it with the newest version, it is recommended to use administrator privileges. Having that, download the Java update from the official website first.
Then right-click the update or executable file and select Run as administrator. Click the Yes button on the UAC prompt to start the installation service.
Read: How to make Program always Run as Administrator in Windows 11
7] Use in-built administrator account
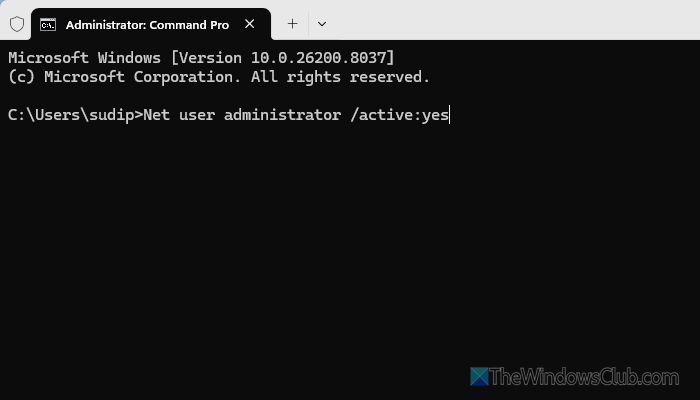
If your regular user account is not part of the Administrator group, it is recommended to join it. However, if you cannot do that, you can enable the built-in administrator account and run the Java Update Installer. To enable it, open the Command Prompt or the Command Prompt instance in Terminal with administrator privileges and enter this command:
Net user administrator /active:yes
A restart will be required post execution of the above-mentioned command. Once done, you will be able to use this account to run the Java Update Installer service.
However, if you want to log in as an administrator, follow this guide, which is applicable to Windows 11. In case you do not want to keep the administrator account, you can open Terminal and use this command:
Net user administrator /active:no
8] Repair Registry
When you install a program on your computer, a few entries get added to the Registry Editor. These entries need to be in line if you want to use an uninterrupted installation and uninstallation process. However, if the Registry files are corrupt, there is a high chance of this problem. That is why it is recommended to repair the corrupted Registry to resolve this problem. You can start with the System File Checker, use the System Restore point, or use bootable Windows Media.
Note: According to Microsoft, it is not recommended to use a third-party Registry Editor repair tool.
Why is the Java installer not opening?
Third-party antivirus and firewall software are the main reasons why the Java installer is not opening on your computer. You must disable them temporarily to get it fixed.
How to fix 1603 error?
To fix Java Install or Update did not complete, Error Code 1603, restart your computer first. Then uninstall the older version and install the latest edition by downloading it only from the official website. You can also disable Java content in the browser through the Java Control Panel.