You may view your hard drive in Disk Management and see unallocated space. The space will be on the hard drive, but Windows cannot use it. It is like having a spare room in your house but locked off. The house plan will show it, the location, and the size; however, the occupants can’t get to it. This post will show you how to use Unallocated Drive Space in Windows 11/10.
How to allocate Unallocated Space in Windows 11/10

Unallocated space on your hard drive is taking up valuable space, but until it is allocated, Windows can’t use it. Note that when you buy a hard drive, you cannot use the full amount that is listed on the hard drive. For example, you may buy a hard drive with 1 terabyte, but when you check the size on your computer, you will see less than 1 terabyte. This is because the hard drive needs that space for formatting information. This is not the unallocated space that is spoken of; the unallocated space is the space on your hard drive that Windows cannot use until you make it accessible. Unallocated space can be assigned its own volume letter or used to extend another drive.
Types of Partitions
To make the unallocated space useful, you need to create a new volume that Windows will recognize. You can create three types of volumes with unallocated space.
- Simple: This typical hard drive is the type that most PC users have in Windows. If you’re shrinking a volume to create a new logical drive, such as a new drive F (or something), this option is the one you want.
- Spanned: A spanned volume combines two or more unallocated volumes, even on separate physical hard drives, creating a new drive. The new drive combines all the space of the various unallocated volumes into a single volume.
- Striped: Striped volumes are used to improve disk performance by spreading information between multiple disks. The net result is that several drives are used to access information, which makes all disk operations faster quickly. You need two or more unallocated chunks of disk space to set up a striped volume.
Use Unallocated Hard Drive Space in Windows
Make a new volume
To use up the unallocated space on the hard drive, you need to go to Disc Management.
To get to Disk Management, right-click on the WinX Menu and select Disk management.
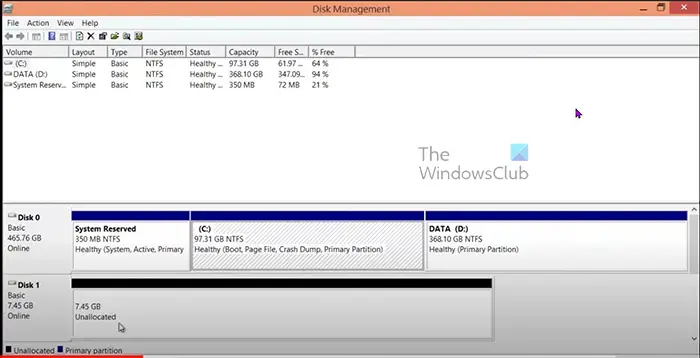
- The Disk Management tool will show the drives, their names, sizes, and status. The unallocated drive will show the size and the label Unallocated.
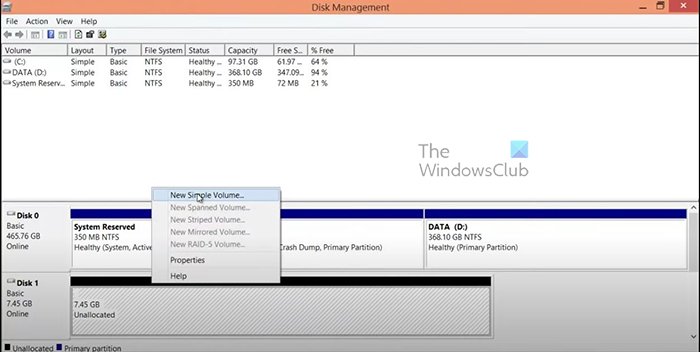
- Right-click on the unallocated volume. Choose New Simple Volume from the shortcut menu.
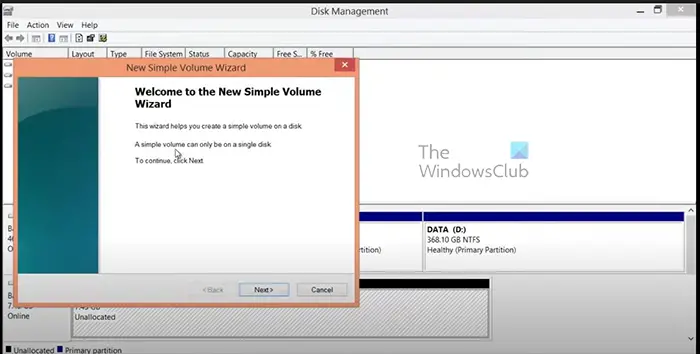
- The New Simple Volume Wizard appears, click Next.
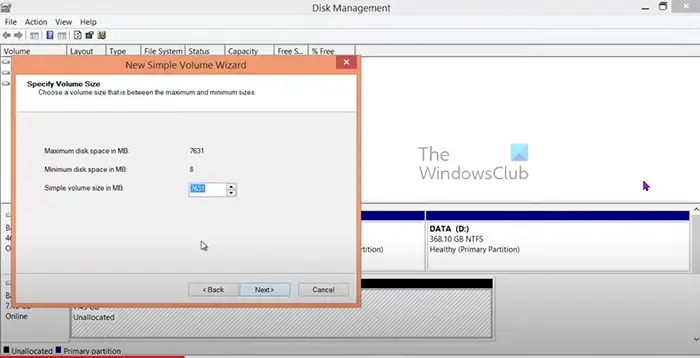
- Set the size that you want the new volume to have (set size in MB). To convert gigabytes to megabytes multiply the amount of gigabytes by 1024. The default size will be the full size of the unallocated section, you can set a smaller size. However, the remainder will be left unallocated. Click Next after choosing.
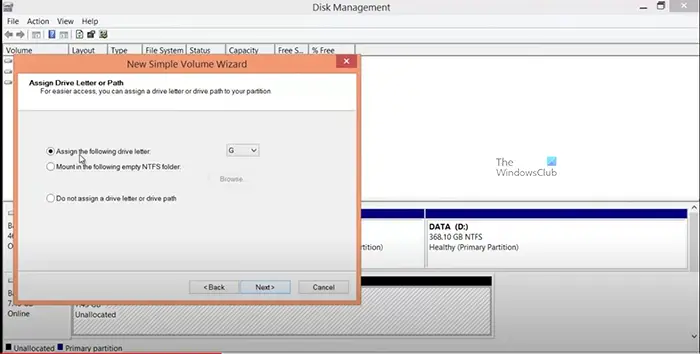
- You then assign a drive letter or keep the Windows assigned a drive letter.
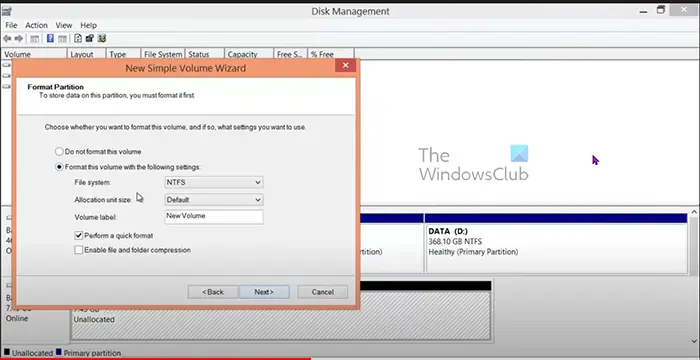
- Choose the file system (NTFS), and choose the volume label/name and the other settings. Click Next when you are done.
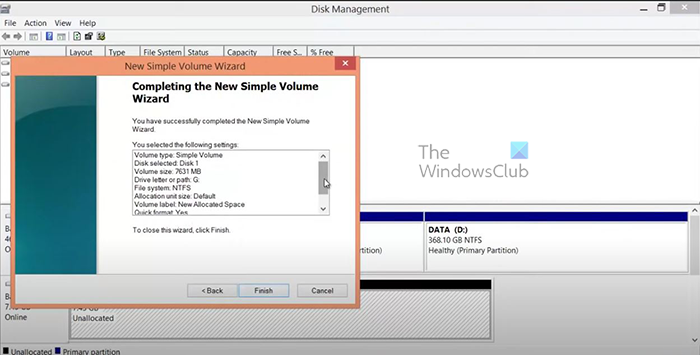
- The Simple drive wizard will display the information you chose. If you are satisfied with the options, click Finish to have the new volume created. you can click Back to go back and make changes or click Cancel to stop the new volume creation process.
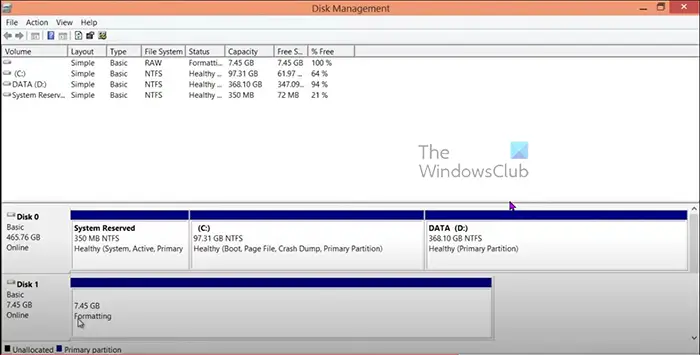
Windows prepares the disk by formatting it. The time required to complete the operation depends on the volume size. Larger disk drives take longer to format. If you look you will see formatting where the drive is. Windows is formatting and preparing the drive for use.
The display in the Disk Management console shows the drive being formatted; you can watch its progress in the Status column at the top center of the window. The drive isn’t assigned its new letter until after it is formatted.

Disk Management console showing the newly allocated space. The Unallocated space was renamed New Allocated Space and assigned a drive letter.
Read: How to Create New, Resize, Extend Partition using Disk Management Tool.
Extend existing volume
Unallocated space can be used to increase the size of another drive by choosing to extend it. This involves merging the two drives into one or combining part of one drive with another. This will enable the existing drive to be larger, allowing it to store more data.
- Open Disk Management by right-clicking on the start button and clicking Disk Management.
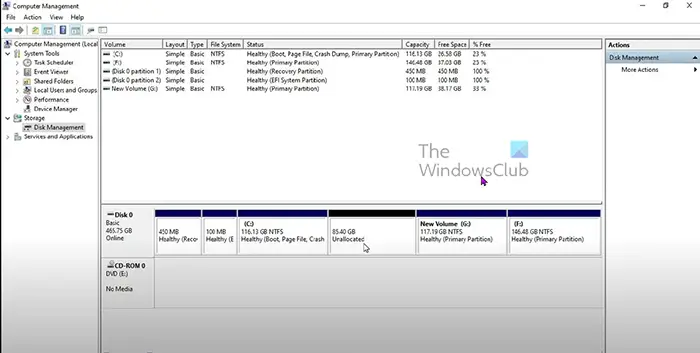
This is the Disk Management console showing the C drive before it is extended.
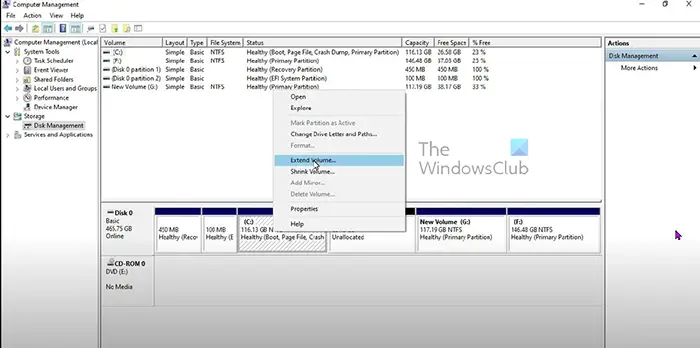
- When the Disk Management window opens, right-click on the volume you want to extend. The drive you want to extend must be beside the unallocated space you want to use to extend it. If any other volume comes between, it will not work.
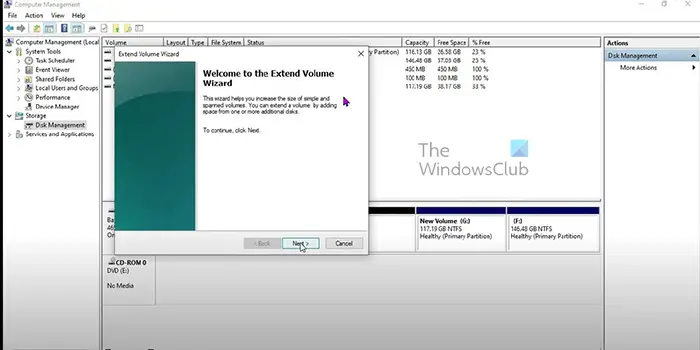
- The Extend volume wizard will pop up, click Next to continue.
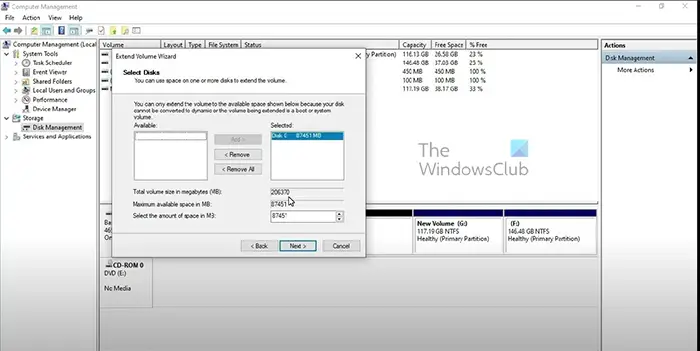
- The Extend volume window will appear, requiring you to enter the size. Choose the size you want to extend it by. The default value is the size of all available space. It is recommended to use the default size, but it is okay to choose a smaller size. The remaining space on the donor volume will remain unallocated. When you are done choosing, click Next.
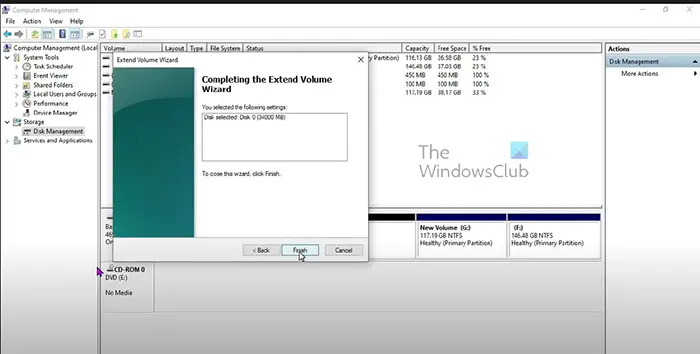
- The final stage of the Extend wizard will pop up showing the disk selected and the among of space that will be extended. To close the wizard and commit the changes, click Finish. To make changes click Back or click Cancel to stop the extension process.
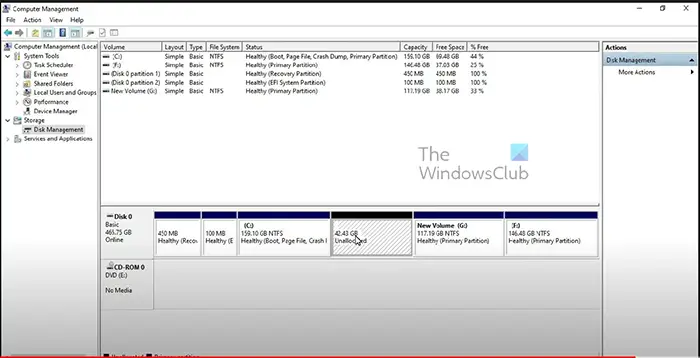
This is the Disk Management console showing the extended drive C with more space. There is also the unallocated volume.
Note: Before you begin the process of creating a new volume or extending an existing one, ensure that your laptop is plugged into a power source to keep it on. Also. if the electricity goes, the battery will keep the computer on until the process is completed. On a desktop computer, only some form of Uninterruptable power supply can be used to keep the power on if the electricity goes. When the disk is being worked on, it can be damaged if the electricity goes before it is completed.
Read: How to extend C drive in Windows 11 with unallocated space
Read: What are System Error Memory Dump Files in Windows?
How do I use unallocated disk space?
Instead of creating a new partition, you can use unallocated space to expand an existing partition. To do so, open the Disk Management control panel, right-click your existing partition and pick “Extend Volume.” You can expand a partition only into physically adjacent unallocated space.
Read:
- Fix Unallocated Hard Disk Space error on USB drive or SD card
- Fix Unallocated Hard Drive without losing Data in Windows
How do I use unallocated space on an SSD?
To use up the unallocated space on the SSD, go to Disk Management. To get to Disk Management, go to any folder, go to the left panel, and right-click on This PC, then click Manage. In Windows 11, when you right-click on “This PC,” you may need to click “Show more options” to view the “Manage” option. Click Start or click the Search magnifying glass on the Taskbar and type Computer Management. Right-click the unallocated space on the SSD, select “New Simple Volume,” and follow the on-screen instructions. The steps to using the unallocated space on an SSD are the same as using it on a regular hard drive.
Unable to allocate unallocated space on Windows PC
If Windows cannot allocate unallocated space during partitioning, first open Disk Management to confirm the drive layout. Check if the unallocated space is adjacent to the partition you want to extend, since Windows only extends contiguous space.
If it’s not, use a third‑party partition manager to move or merge partitions. You should also ensure the disk is initialized (MBR or GPT) and compatible with the chosen partitioning scheme.
How to change free space to unallocated space?
Go to Disk Management and right-click on a partition with sufficient free space. Shrink the partition and leave the extra partition created unnamed. The unnamed portion will remain unallocated until it is formatted as a named volume, since Windows cannot access it.
What are the pros and cons of partitioning a hard drive
Pros
- Separates OS and program files to optimize interaction with the operating system.
- Better organization allows frequently used data and programs to be grouped together.
- Allows multi-boot setup options.
- Protects and isolates files.
- Enables image backups to be made of only the operating system and installed software.
Cons
- Reduces the total space available for storage on the drive.
- Reduces performance on HDDs when accessing data frequently on different partitions (does not affect SSDs).
- Prevents using the whole disk capacity for a single large folder/file/application.
Why is the Extend option unavailable (greyed out) when I try to extend?
The Extend option can be greyed out because you do not have a valid volume to extend to. This will also happen if you have a valid volume or unallocated space but it is not exactly beside the volume you want to expand. In this case, you will need to place both volumes side by side and then extend them. The ideal placement would be to position the donor drive (the drive with the desired space) to the right of the drive you want to extend.
The drive you want to extend and the drive that will provide the space can be placed side by side if you know how and have the time. Depending on where the unallocated drive is, which drives fall between them, and the data they may contain, getting both drives next to each other can be tedious, but it can be done. If recovery partitions are blocking access, they cannot be deleted or formatted; instead, they must be modified using the Command Prompt or third-party software.
Once they are side by side, with the donor drive to the right, the extension process is the same as in the article above.
Third-party software enables the drag-and-drop movement of volumes, making extension easier even when the volumes are not adjacent.