If you want to improve the way Windows Search works on your computer, we recommend you use Semantic Search. It is a new feature introduced in Windows 11, allowing Windows to leverage AI to search through File Explorer, Taskbar, and Start menu.
What is Semantic Search?
Semantic Indexing improves the way your computer organizes and searches files. AI and Natural Language Processing (NLP) enables the system to grasp the intent and meaning of your queries. This makes it easier to locate files, settings, and other information using everyday conversational language.
Semantic Search in Windows 11 relies on AI and machine learning to deliver accurate results by analyzing the structure and meaning of queries, rather than performing basic keyword searches. For instance, if you search for “mouse,” a regular search engine might show results about the computer accessory and the animal indiscriminately. However, Semantic Search understands context, such as your files and history, to determine that you’re likely referring to the computer device, tailoring results accordingly.
How to use Semantic Search in Windows 11
If you want to use Semantic Search in Windows 11, follow these steps.
- Make sure that Enhanced Indexing is on
- Enable Semantic Search using Group Policy Editor
- Enable Semantic Search using Registry Editor
If you do not see the feature in your Windows, please wait for it to be rolled out to your PC.
1] Make sure that Enhanced Indexing is on

The Semantic search automatically gets enabled if the Enhanced Indexing is on, if your computer is running Windows 11 build 26120.2992 or later. So, let us use the following steps to confirm if the Enhanced Indexing is enabled or not.
- Open Settings by Win + I.
- Now, go to Privacy & Security and then click on Searching Windows.
- Select Enhanced.
Make sure that you are plugged into a power supply, as it takes a bit of resources and can drain a lot of battery.
In case the option is missing for you, you need to turn the feature on manually by using ViVeTool and executing the command – vivetool /enable /id:47942714.
To check if the enhanced search is enabled, click the search button in File Explorer, and you’ll see a colorful magnifier with animation. Additionally, go to Settings > System > AI Components to confirm that the “AI PHi Silica” component has been automatically installed.
2] Enable Semantic Search using Group Policy Editor
The Group Policy Editor allows administrators to manage system settings and policies for users and computers. If you want to enable Semantic Search for all the users who are a part of the domain, you will have to use the Group Policy Editor. To do so, first, open the Group Policy Editor and then navigate to the following path.
Administrative Templates > Windows Components > Windows Search
Now, look for Allow enhanced search in Windows and set it to Enabled.
This will make sure that all the computers on which this GPO is installed will have Semantic Search enabled.
3] Enable Semantic Search using the Registry Editor
The Group Policy Editor is absent on Windows Home edition; they can make use of the Registry Editor. It is a hierarchical database storing system settings, configurations, and application data. However, before we make any changes, we need to create a backup of all your registries. To do this, open the Registry Editor, go to File > Export, give the file a name, and save it somewhere.
After creating the backup, we are going to make use of the following script.
Windows Registry Editor Version 5.00

[HKEY_LOCAL_MACHINE\SOFTWARE\Policies\Microsoft\Windows\Windows Search]
"EnableEnhancedSearch"=dword:00000001
You need to copy the line of code mentioned earlier and paste it into Notepad. Now, we need to save this file with a .reg extension; you can give any name of your choice. When doing so, make sure to set the Save as type to All files.
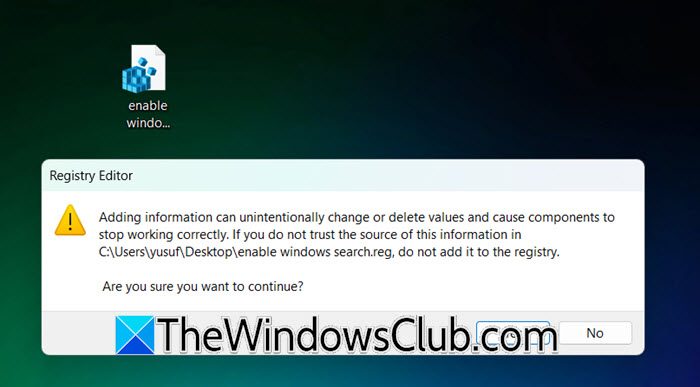
Once done, double-click on the file to run it. This will add the EnableEnhancedSearchregistry entry and set its Value data to 1, which means “Enabled“.
You will get a box to confirm your action, click “Yes”, and you will be good to go.
That’s it!
Read: Windows Search not finding files from Google Drive
How do I use the search box in Windows 11?
It’s pretty simple to use the Windows Search, you can click on the Search icon from your Taskbar or hit Win + S. Now, search for anything, and the result will pop up for you. You can search for apps, files, folders, and even things on the web.
Read: Delete Search History, Recreate Searches folder in Windows 11/10
How to enable file search in Windows 11?
To enable file search in Windows 11 Start, open Settings and navigate to Privacy & Security > Searching Windows. Under the Find My Files section, select the Enhanced option to enable comprehensive file indexing. This allows the Start menu to search for files across your entire system. Once indexing is complete, you can enjoy faster and more accurate file searches.
Also Read: Windows Start Menu Search not searching the entire PC.