Have you ever had an experience where you had to follow several steps repeatedly every time you needed to forward an important email? Microsoft Outlook has a helpful feature, Quick Steps, that allows users to perform several actions quickly and easily.
The Quick Step feature in Outlook allows users to perform multiple actions on one or more email messages with one click. Outlook includes default Quick Steps such as Move To, Team Email, To Manager, Reply and Delete and Done. You can edit, delete, and change the default Quick Steps name in the Gallery; you can also add new Quick steps to the Gallery.
What are the types of Quick Steps?
You can create and save custom actions in a new way with Quick Steps in Outlook & can save time by creating and defining multistep tasks that you can execute with a single click, including reply and delete, moving to a specific folder, creating a new email to assigned groups, and more. With this feature in Outlook, you can create a sequence of commands (Send & Archive is just one example) and apply them to any Outlook item with a click.
How to use Quick Steps in Outlook
The default Quick Steps in Outlook are:
- Move to: Move a specific email to a folder after making the email as read.
- To Manager: Forward your selected email to your manager.
- Team Email: Creates a new email to your team.
- Done: Mark the selected email as complete moves the email to a folder, and marks the email as read.
- Reply and Delete: Replies to the sender and delete the original email.
How to create a Quick Step in Outlook
Open Outlook.

On the Home tab in the Quick Steps group in the Quick Steps gallery, click Create New.
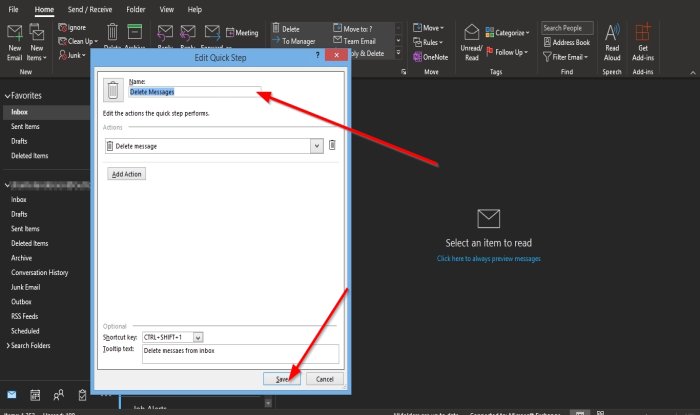
An Edit Quick Step dialog box will open.
Inside the dialog box, you can name the Quick Step by clicking in the Name box and give it a name.
You can choose the Action you want your Quick Step to perform by clicking the drop-down arrow for Choose an Action list box and select an option.
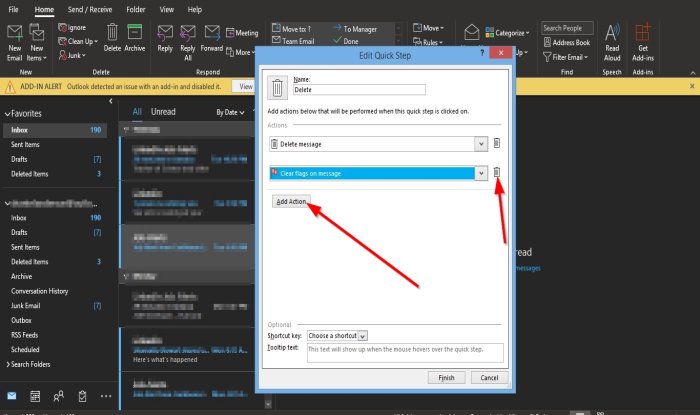
You can select the Add Action button to add another Action.
To remove the Action, click the Bin icon.
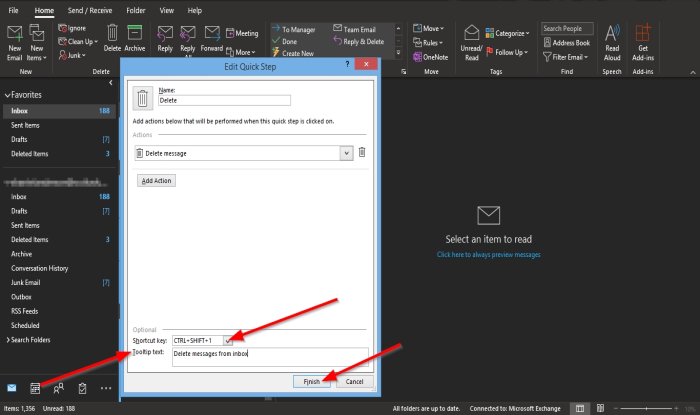
You can choose a shortcut for the Quick Step Action you just created by clicking the list box for the Shortcut Key and selecting a default shortcut key.
You add a Tooltip Text, which will show up whenever you hover the text over the Quick Step you created.
Then click Finish.
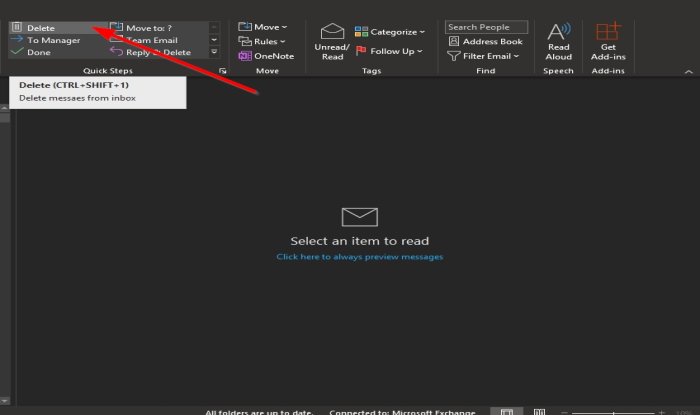
The Quick Step you created will be displayed in the Gallery.
How to edit an Outlook Quick Step
There are two methods you can edit your Quick Step.
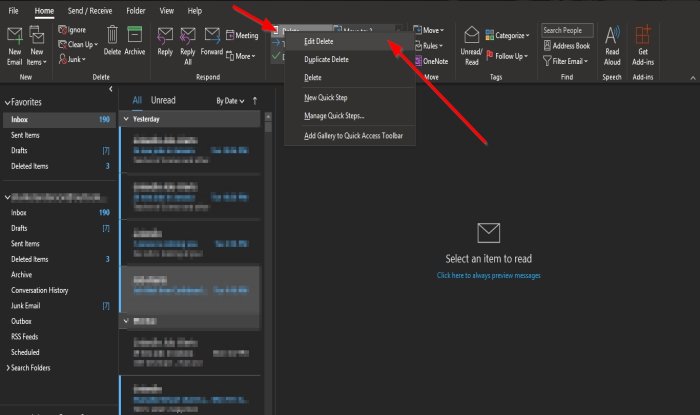
Method one right-click the Quick Step icon you created and select Edit.
The Edit Quick Step dialog box will open.
Make Changes and click Save.
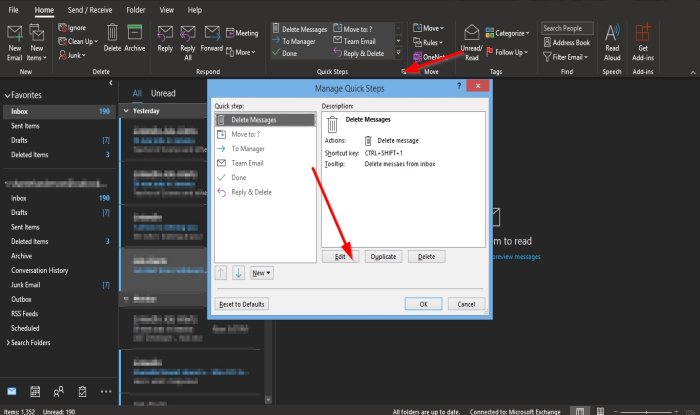
The second method is to click the small arrow at the bottom right of the Quick Steps group.
A Manage Quick Steps dialog box will open.
Click the Quick Step you want to edit, and click the Edit button.

The Edit Quick Step dialog box will pop up.
Inside the dialog box, make your changes and click Save.
Then Ok.
How to delete a Quick Step in Outlook
There are two methods you can edit your Quick Step.
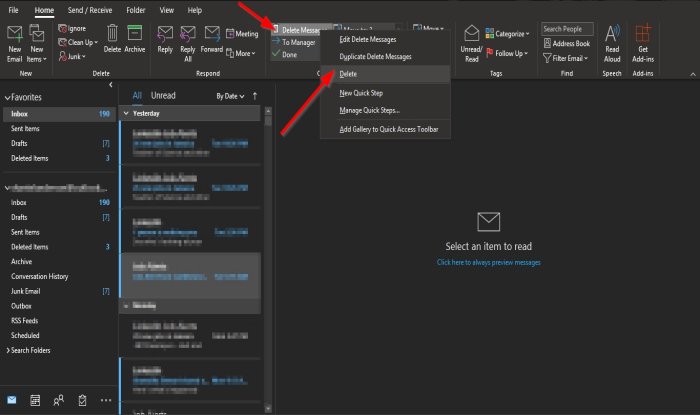
Method one is to right-click the Quick Step icon you created and select Delete.
A message box will pop up asking you for permission to delete the Quick Step permanently; click Yes.
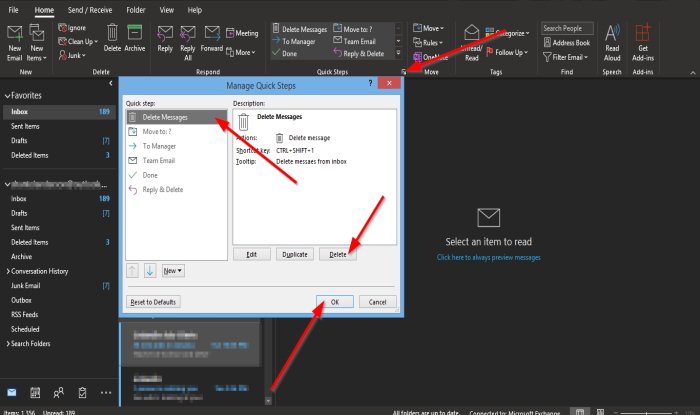
Method two is to click the small arrow at the bottom right of the Quick Steps group.
A Manage Quick Steps dialog box will open.
Click the Quick Step you want to delete, and click the Delete button.
Then Ok.
The Quick Step is deleted from the Gallery.
How to Manage Quick Steps in Outlook?
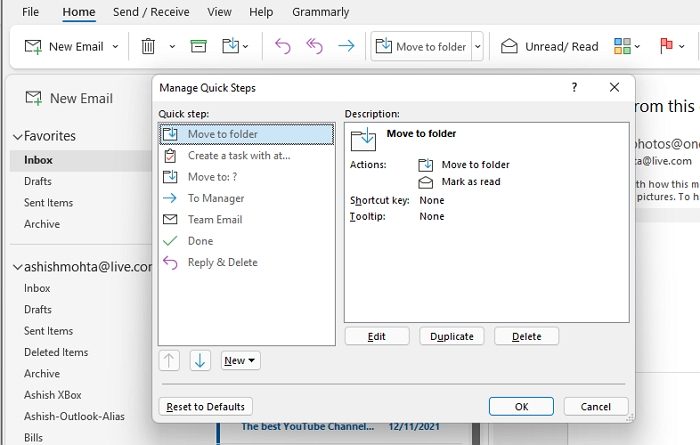
In the Outlook Home tab, click on the Quick Steps section. Select Manage Quick Steps from the Dropdown. It will then open the quick steps management window. Select any of them, and you can edit, duplicate or delete them. You can also create a new one from here.
We hope this tutorial helps you understand Quick Steps in Outlook.
Where are Outlook quick steps saved?
All the quick steps are saved into the PST File, aka Mailbox. If you are using POP3, you can also bring the Quick Steps, but if you are using IMAP, the migration is difficult to carry to a new computer. You will manually create the new Quick Steps again. So if you have always wanted to export, that is still not possible with Outlook.
Read next: Fix Body of Emails or Text is missing in Outlook.

Leave a Reply