Are you still struggling to get hold of the essential functions of Outlook.com? If you want to forward an email to Outlook.com or disable unauthorized forwarding, this blog post might help.

Forward email in Outlook.com
Forwarding an email in Outlook.com is very easy, but where are you going wrong? Guess you have been searching for a dedicated forward button. The truth is there is no Forward button on Outlook.
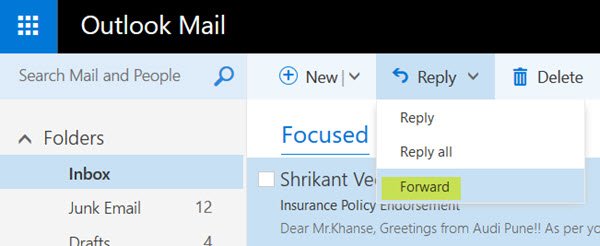
- Look for the Reply button: Yes, to forward an email, you need to look for the “Reply” button in the top bar. The forward button is hidden at the bottom of the Reply menu. Click the down-arrow next to ‘Reply’ or ‘Actions’ and click ‘Forward’.
- Edit and send: Before forwarding an email, you might want to make a few changes. Maybe add some personalized message, and edit the body or title. You can simply click on the relevant area and start typing. Once done, add a recipient by merely typing in the box. Outlook.com would suggest names from your address book. Address the forward using the To: Cc: and Bcc: fields and hit “Send” in the top left corner.
- Quick forward: There is another quick way to forward an email in Outlook.com; you need to right-click on the email in your inbox. Select “Forward” from the drop-down list which appears; this will direct you to the same page as above.
- Arrow mark: You would notice a little arrow mark beside the forwarded email in your inbox. This signifies that the email is already sent.
Disable unauthorized forwarding
If a hacker gains access to a user’s mailbox, they can auto-forward the user’s email to an outside address and steal proprietary information. Or, if Outlook.com is forwarding your emails without your knowledge, the reason can be because of some rules you created in your inbox.
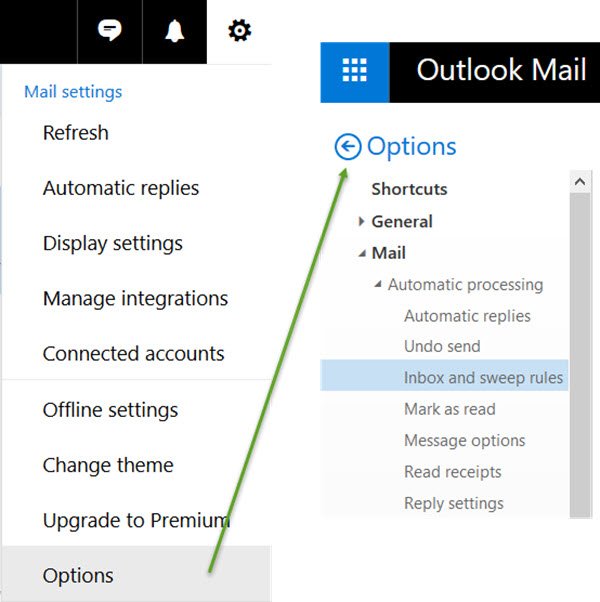
You can resolve this issue independently by going to – Options > Mail > Automatic processing > Inbox and sweep rules.
On selecting Inbox and sweep rules, look for any mailbox rules that forward an email to an email address. The description of the forwarding rule can be viewed by selecting it. Remove Rules you don’t want.
You can also stop this by creating a mail flow rule in Microsoft 365 admin center.
- Click Exchange > Mail flow > Rules tab > Plus sign > Create a new rule > More options > Name your new rule.
- Next, open the drop-down for applying this rule if, select the sender, and then is external internal.
- Select Inside the organization, and then OK.
- Choose add condition > Open the drop-down > Select The message properties > Include the message type.
- Next, open the select message type drop-down, choose Auto-forward, then OK.
- Open the Do the following drop-down, select Block the message, reject the news, and include an explanation.
- Enter the message text for your explanation, then select OK.
- Scroll to the bottom and select Save.
That’s it.
Once you have done this, if you think someone else is using my Microsoft account, it might be good to change your password.
What does it mean to forward someone an email?
When an email is forwarded, a new recipient can see the original email if they were not initially included in the chain. In addition, you can also deliver an email message by sending the message, including its content, text formatting, and attachments, to another person or group.

Can I see if someone has forwarded my email?
The majority of email programs do not allow you to see who forwarded your email. However, if you can attach a tracker, i.e., an image counter, which every time it is seen sends a count to the server. Many programs allow you to do that.