While setting up BitLocker on your Windows 11/10 PC, if you get the Failed to open the BitLocker control panel tool error with a code 0x80004005, this article will troubleshoot the issue. Whether you encounter this error on Windows 11 or Windows 10, you need to follow the same solutions across all versions.
The entire error message says something like this:
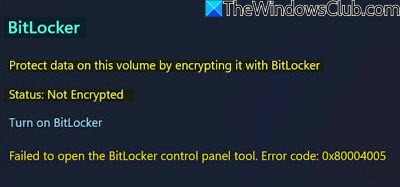
Failed to open the BitLocker control panel tool, Error code: 0x80004005
Failed to open the BitLocker Control Panel Tool, Error 0x80004005
To fix the BitLocker Control Panel Tool, Error Code 0x80004005 on Windows 11/10, follow these suggestions:
- Check compatibility
- Enable BitLocker Drive Encryption Service
- Enable Group Policy setting
- Enable Registry setting
Let’s check out these steps in detail.
1] Check compatibility
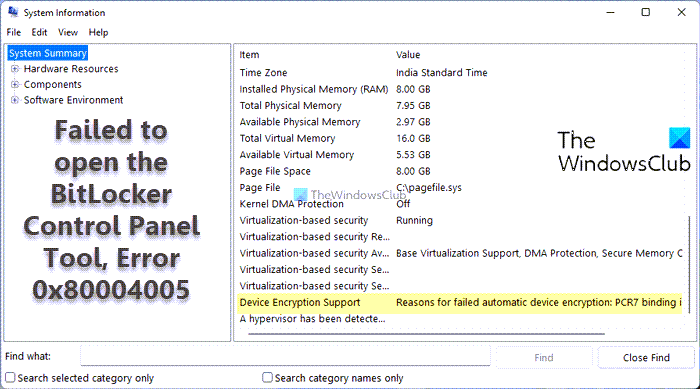
It is the very first thing you need to check when you get the Failed to open the BitLocker control panel tool error on your computer. If you do not have the correct components installed, you won’t be able to use BitLocker on your computer. The best thing is that you can find this compatibility without using third-party apps.
To check if your computer is BitLocker compatible or not, follow these steps:
- Search for system information in the Taskbar search box.
- Click the Run as administrator option.
- Click the Yes button in the UAC prompt.
- Find the Device Encryption Support section.
If it shows Meets perquisites, you can use BitLocker on your computer. However, if it displays any other message denoting incompatibility, you cannot use BitLocker on your Windows 11/10 PC.
2] Enable BitLocker Drive Encryption Service
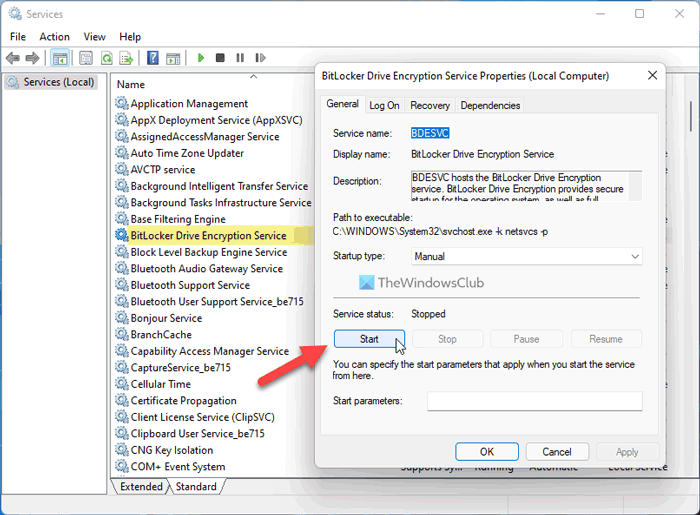
There is a service named BitLocker Drive Encryption Service, which is responsible for running BitLocker on your computer. Whether you use Windows 11 or Windows 10, you need to run this service in the background to keep the BitLocker feature working. However, if it is stopped or turned off for any reason, you won’t be able to use BitLocker.
Therefore, follow these steps to enable BitLocker Drive Encryption Service:

- Search for services in the Taskbar search box.
- Click on the individual search result.
- Double-click on the BitLocker Drive Encryption Service.
- Click the Start button.
- Click the OK button.
After that, you will be able to use BitLocker without any error.
3] Enable Group Policy setting
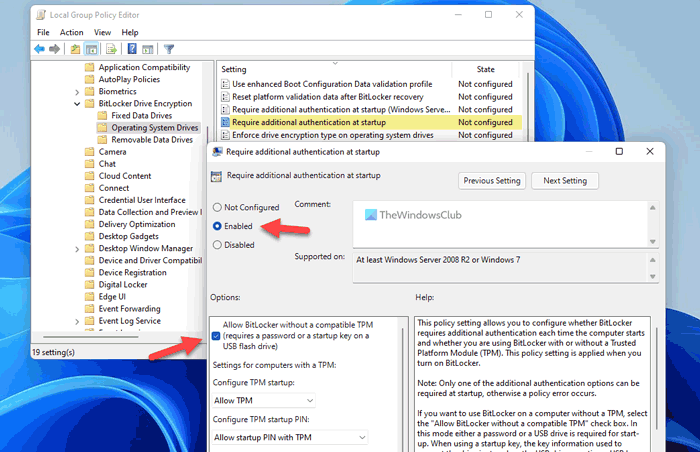
You need to enable additional authentication when you sign in to your user account. Otherwise, you can encounter the aforementioned error. Therefore, follow these steps to turn on the corresponding setting:
- Press Win+R to open the Run prompt.
- Type gpedit.msc and hit the Enter button.
- Navigate to this path: Computer Configuration > Administrative Templates > Windows Components > BitLocker Drive Encryption > Operating System Drives
- Double-click on the Require additional authentication at startup setting.
- Choose the Enabled option.
- Tick the Allow BitLocker without a compatible TPM checkbox.
- Click the OK button.
After that, close all windows of the Local Group Policy Editor, and restart your computer. Next time, you won’t find any problem regarding the BitLocker.
Note: You do not need to change any other setting, such as Configure TPM startup, Configure TPM start PIN, Configure TPM startup key, and so on.
4] Enable Registry setting
The same setting as above can be configured using the Registry Editor. Although it is pretty time-consuming to use the Registry Editor method, you can check when you encounter the aforementioned BitLocker error. When the GPEDIT method is not working for you, you can certainly opt for the Registry Editor method.
To enable the Registry setting, follow these steps:
Press Win+R to open the Run dialog.
Type regedit and press the Enter button.
Click the Yes button.
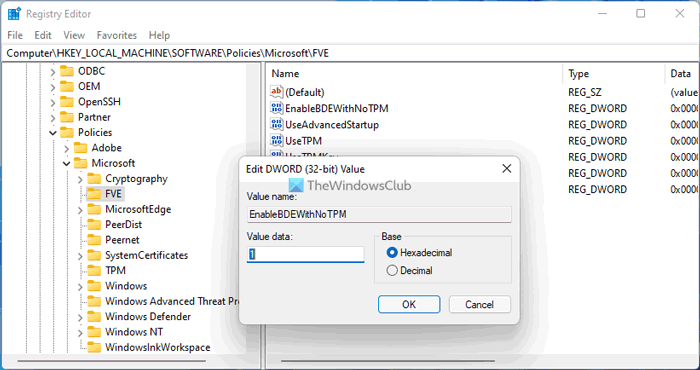
Navigate to this path:
HKEY_LOCAL_MACHINE\SOFTWARE\Policies\Microsoft
Right-click on Microsoft > New > Key and name it as FVE.
Right-click on FVE > New > DWORD (32-bit) Value.
Set the name as EnableBDEWithNoTPM.
Double-click on it to set the Value data as 1.
Create five more REG_DWORD values.
Set the name and Value data as follows:
- UseAdvancedStartup: 1
- UseTPM: 2
- UseTPMKey: 2
- UseTPMKeyPIN: 2
- UseTPMPIN: 2
Once done, close all windows and restart your computer to get the change. Following that, you will be able to use BitLocker without any problem on your Windows 11 or Windows 10 PC.
Hope this guide helped.
How do I enable BitLocker in Control Panel?
To enable or disable BitLocker, you need to follow this guide. However, your computer must have BitLocker encryption support. Otherwise, you will encounter the aforementioned error message when accessing BitLocker. To check that, you can follow the very first solution mentioned in this article.
Read: Error 0xc0210000, BitLocker key required to unlock the volume wasn’t loaded correctly
Why is BitLocker not in my Control Panel?
To use BitLocker on your computer, you need a few things in place. For example, TPM or Trusted Platform Module 1.2 (minimum) is required. On the other hand, your computer must have at least two partitions to encrypt one of them. If your PC doesn’t meet these requirements, you won’t be able to find BitLocker in Control Panel.
Read:
- The Startup options on this PC are configured incorrectly Bitlocker error
- A problem occurred during BitLocker setup.