This guide shows configure and deploy Microsoft Defender for Endpoint to better protect your company from cyber threats. By adding your devices, you can find and stop threats faster and keep your systems safer. So, if you are an IT admin and want to onboard devices to Microsoft Defender, this tutorial is for you.
Deploy Microsoft Defender for Endpoint
If you want to deploy Microsoft Defender for Endpoint, make sure to meet the following prerequisites.
- You should have the rights of a Security Admin.
- The devices that are part of your organization’s environment should meet the hardware and software requirements mentioned on learn.microsoft.com.
- Make sure to have a proper inventory. The environment inventory includes the total endpoint count categorized by operating system, the total server count broken down by operating system version, the name and version of the management engine (e.g., System Center Configuration Manager Current Branch 1803), the high-level structure of the CDOC distribution (e.g., Tier 1 outsourced to Contoso, Tier 2 and Tier 3 in-house across Europe and Asia), and the SIEM technology currently in use.
After meeting the system requirements, follow the steps mentioned below.
Let us talk about them in detail.
1] Prepare to deploy Microsoft Defender for Endpoint
To prepare the environment, we first need to verify the license. So, go ahead and check your license status and ensure it’s set up correctly. You can do this in either the Microsoft 365 admin center (under Billing > Your products) or the Microsoft Azure portal (under Microsoft Entra ID > Licenses).
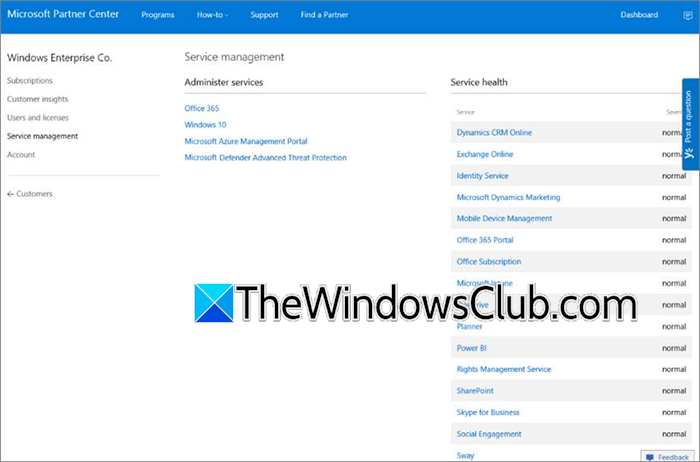
To see which licenses your company has and check their status, use the Microsoft 365 admin center. Access this as a partner by selecting Administer services > Office 365 in the Partner portal. This opens the customer admin center using the “Admin on behalf” option.
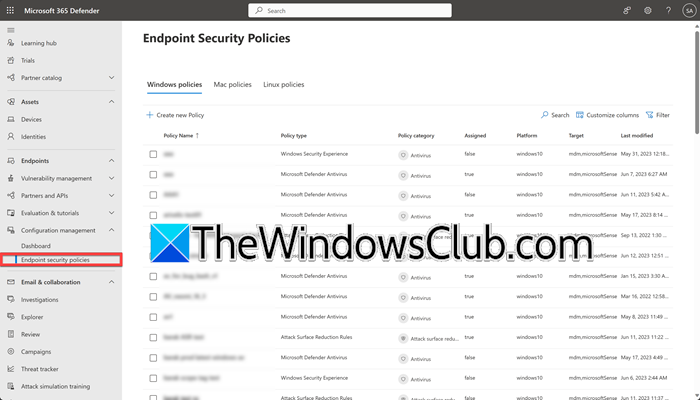
To set up Defender for Endpoint in your tenant, sign in to the Microsoft Defender portal. Then, select items like Devices (under Assets) or options like Dashboard or Endpoint security policies (under Endpoints) in the navigation pane.
Note: Defender for Endpoint uses the same data center location as Microsoft Defender XDR for storing and processing data. If Defender XDR isn’t active yet, adding Defender for Endpoint will turn it on and automatically choose a data center location based on your existing Microsoft 365 security services. The chosen location is displayed.
Finally, we need to configure the network. You can go to Microsoft’s official guide to configure the network for endpoint services to learn how to do the same. However, please note that while allowing traffic to specific IP addresses is sometimes considered, not all services support this method. Evaluate alternative solutions if necessary (such as central download points for updates). See the documentation on using static IP ranges for more details.
2] Assign roles and permissions for the Defender for Endpoint deployment
When assigning roles and permissions, it is recommended to only grant necessary permissions for each user’s role and remove temporary access after deployment. You can assign “Security Administrator” (full access) or “Security Reader” (read-only) roles in Microsoft Entra ID. You can also try to use RBAC for granular access. Additionally, Microsoft Entra PIM can be used for auditing and temporary access control.
| Tier | Entra Group Example | Device Groups | Permissions |
| Tier 1 | Tier1-SOC | Country-Devices | View data only |
| Tier 2 | EMEA-SOC | Region-Devices |
View data + Investigate + Remediate
|
| Tier 3 | Global-SOC | All devices |
Full permissions
|
Use this sample table to map your Cyber Defense Operations Center (CDOC) structure.
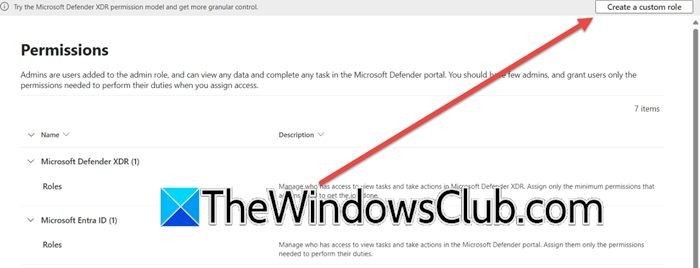
- First of all, go to the Defender Portal.
- Now, go to Settings > Permissions.
- Click on Create a custom Role.
- Now, give permissions based on the aforementioned table..
- Make sure to add your role to Microsoft Entra Group.
Once done, move on to the next step.
3] Select your architecture and deployment method
There is a plethora of architecture that you can pick for your environment; however, it should fit your company. We have mentioned the available system design and along with its use case.
- Cloud-native: Best if you only use cloud tools. Use Microsoft Intune to set up devices.
- Co-management: For companies using both cloud and on-site tools. Use ConfigMgr + Intune together.
- On-premises: If you use on-site systems like Configuration Manager. Keeps your existing tools.
- Evaluation/local: For testing or small setups without management tools. Good for pilot projects or DMZ devices.
Now, you need to choose the deployment method. For Windows computers, use Intune, Configuration Manager, Group Policy, or a local script (up to 10 devices). Windows Servers can be onboarded with a local script or Microsoft Defender for Cloud. For macOS devices, options include Intune, JAMF Pro, or manual scripting. Linux Servers support script-based deployment through tools like Ansible, Chef, or manual setup. Mobile devices (Android/iOS) can be onboarded using Intune.
4] Onboard devices in the Microsoft Defender Portal

To onboard devices in the Microsoft Defender Portal, you need to follow the steps mentioned below.
- Go to the Microsoft Defender Portal.
- Now, navigate to Settings > Endpoints.
- Look for Device Management and select Onboarding.
- Set Select operating system to start onboarding process drop-down to your desired OS.
- Then, set Connectivity type to Streamlined or Standard.
- Set the Deployment method.
- Finally, click on Download onboarding package.
To know more about onboarding, including various other methods, go to learn.microsoft.com.
After onboarding, enable these protections in order:
- Endpoint Detection & Response for threat visibility.
- Vulnerability Management to find weaknesses.
- Next-generation antivirus for real-time blocking.
- Attack surface reduction. Additional features like automated investigations and expert monitoring can be configured separately after core protections are active.
Hopefully, with the help of this guide, you will be able to deploy Microsoft Defender for Endpoint.
Read: Is Microsoft Defender for Endpoint Security good enough?
How do I deploy Defender for Endpoint Intune?
To deploy Defender for Endpoint Intune, make sure your devices have the right Defender for Endpoint license assigned and Defender Antivirus is active on them. Now, follow the steps mentioned below.
- Go to the Microsoft Defender portal and turn on the Defender for Endpoint features you need.
- In the Defender portal, go to Settings > Endpoints > Device management > Onboarding, select Windows 11/10 as the OS, select Intune as the method, and download the onboarding configuration package (.zip).
- Now, open MS Intune admin center, and go to Devices > Configuration profiles > Create profile.
- Set Platform and Profile type.
- Create your profile (Set Enable Microsoft Defender for Endpoint to Yes and upload the ZIP file)and assign devices to the group.
- Assign devices or groups and save the profile.
Intune will push the settings and onboard the devices to Defender for Endpoint.
Read: EDR vs Antivirus: Which is best and why?
How to tell if Defender for Endpoint is running?
To check if Defender for Endpoint is running, open the Windows Security app on the device and look for “Protected” under Virus & threat protection, confirming it says “Your device is onboarded.” You can also sign in to the Microsoft Defender portal and verify that the device shows an “Onboarded” status in the device management section. For Intune-managed devices, allow 1-2 hours after policy application for status to update.
Read: Setup Windows Defender Advanced Threat Protection (ATP) on Windows Server.