
If you encounter the CPU Over Voltage Error on system startup, this article will help you identify the cause and fix this problem. When you turn on your PC, it performs a POST (Power-On Self-Test). If any issue is encountered during the POST, booting into Windows is halted, and you get stuck at the POST screen. The CPU Over Voltage Error means your system has detected a high voltage level at the CPU that could damage it. Hence, you should not ignore this warning.
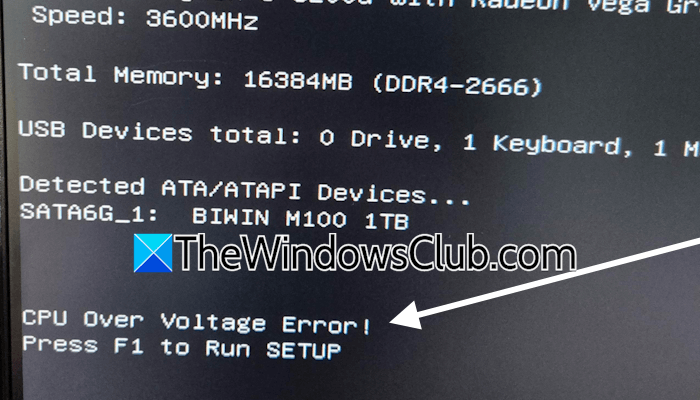
The complete error message is:
CPU Over Volgate Error!
Press F1 to Run SETUP
This error can occur on various computers, although the wording may be different on different brands:
- ASUS: CPU Over Voltage Error
- MSI: Over Voltage Protection or CPU Overvoltage error
- Gigabyte: CPU Vcore is out of range
- ASRock: Over Voltage Protection triggered or CPU Over Voltage Error.
CPU Over Voltage Error, Press F1 to Run SETUP
If your system detects high CPU voltage, it halts booting into Windows and displays the “CPU Over Voltage Error” message. This protects your CPU because high voltage can damage the CPU and other hardware components. A BIOS setting can bypass this error screen. If you set the CPU Voltage Monitoring to Ignored in the BIOS, your system will skip monitoring the CPU Voltage during POST. This does not fix the issue. Doing so can permanently damage your CPU.
If you cannot boot your computer into Windows due to the CPU Over Voltage Error in BIOS/UEFI firmware, foloow these suggestions:
- Manually inspect the CPU socket pins
- Disable overclocking
- Reset BIOS
- Clear or replace the CMOS battery
- Disable the Turbo Mode (if applicable)
- Physically clean your PC
- Hardware fault.
All these fixes are explained in detail below.
1] Manually inspect the CPU socket pins
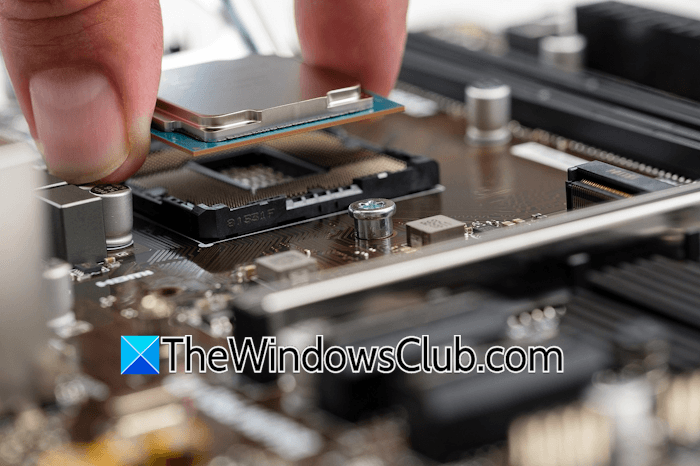
This is one of the major causes of this problem. It usually happens if you have assembled your PC or recently cleaned it. Manually inspect the CPU socket pins. Bent or broken CPU socket pins can cause several issues, including this one. If the pins are bent, try to straighten them carefully. However, if the pins are broken, you need to replace your motherboard.
2] Disable overclocking
This issue may also occur due to overclocking. If you have overclocked your CPU, revert the changes and see if it works. If your motherboard supports CPU overclocking in the BIOS, you can disable the relevant setting. If you don’t find such a setting in your BIOS, skip this step and follow the next fix.
3] Reset BIOS
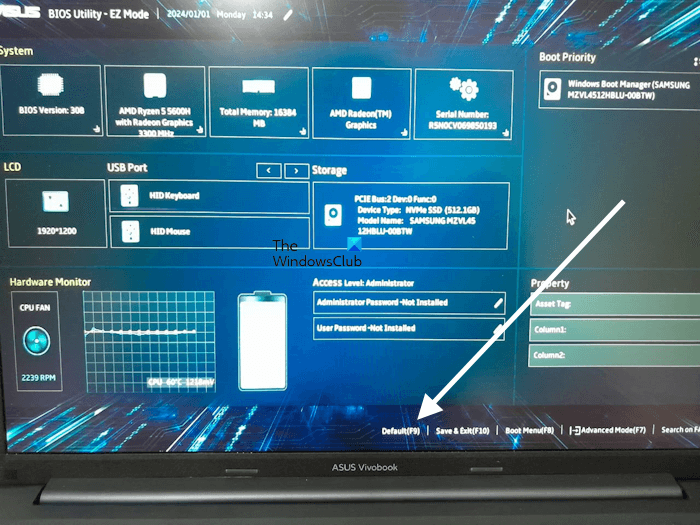
Resetting the BIOS restores all the factory settings. Before you reset your BIOS, write down all the current BIOS settings on paper, so you can restore them again if this fix does not work. Refer to your computer or motherboard user manual to learn the process of resetting the BIOS.
4] Clear or replace the CMOS battery
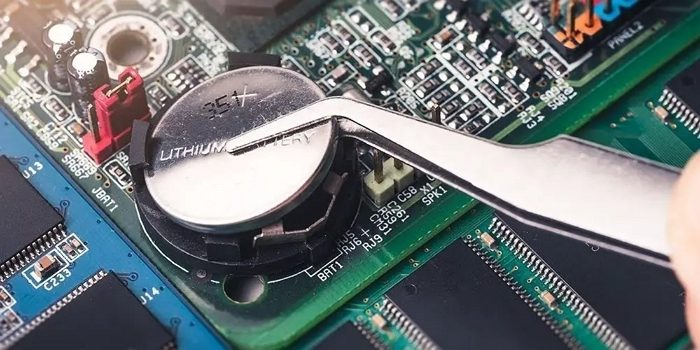
If the issue persists, try clearing the CMOS or replacing the CMOS battery. Turn off your system and wait for a few minutes. Now, open your computer case and gently pull the CMOS battery out of the socket. Then wait a few minutes and reinstall the battery with the correct polarity. Now, turn on your system and see if it helps. If the error occurs, replace the CMOS battery.
5] Disable the Turbo Mode (if applicable)
Turbo Boost is the technology on supported motherboards that allows a CPU to run faster than its base clock speed whenever required. If your motherboard and CPU support this technology, you will find a related option in your BIOS. Check if it is turned ON. If so, turn it off and save the changes. This technology goes by different names across computer brands. For example, it is named Intel Turbo Boost on Intel computers and AMD Precision Boost on AMD computers.
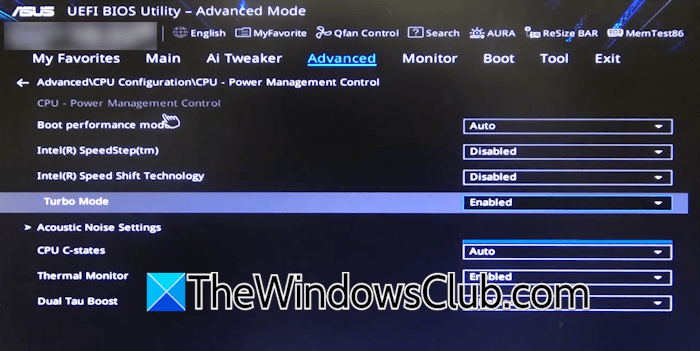
Refer to your system’s user manual to know how to access this setting in BIOS. If you have an ASUS computer, you may find this setting under Advanced > CPU Configuration > CPU Power Management Control page in BIOS.
6] Physically clean your PC
If you have not cleaned your PC for a long time, the accumulated dust might be causing this problem. The accumulated dust not only blocks the air vents but also interferes with the proper functioning of sensors. Open your computer case and clean it carefully. If you are not good at this, take professional help.
7] Hardware fault
If the problem persists even after trying all the fixes explained in this article, your hardware may be faulty. The problem may be with your motherboard or PSU. PSU is the Power Supply Unit that delivers sufficient power to the motherboard and all the hardware components. A faulty PSU may deliver incorrect power to the hardware components, which can damage them. This can be happening to you.
Another cause of this problem is a faulty motherboard. Take your computer to a professional computer repair shop for a manual inspection. If any hardware in your system is faulty, it might be triggering this problem.
That’s it. I hope this helps.
Read next: CPU Over Temperature Error.
Why is CPU overvoltage dangerous?
Yes, CPU overvoltage is dangerous. Supplying voltage to the CPU above safe levels can result in continuously high temperatures, which degrade the CPU’s performance. If the temperature stays high for long hours, it can permanently damage the CPU. If you want to overclock your CPU, make sure it supports it. Refer to the user manual and apply overclocking settings within the safe limits.
What is CPU overvoltage?
CPU overvoltage refers to supplying voltage to the CPU higher than the safe operating limits. CPU overvoltage can happen for several reasons, including CPU overclocking and a faulty PSU. If you encounter the CPU Overvoltage error, there might be a hardware fault. Do not ignore this warning, as it can permanently damage your CPU.
